
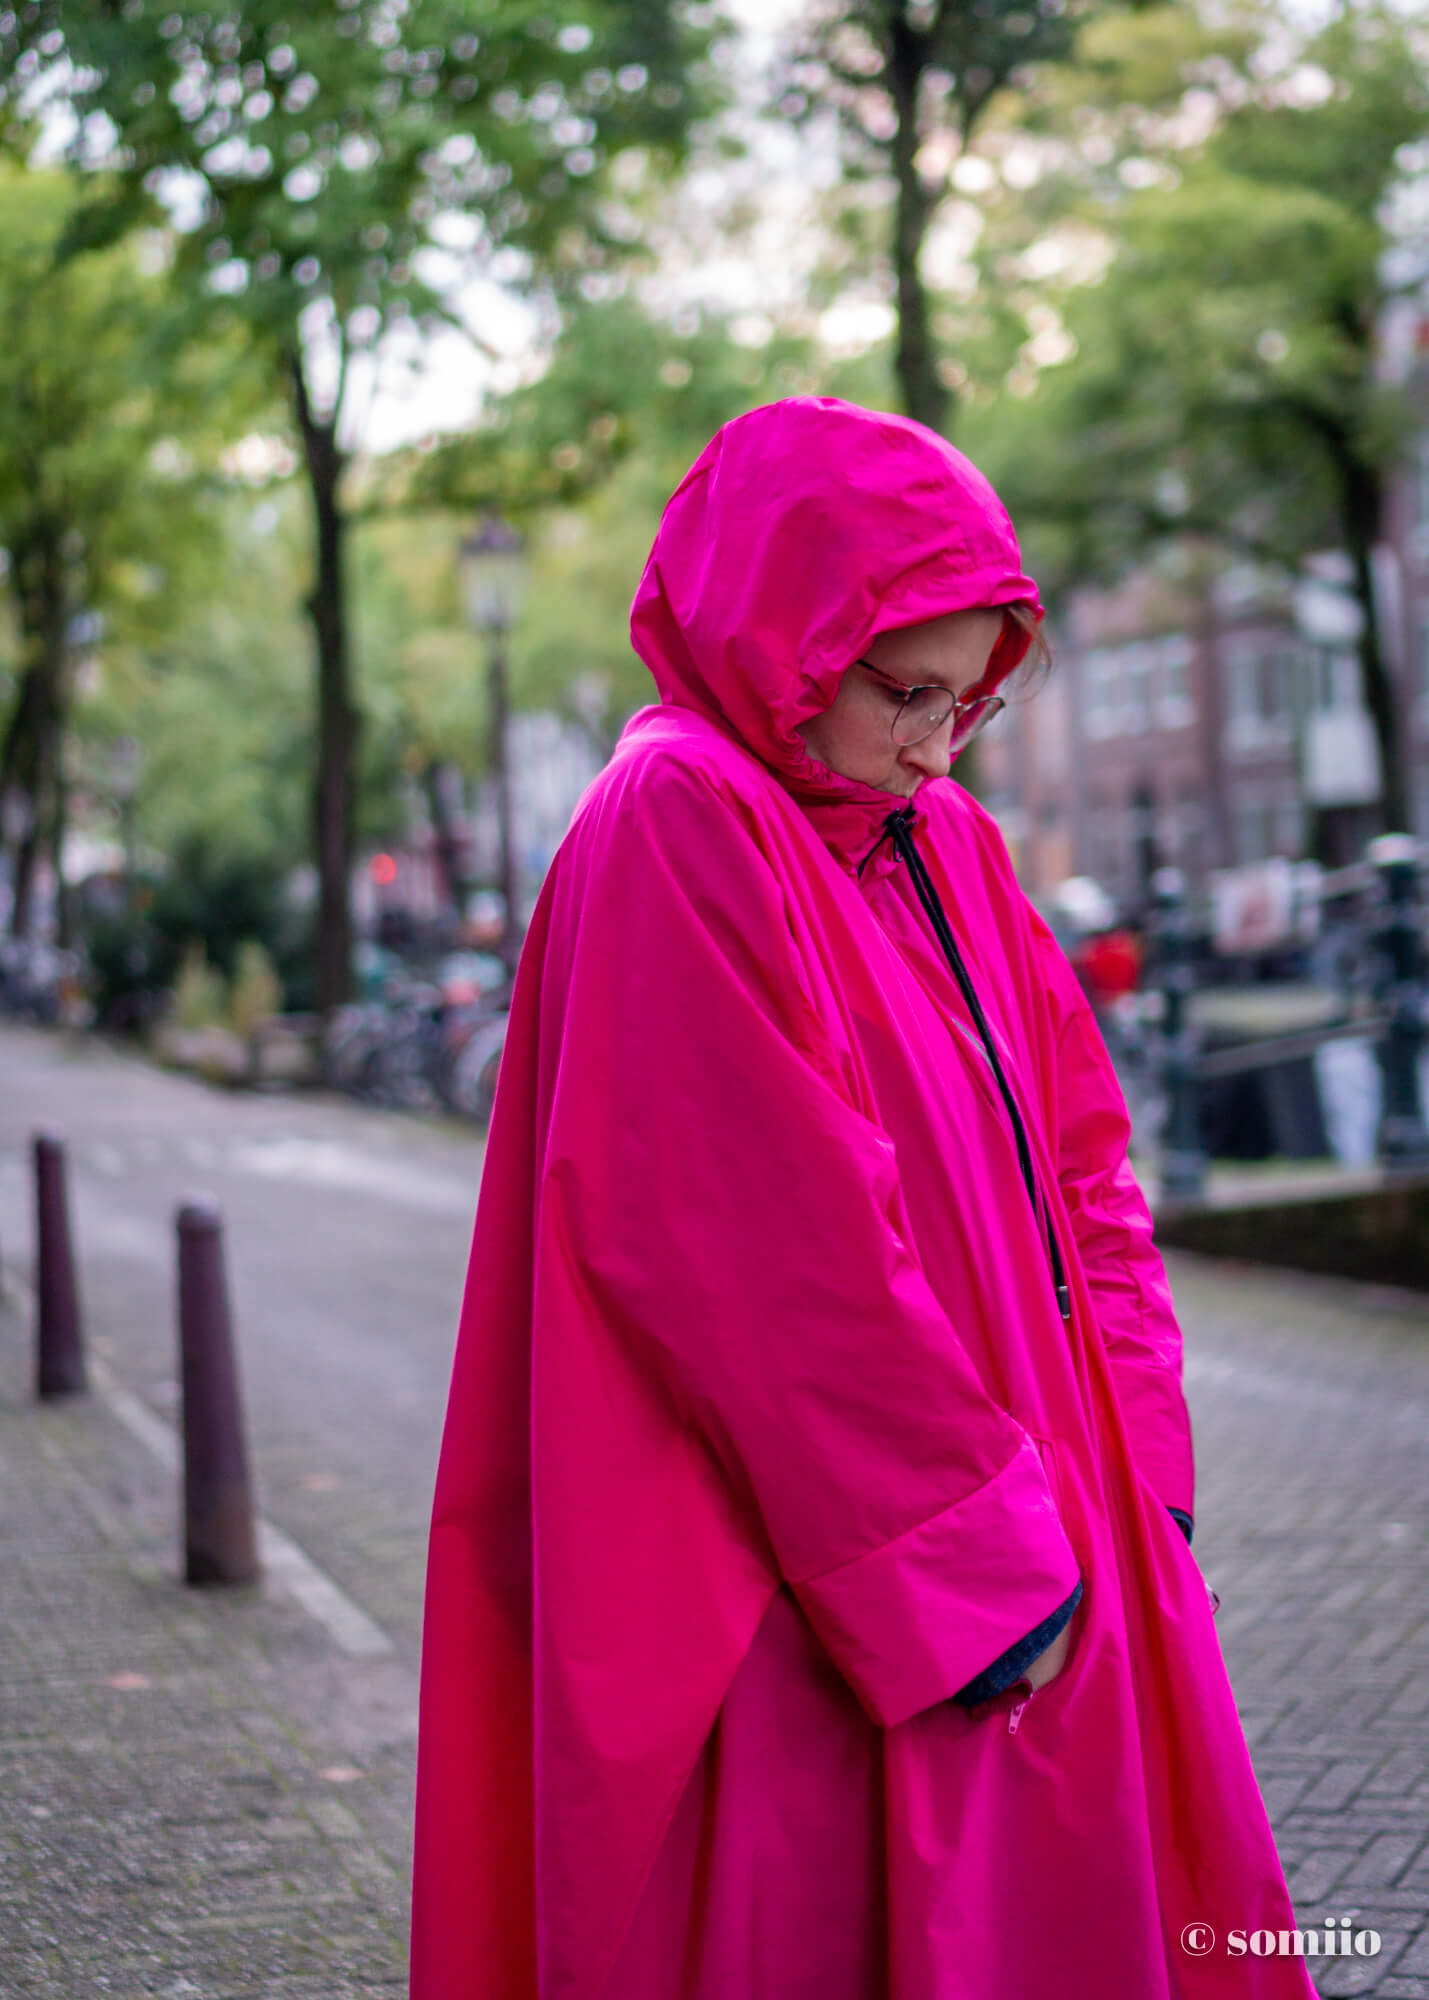
Waterproof cape 109 Burda 11/22
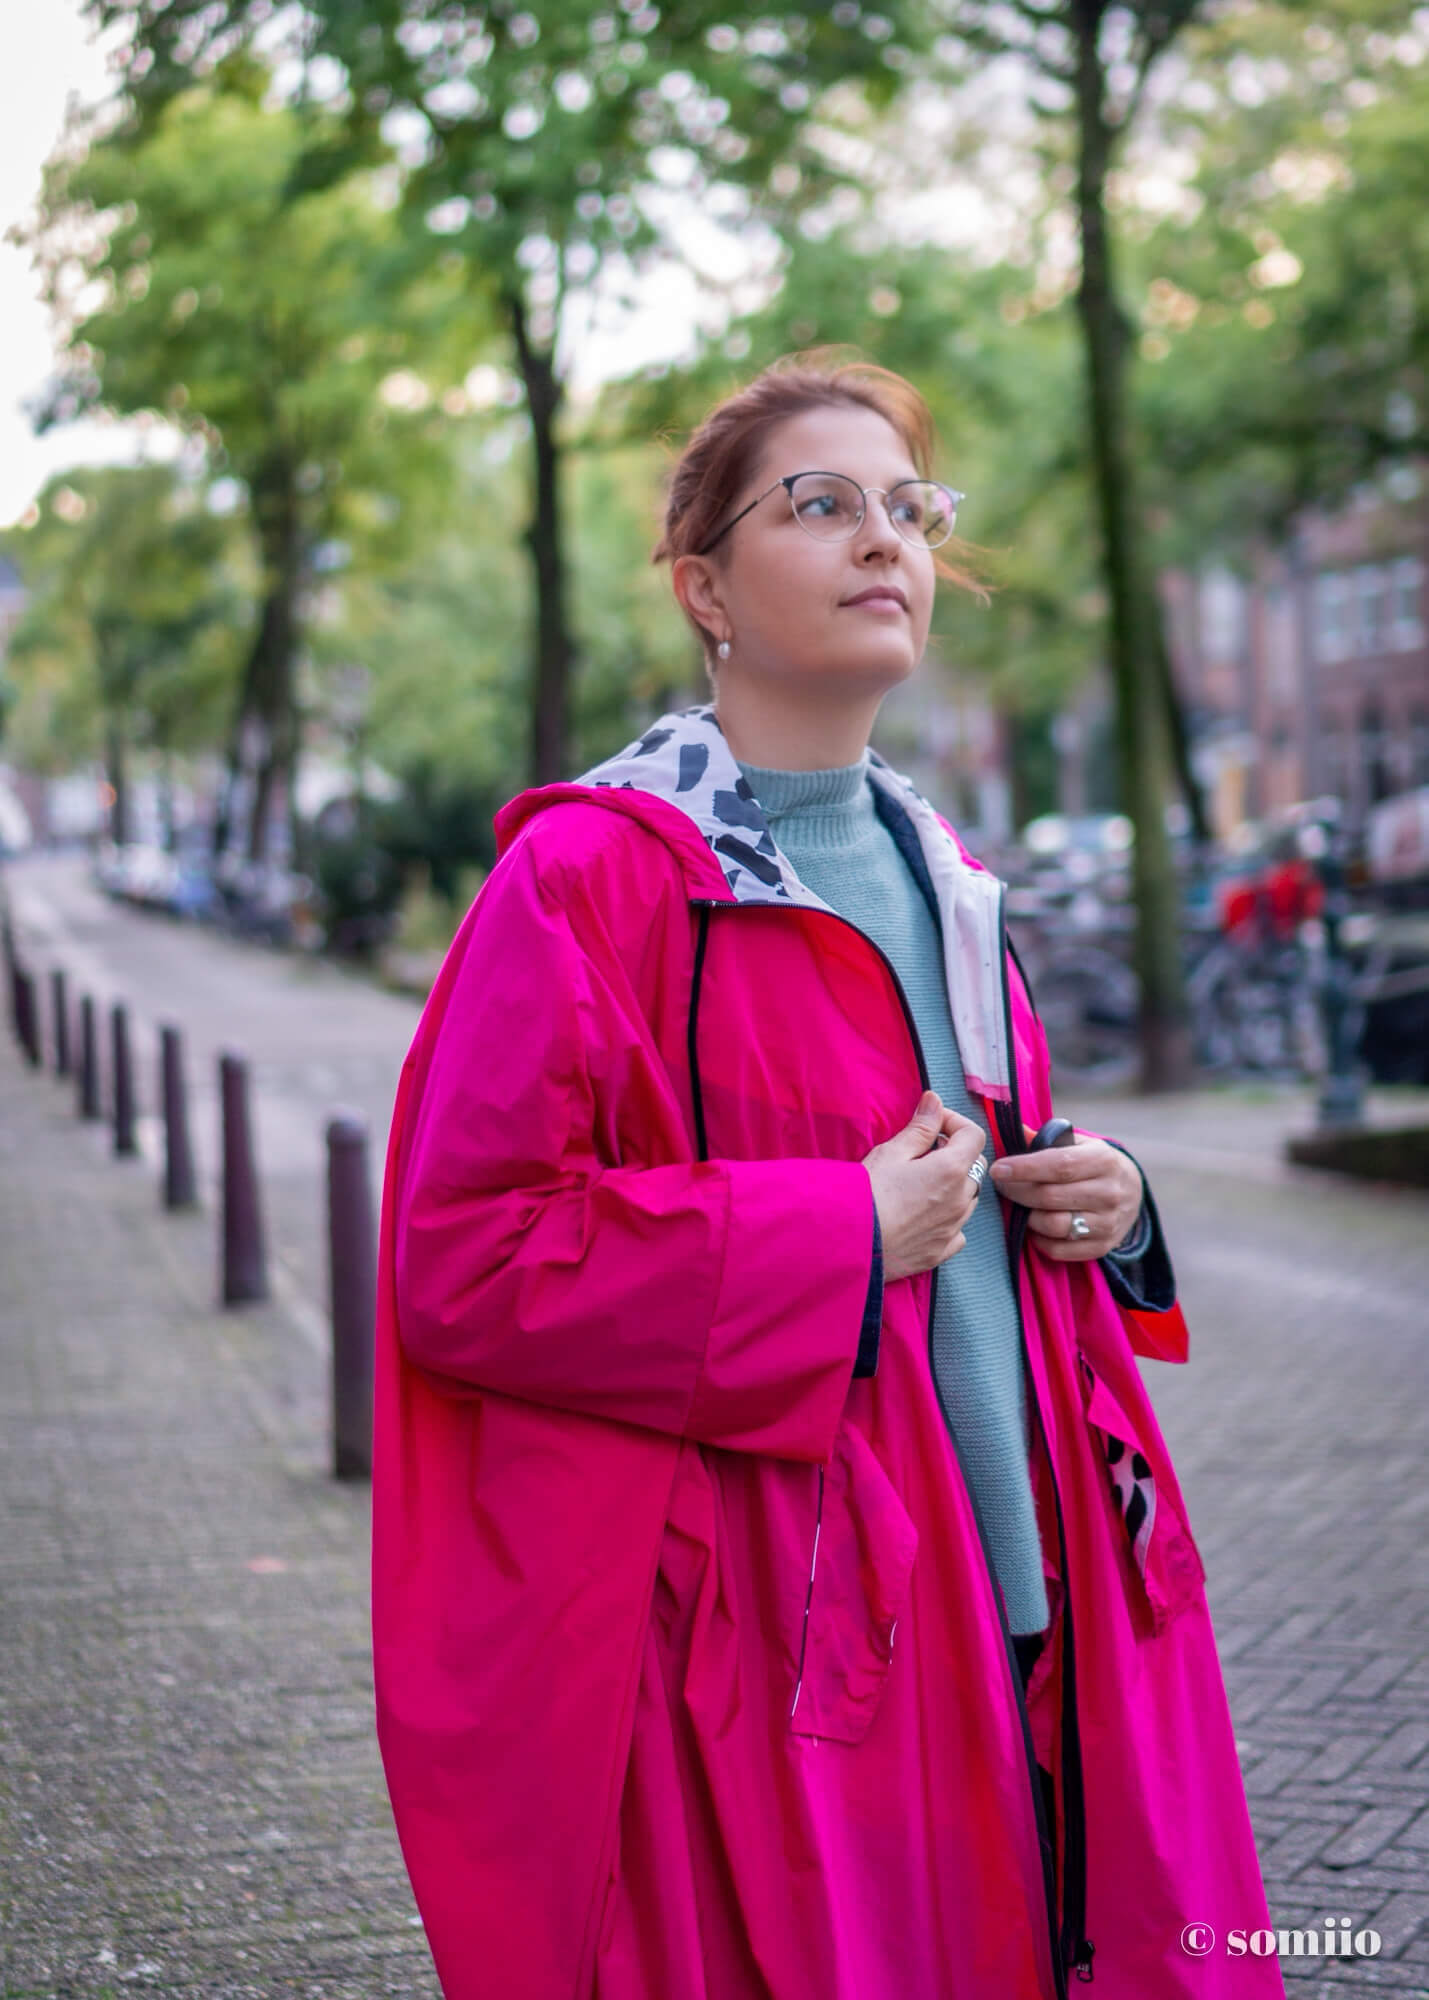
I could pretend that this 109 Burda 11/22 pink waterproof cape was sewn for Pink October (a French event against breast cancer). Because, well, it’s undeniably very, very pink. And you wouldn’t have known any different. Ha! But, you see, I’m too honest for that.
In fact, I thought up this mackintosh last spring and sewed it during our rainy August and sewed it during our rainy August when I had nothing lightweight yet waterproof to wear to face the showers. Well, since I only finished it in September for my vacation, it didn’t really help. It’s the thought that counts, I suppose.
So, a typical summer sewing project! I seem to be perfectly synchronized with the seasons. You’ll see more evidence of that in the coming weeks.
| ITEM | BOUTIQUE | QUANTITÉ | PRIX |
| Patron de l’imperméable Burda | Burda | 1 | 7,90 € |
| Fuchsia Waterproof Taffeta | Tissus du Renard | 3 m | 11,85 € |
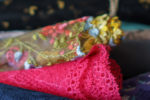
| Katia Poplin (chutes) | Stock | 0,50 m | 0 € |
| Waterproof Zipper | ? | 0,90 m | ? |
| Black Eyelets (x 20) | Snaply | 2 | 2,49 € |
| Cord with End Caps Snaply | Snaply | 1 | 2,90 € |
| Thread (cadeau) | Elastic & Co | 1 | 0 € |
| Total | 25,14 € |
Burda 11/22 waterproof cape pattern 109
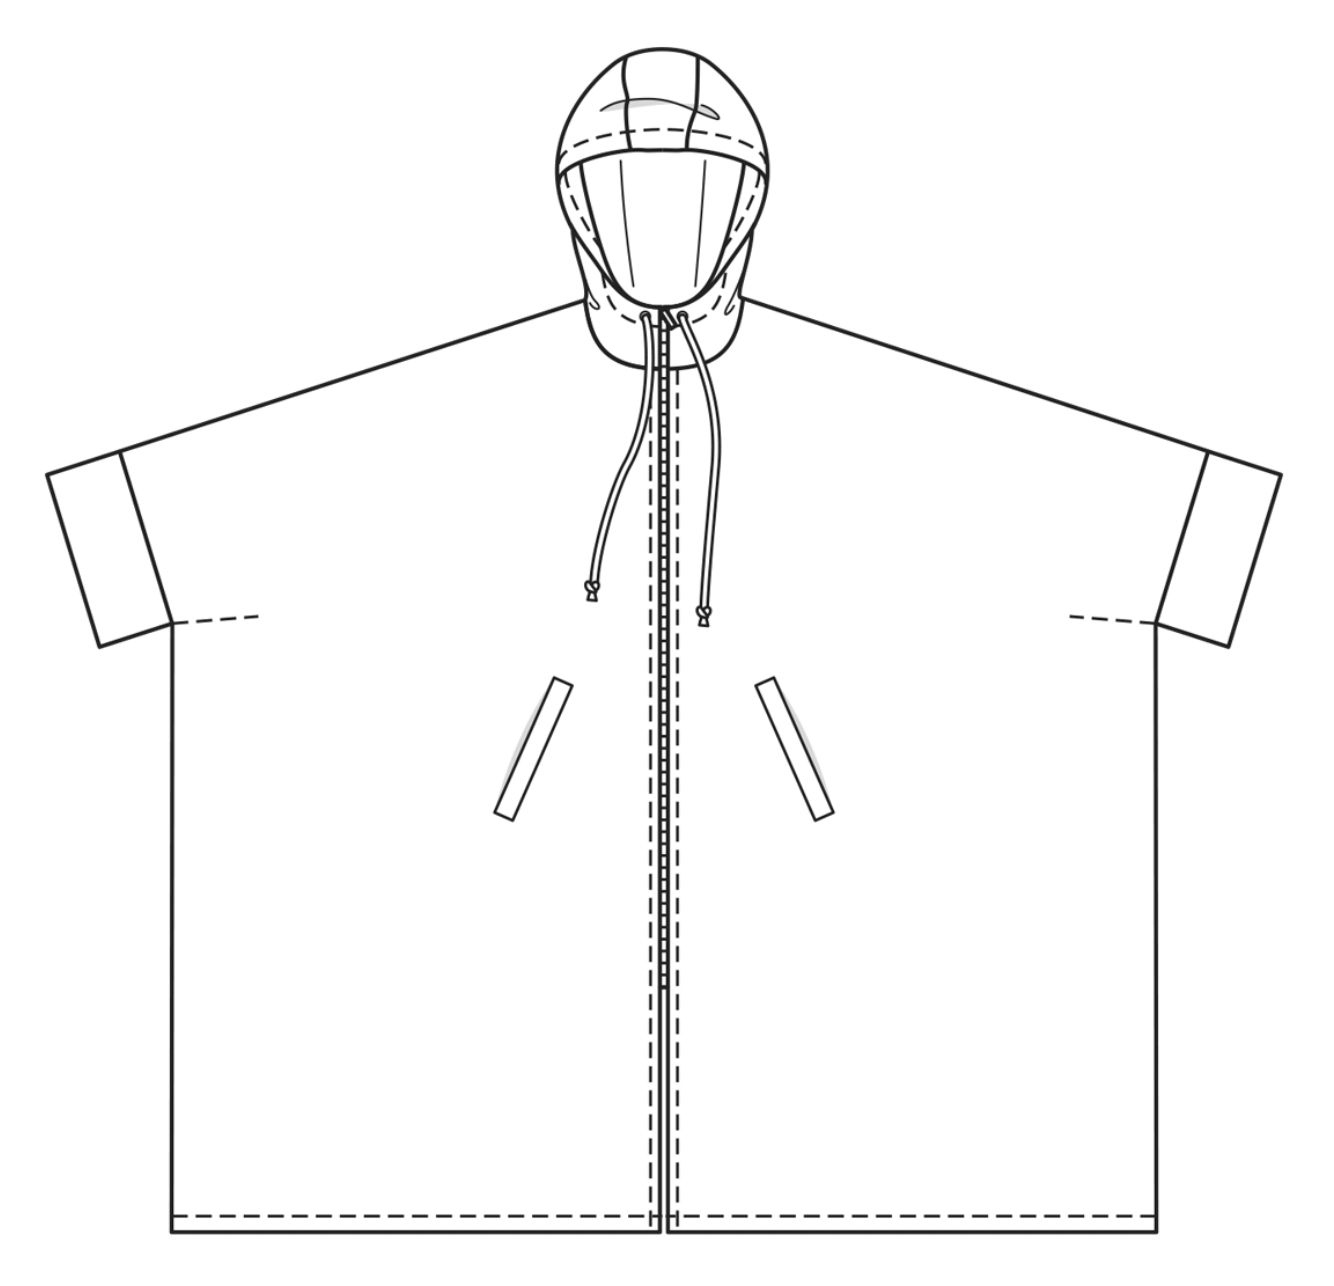
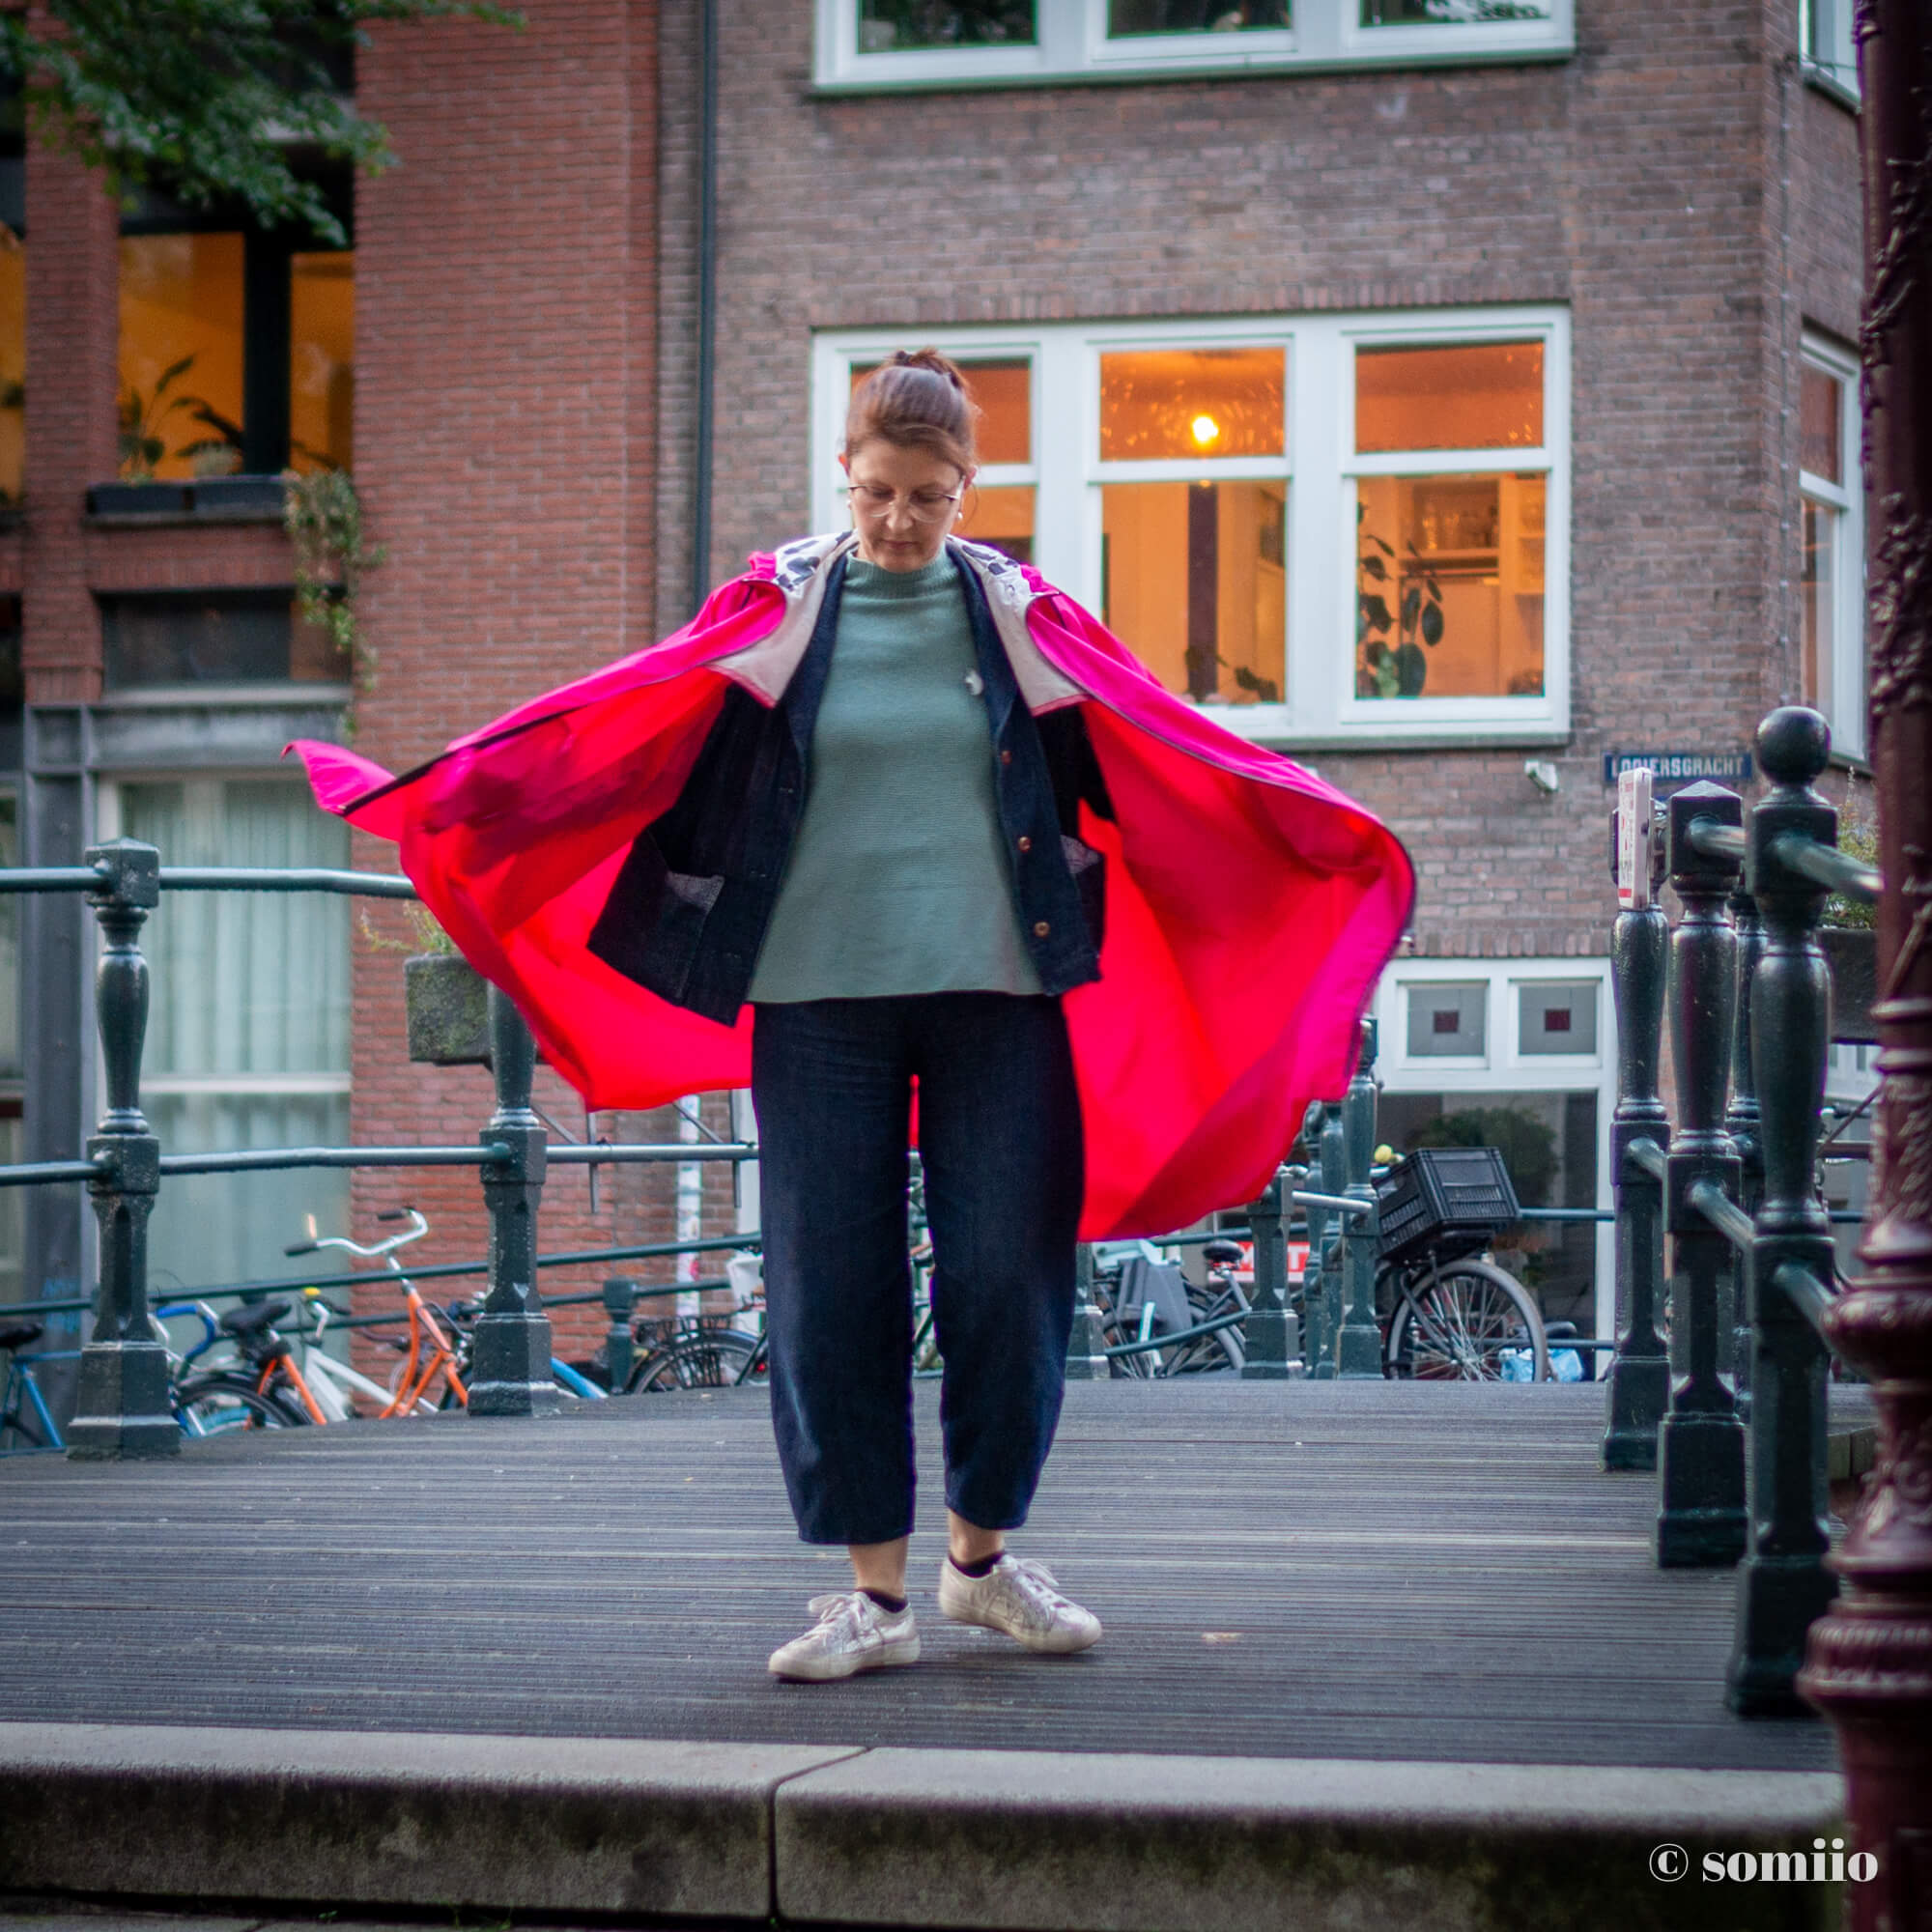
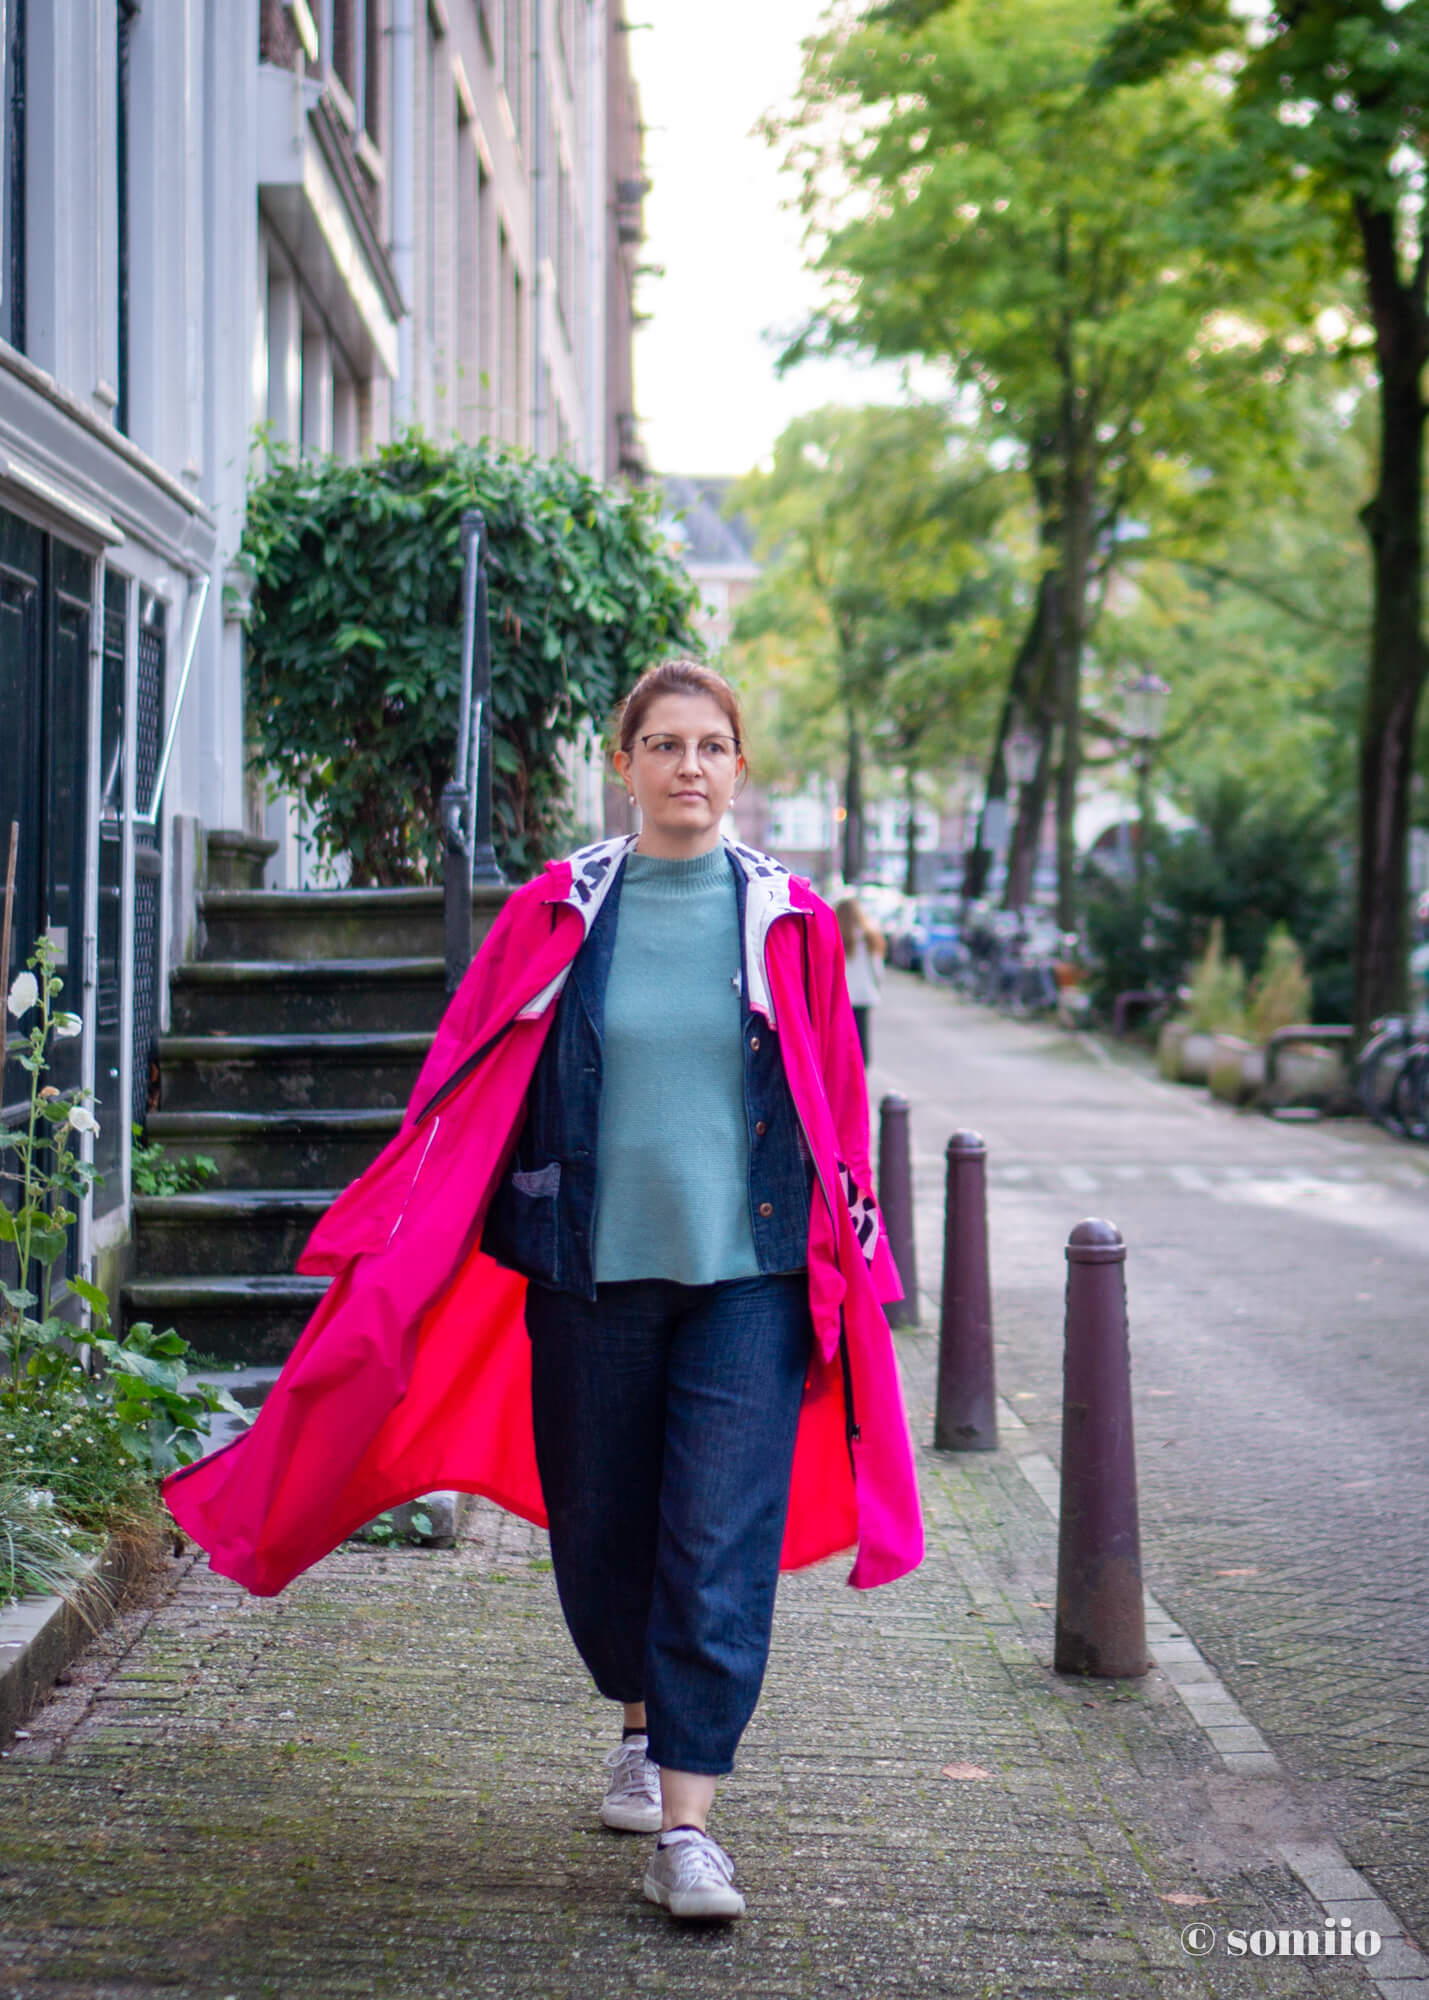
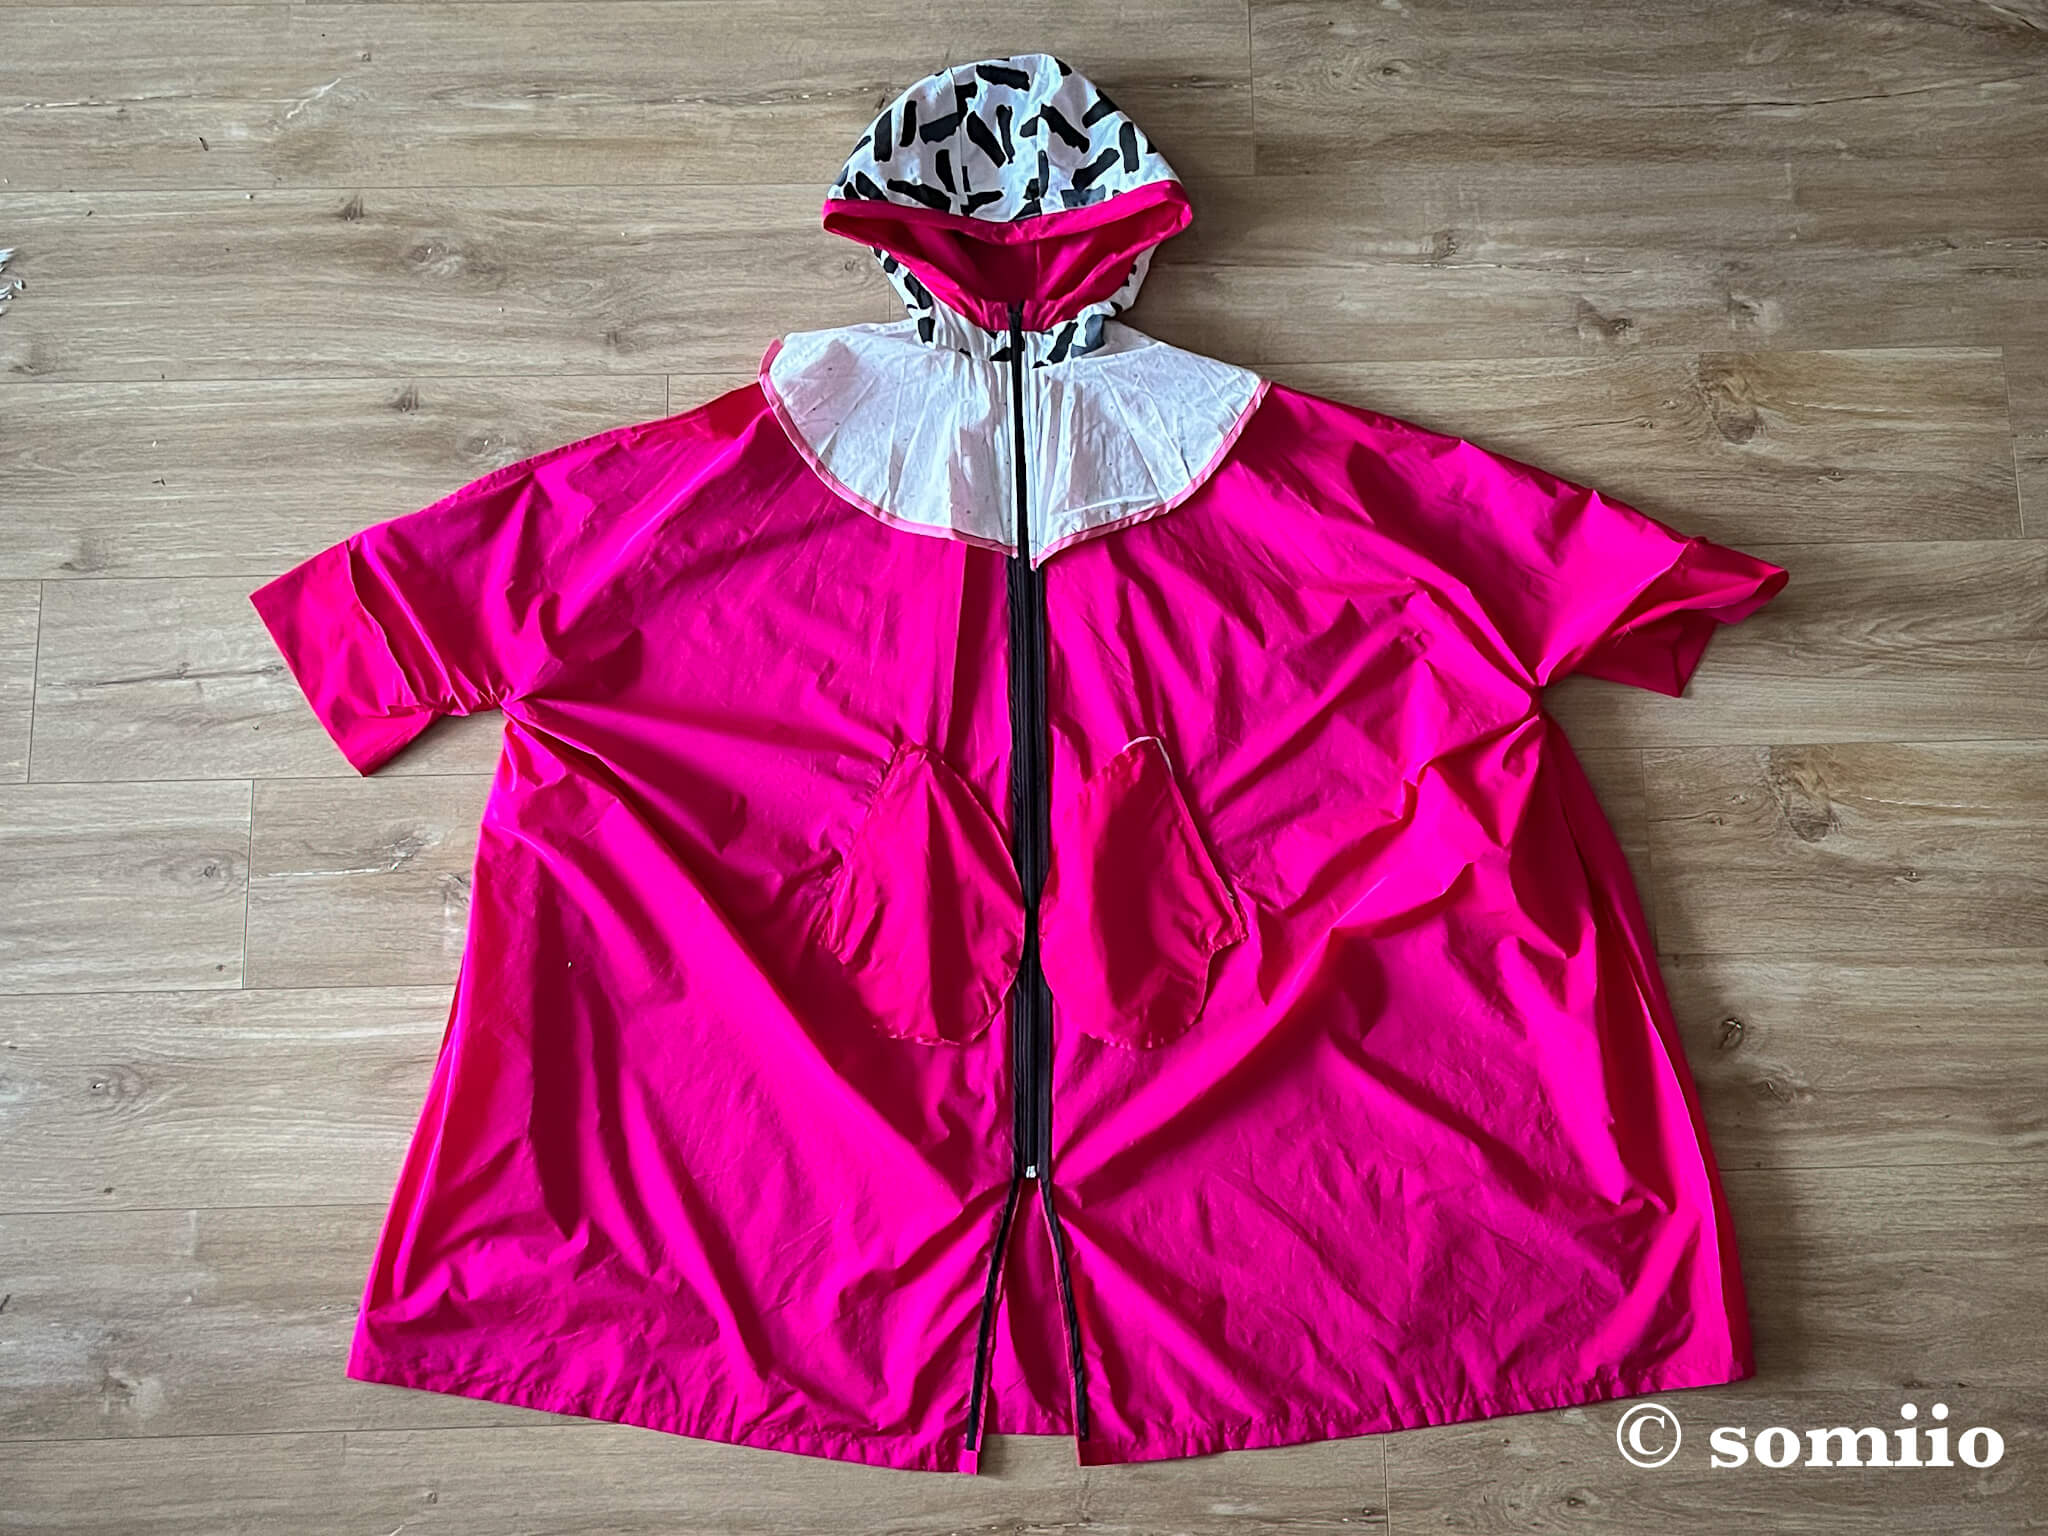
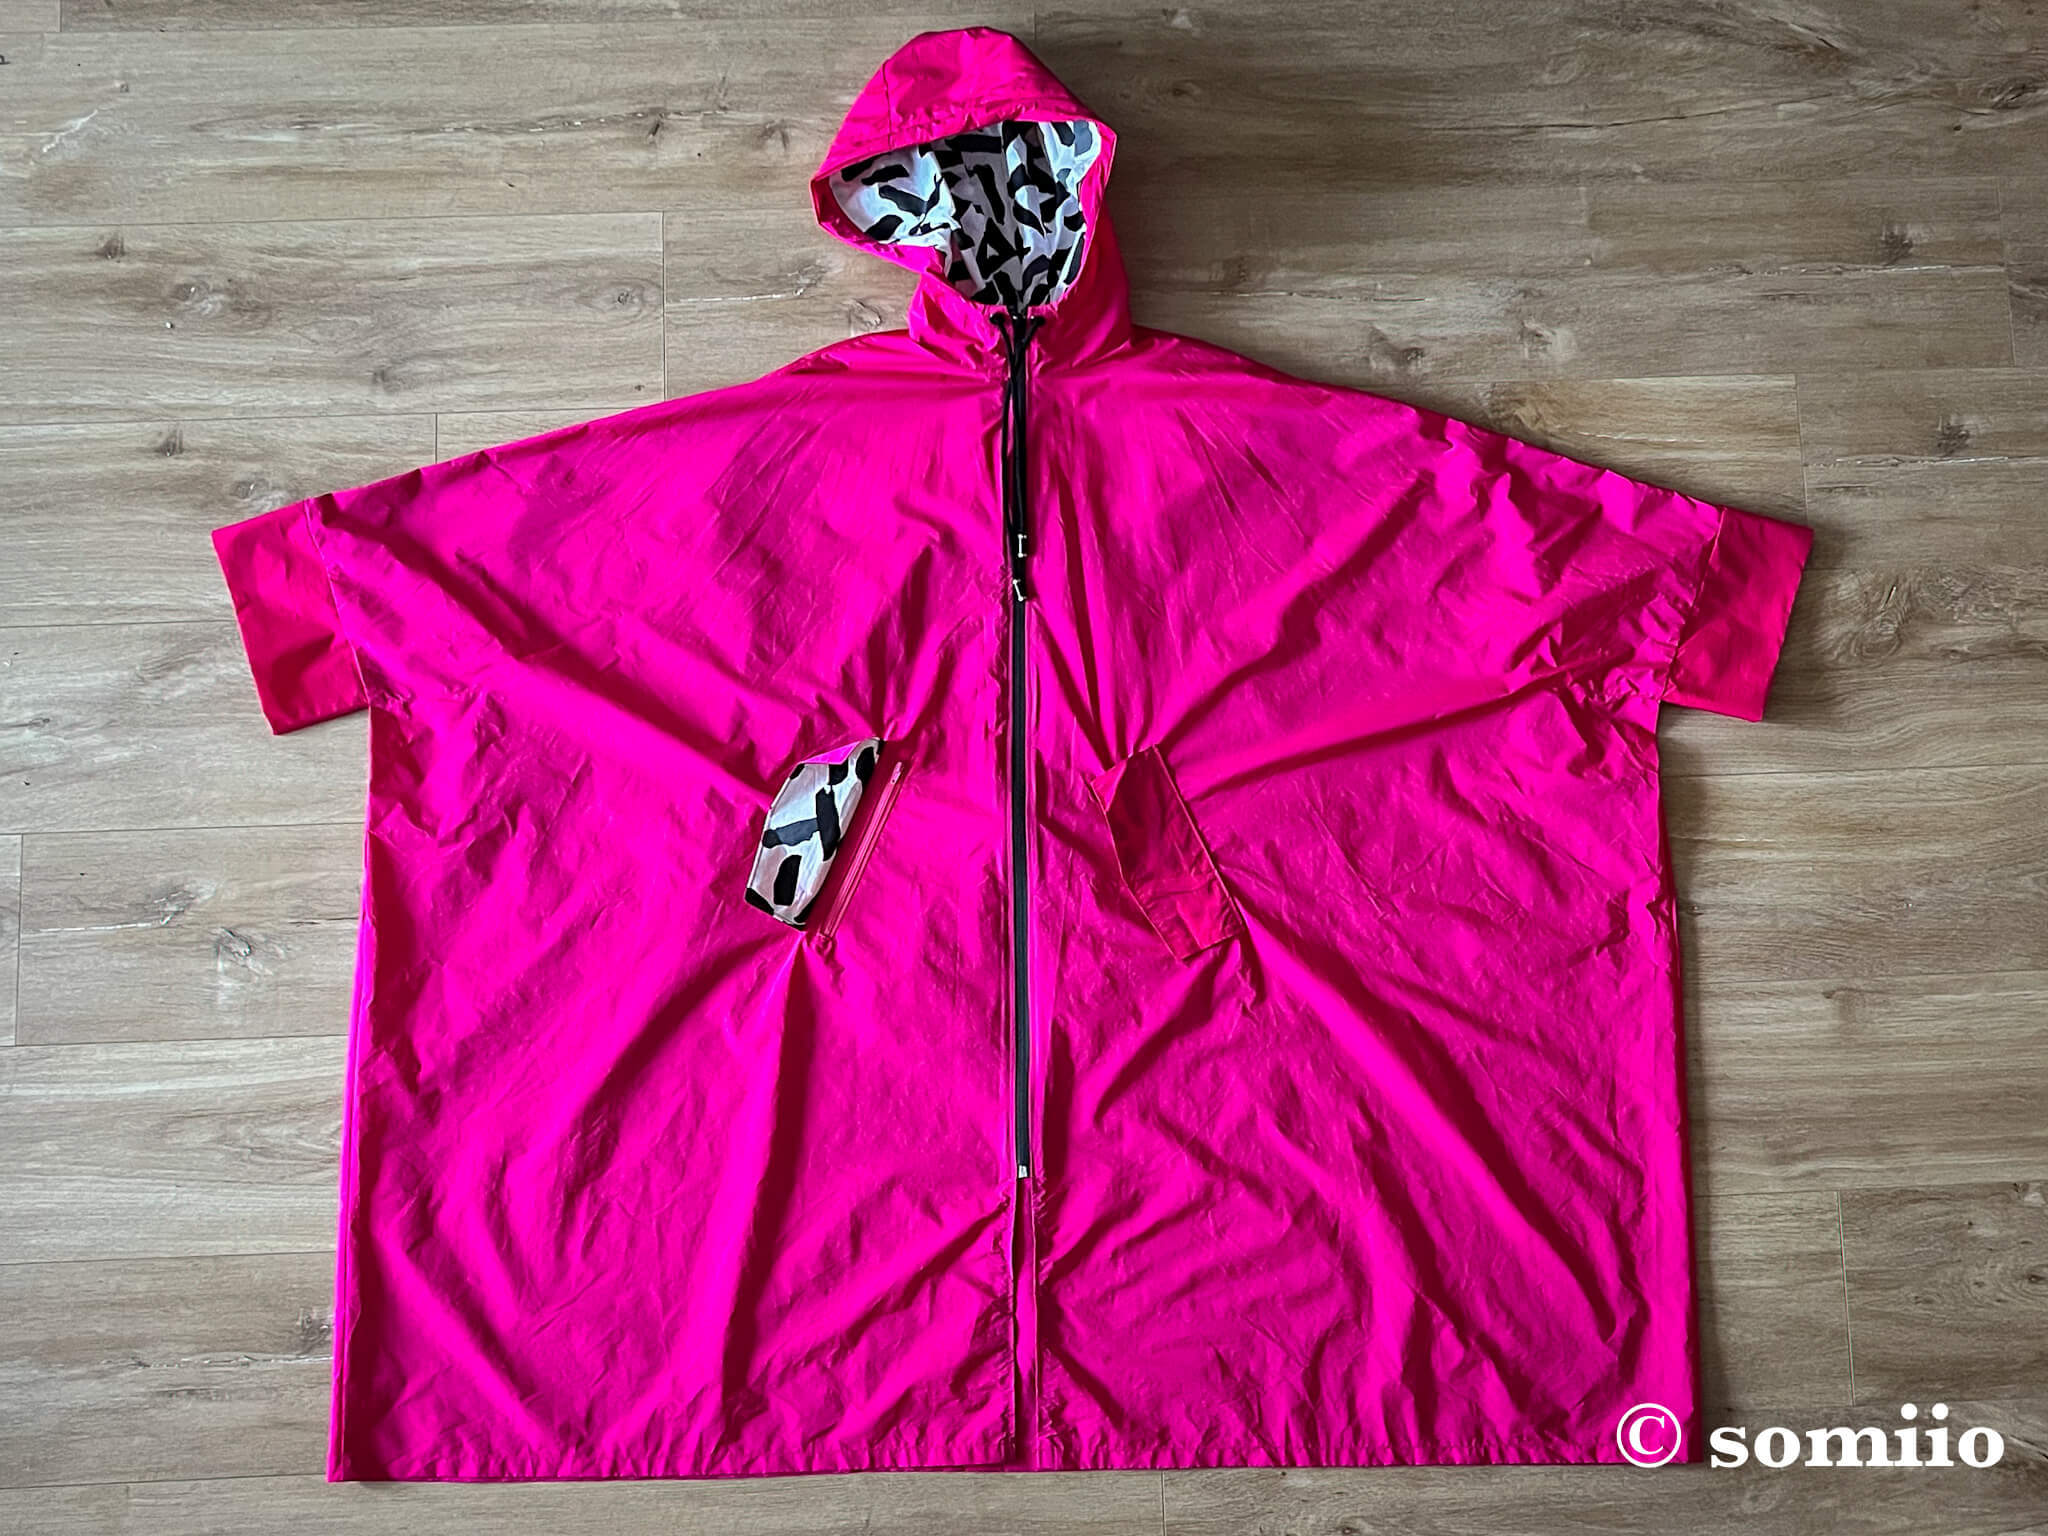
The “functional polyester cape No. 109 | Burda Style 11/22,” as Burda calls it, is an extra-roomy, almost rectangular waterproof cape pattern with a three-part hood and welt pockets.
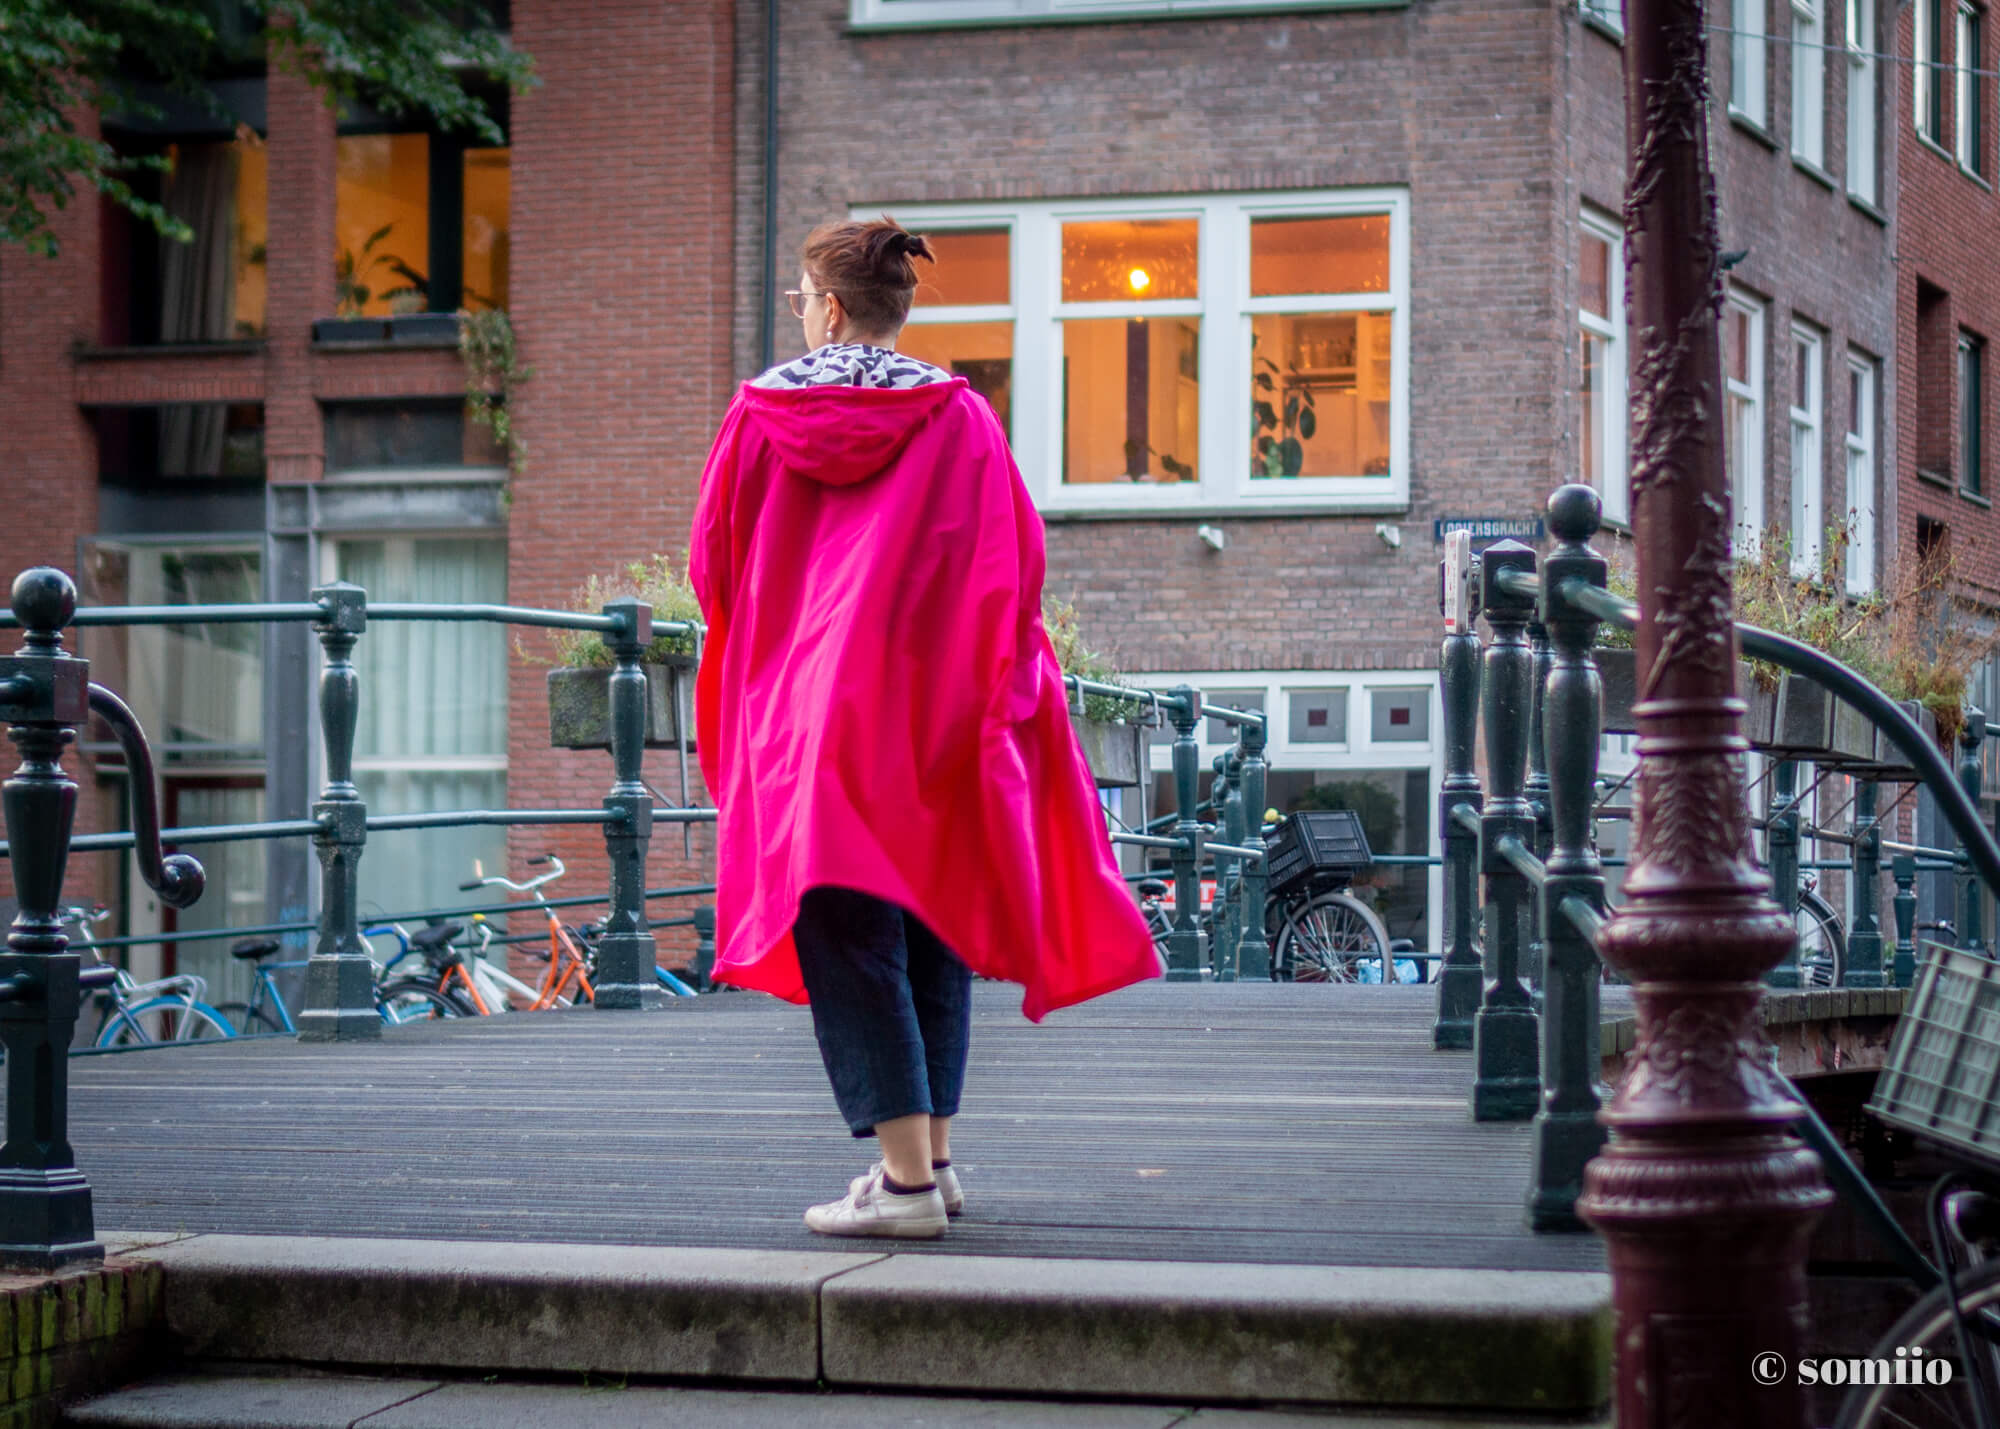
I started it in August and finished it in a bit of a rush on the eve of my departure to Amsterdam due to a challenging project. After all, who goes to Amsterdam without a raincoat? (Not me.)
Apart from the interesting basic pattern, I don’t have much positive to say about this Burda 11/22 waterproof cape 109 pattern, nor its instructions, for that matter.
But, well, that shouldn’t surprise anyone.
When you sew a raincoat, you use waterproof fabric (QED)… often, it’s waterproof synthetic fabric that doesn’t press well, assuming it can even be ironed at all.
So when I see welt pockets in the instructions, I seriously wonder if they were smoking something at Burda (or something else to stay in the Dutch theme).
Besides being particularly challenging to make in this type of fabric, the pattern and instructions don’t provide anything to finish the seams or the top of the zipper properly.
The instructions are particularly lousy, suggesting folding the fabric over the zipper with hand stitches.
Hand stitches on waterproof fabric and a coated zipper. Of course, Aenne*.

Anyway, the pattern is designed as if you were going to sew it in cotton gabardine, not in waterproof synthetic fabric.
Rainwear is a technical garment with its specific techniques and the consideration of specific materials.
Sewing the waterproof cape 109 from Burda 11/22
So, I had to make some modifications to the sewing of my waterproof cape 109 from Burda 11/22 to make it 1. feasible and 2. better finished.
The first small modification: cutting the back on the fold rather than having to make a seam, topstitching, AND inner finishes.
For shoulder seams, I went with French seams.
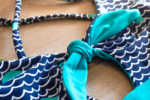
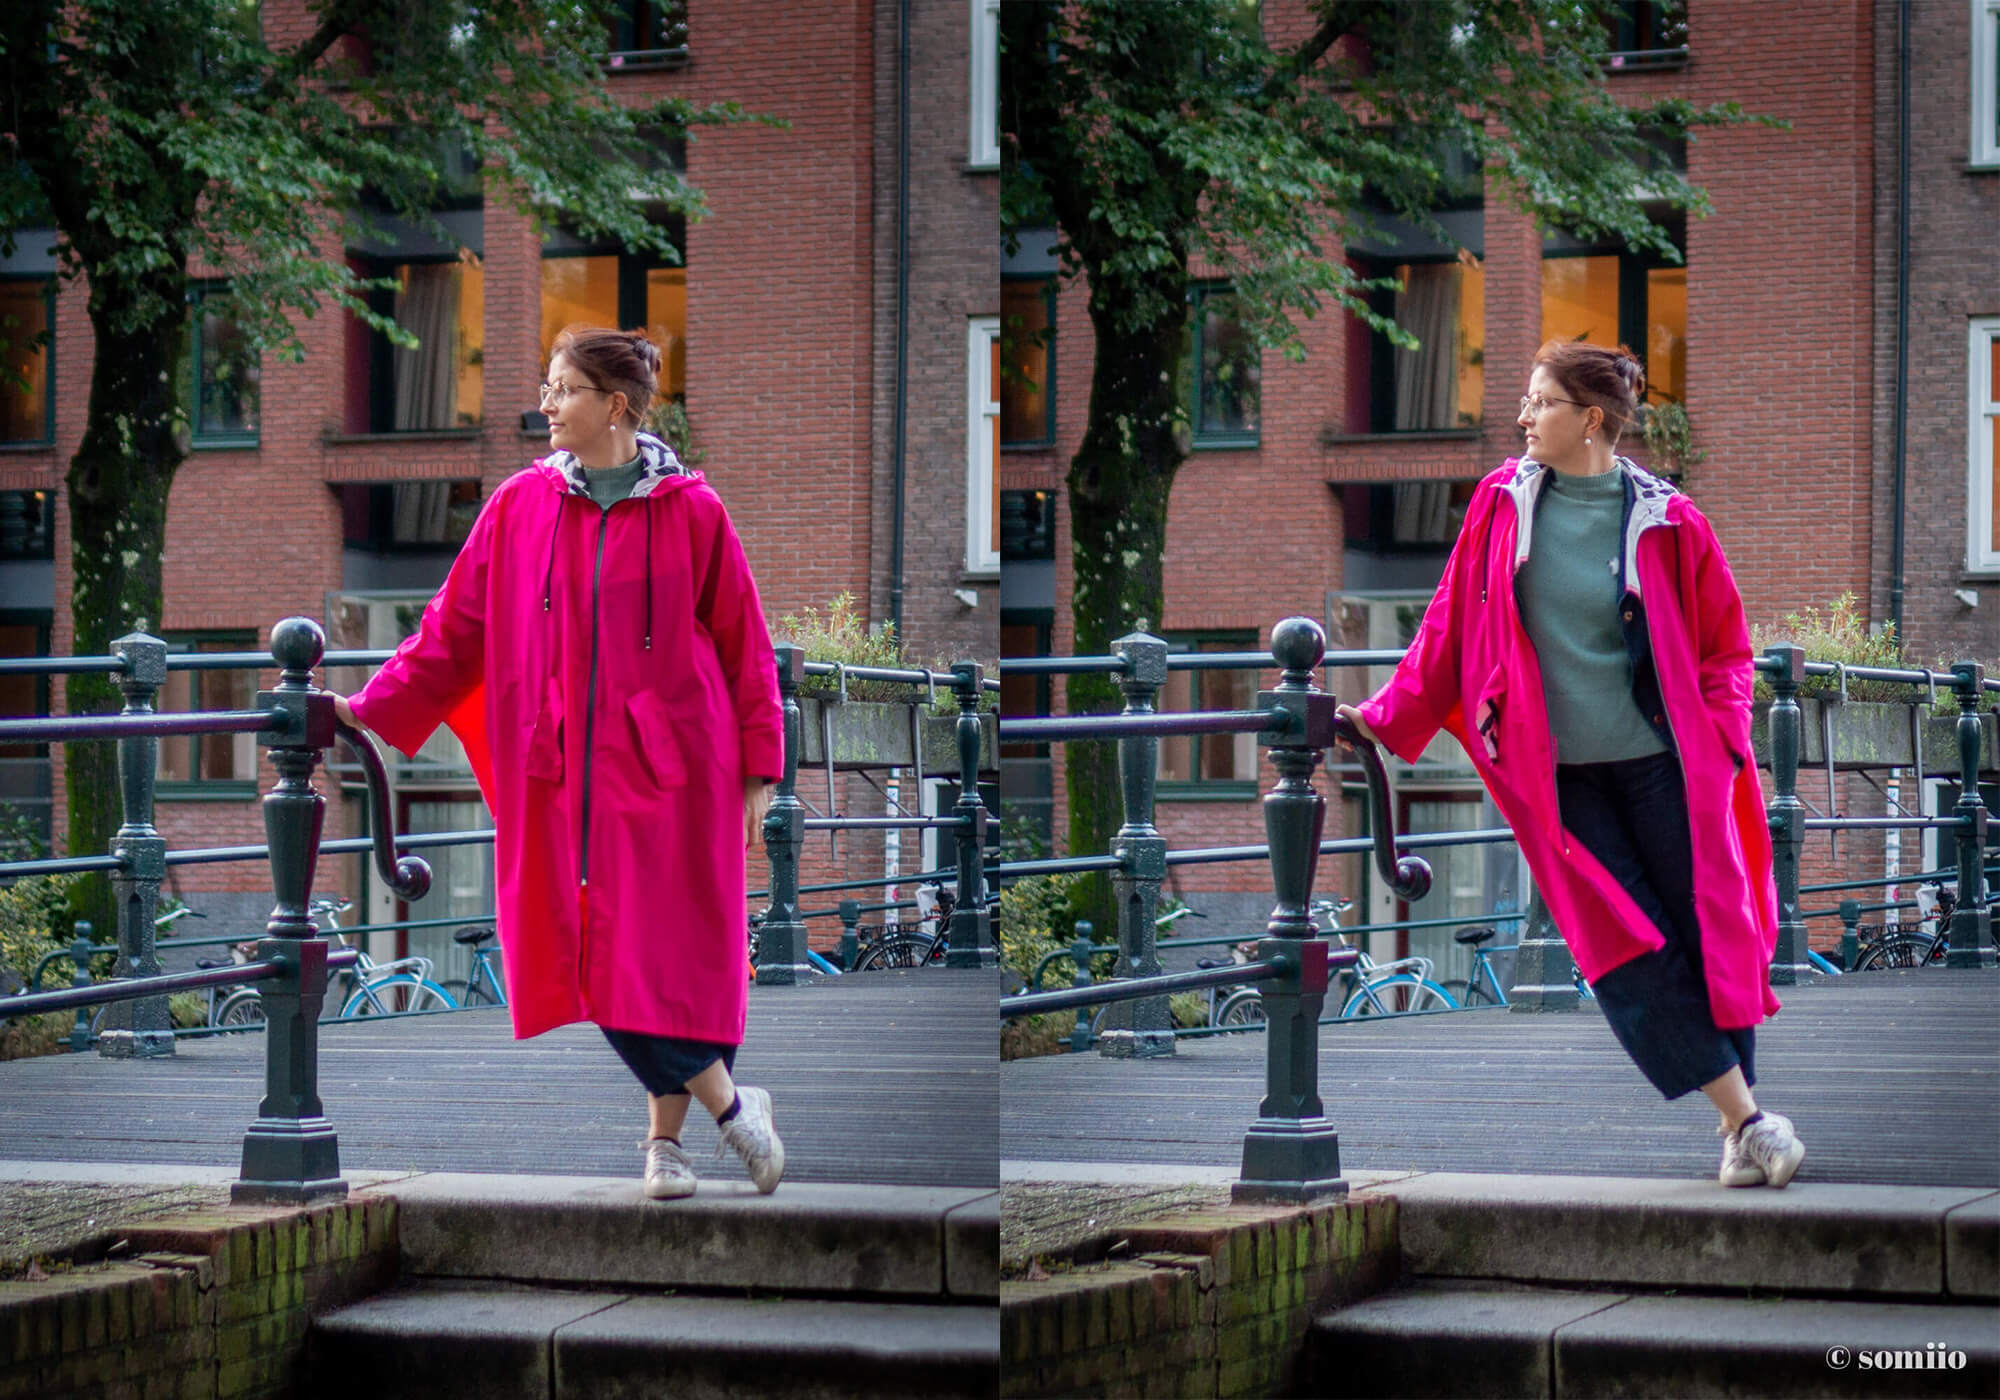
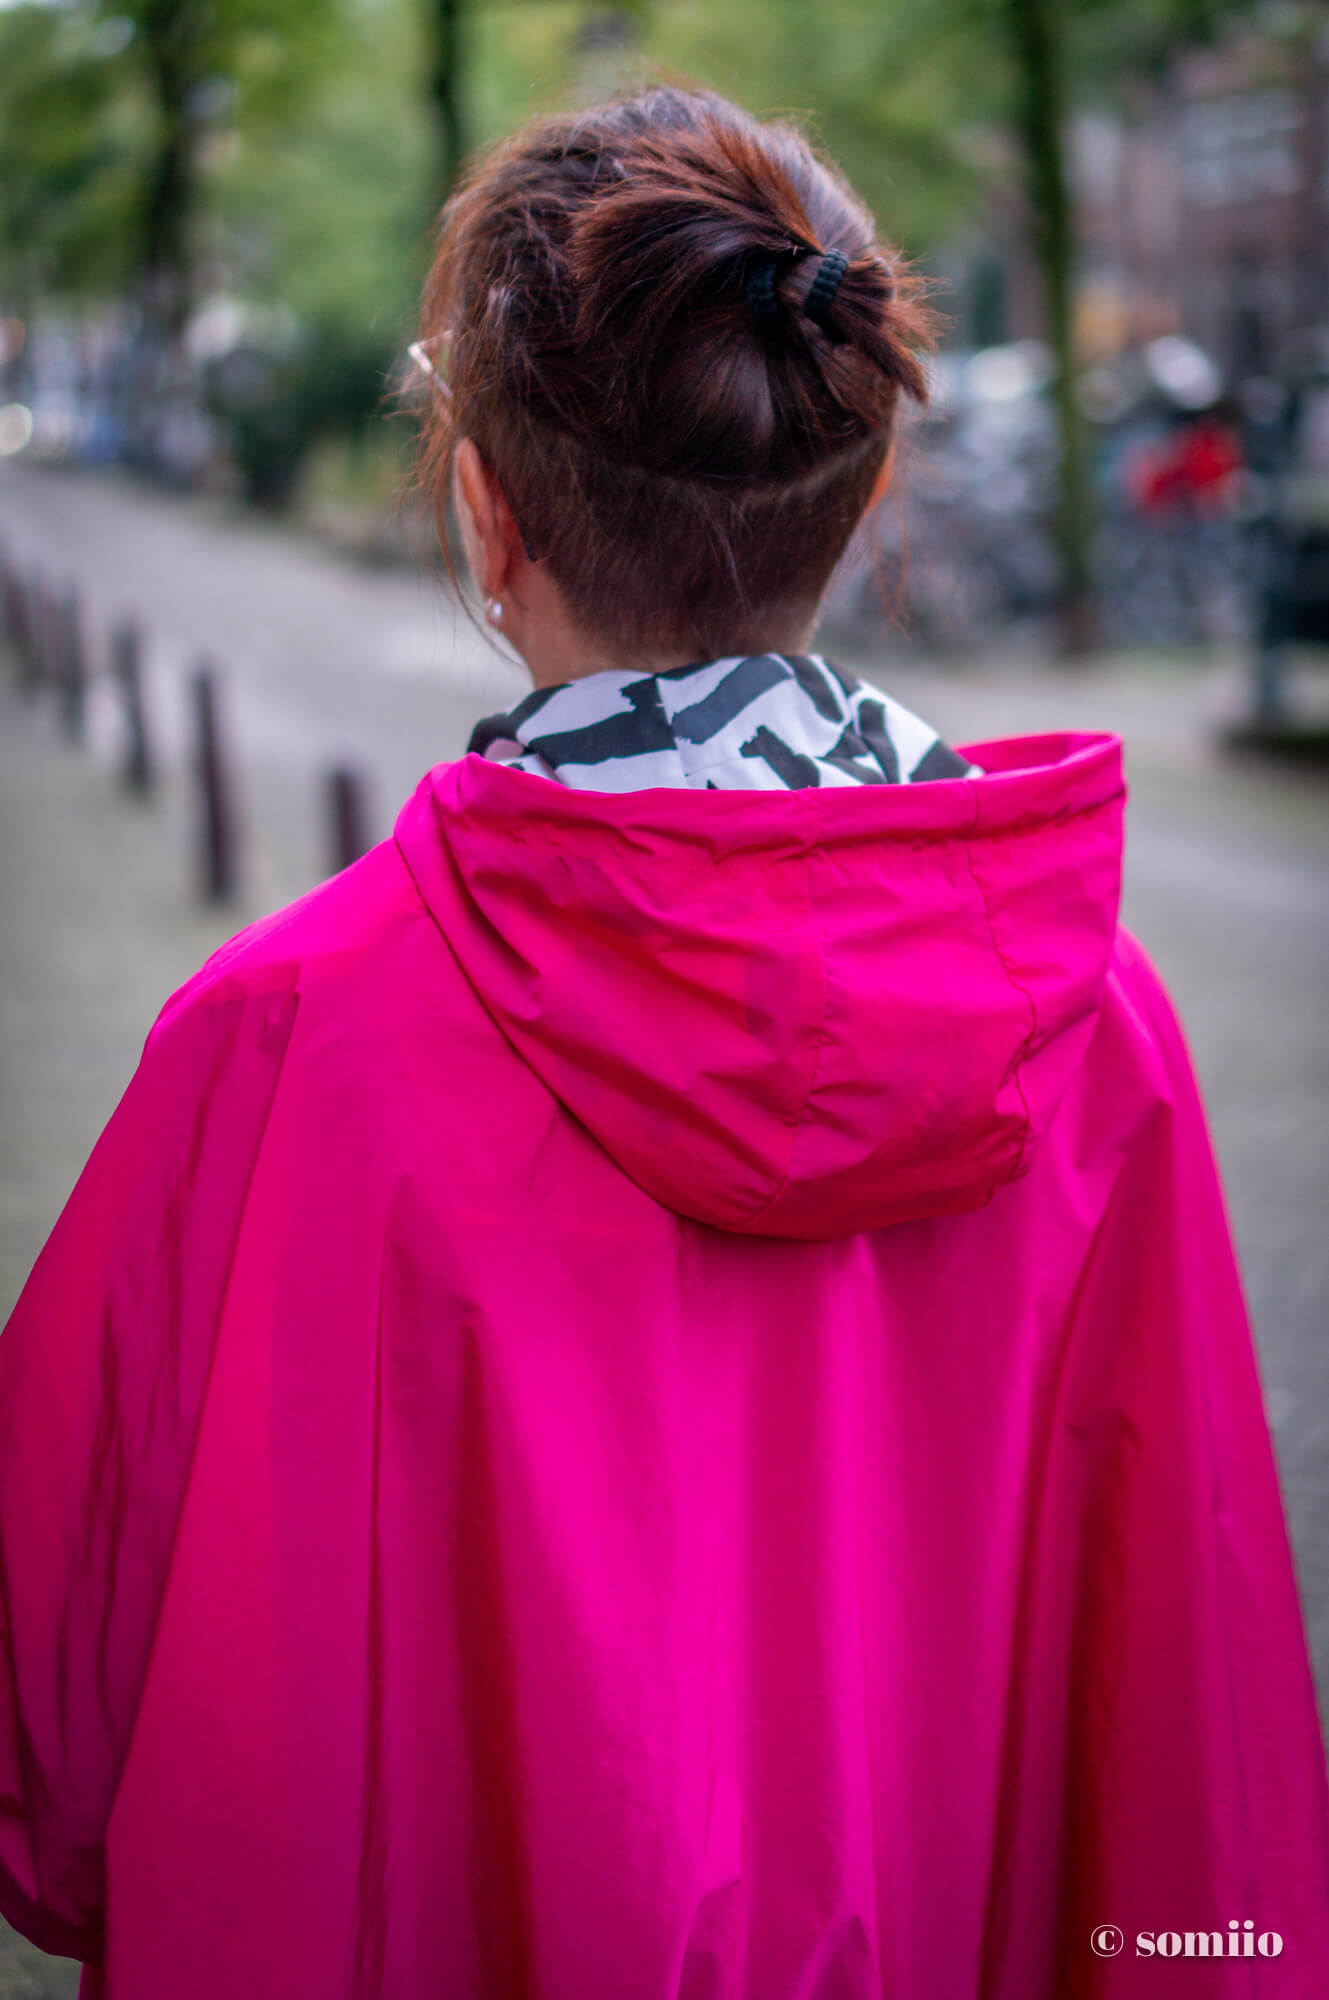
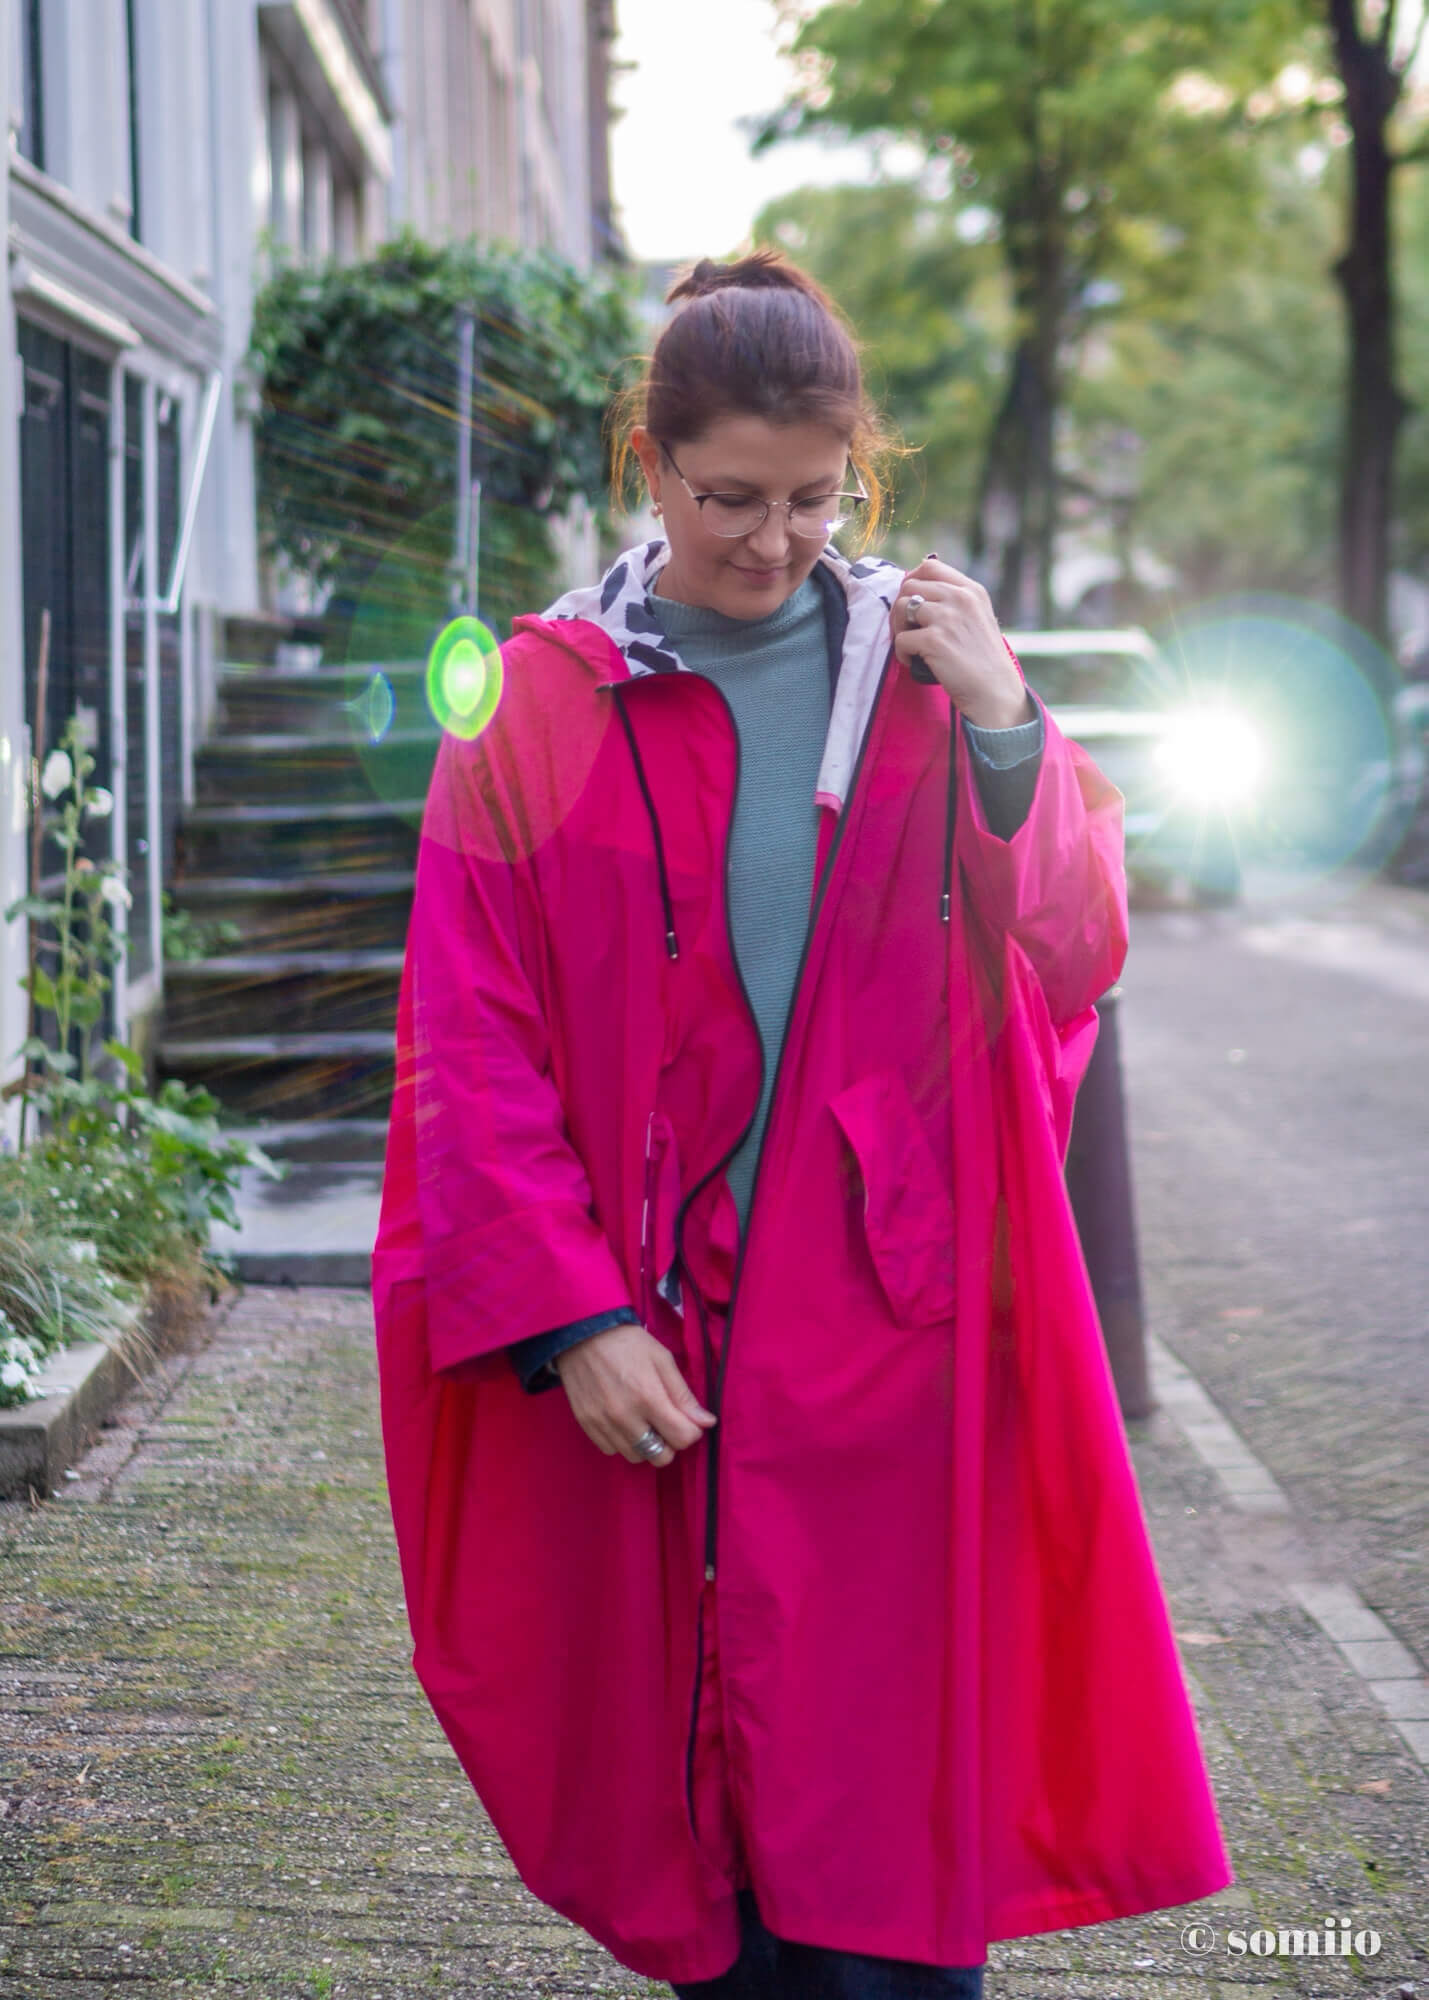
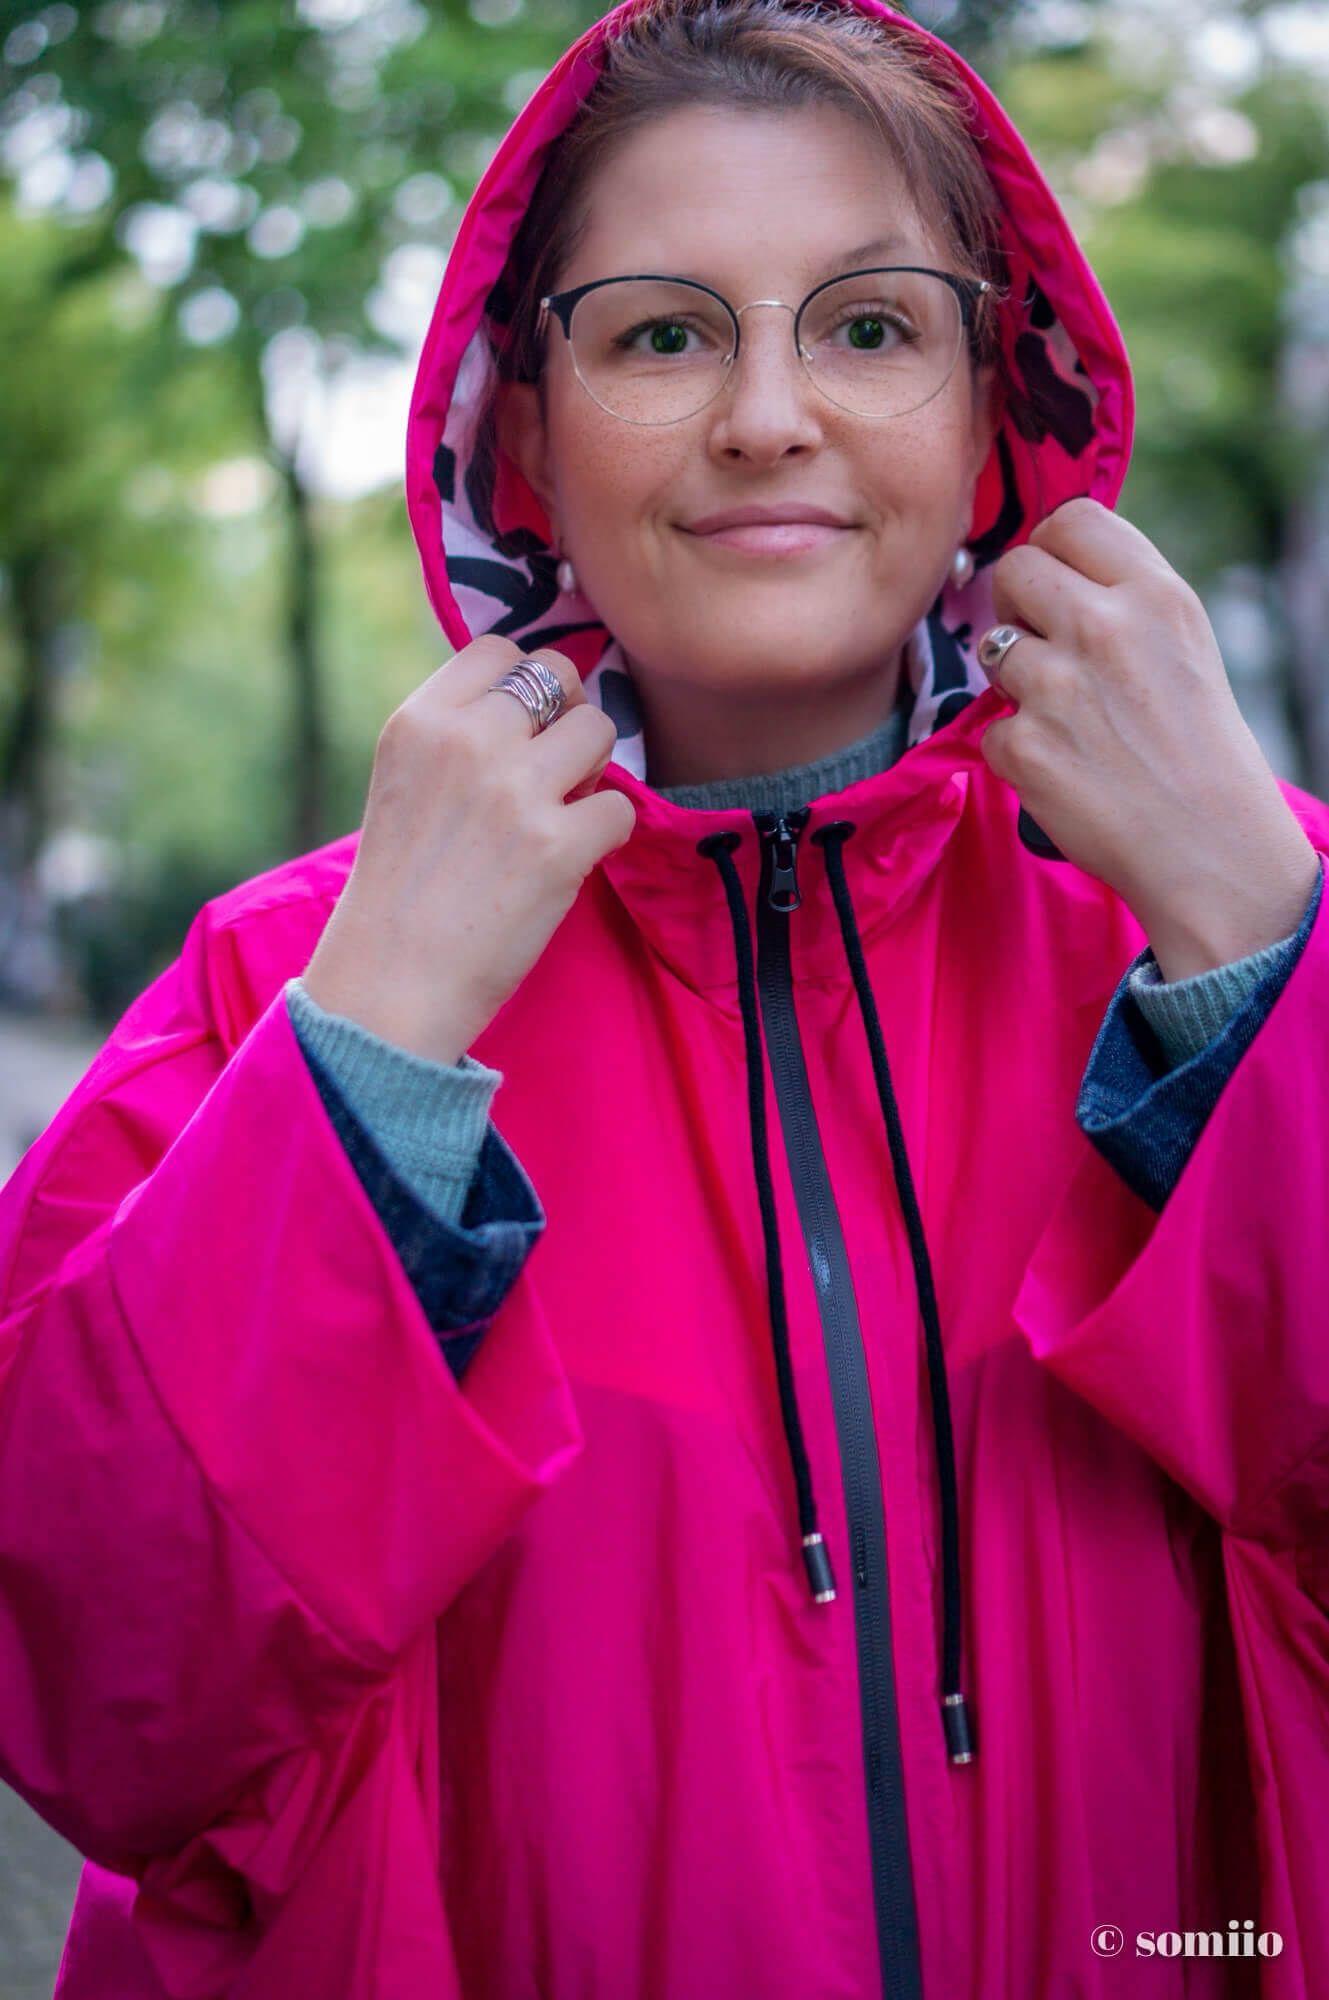
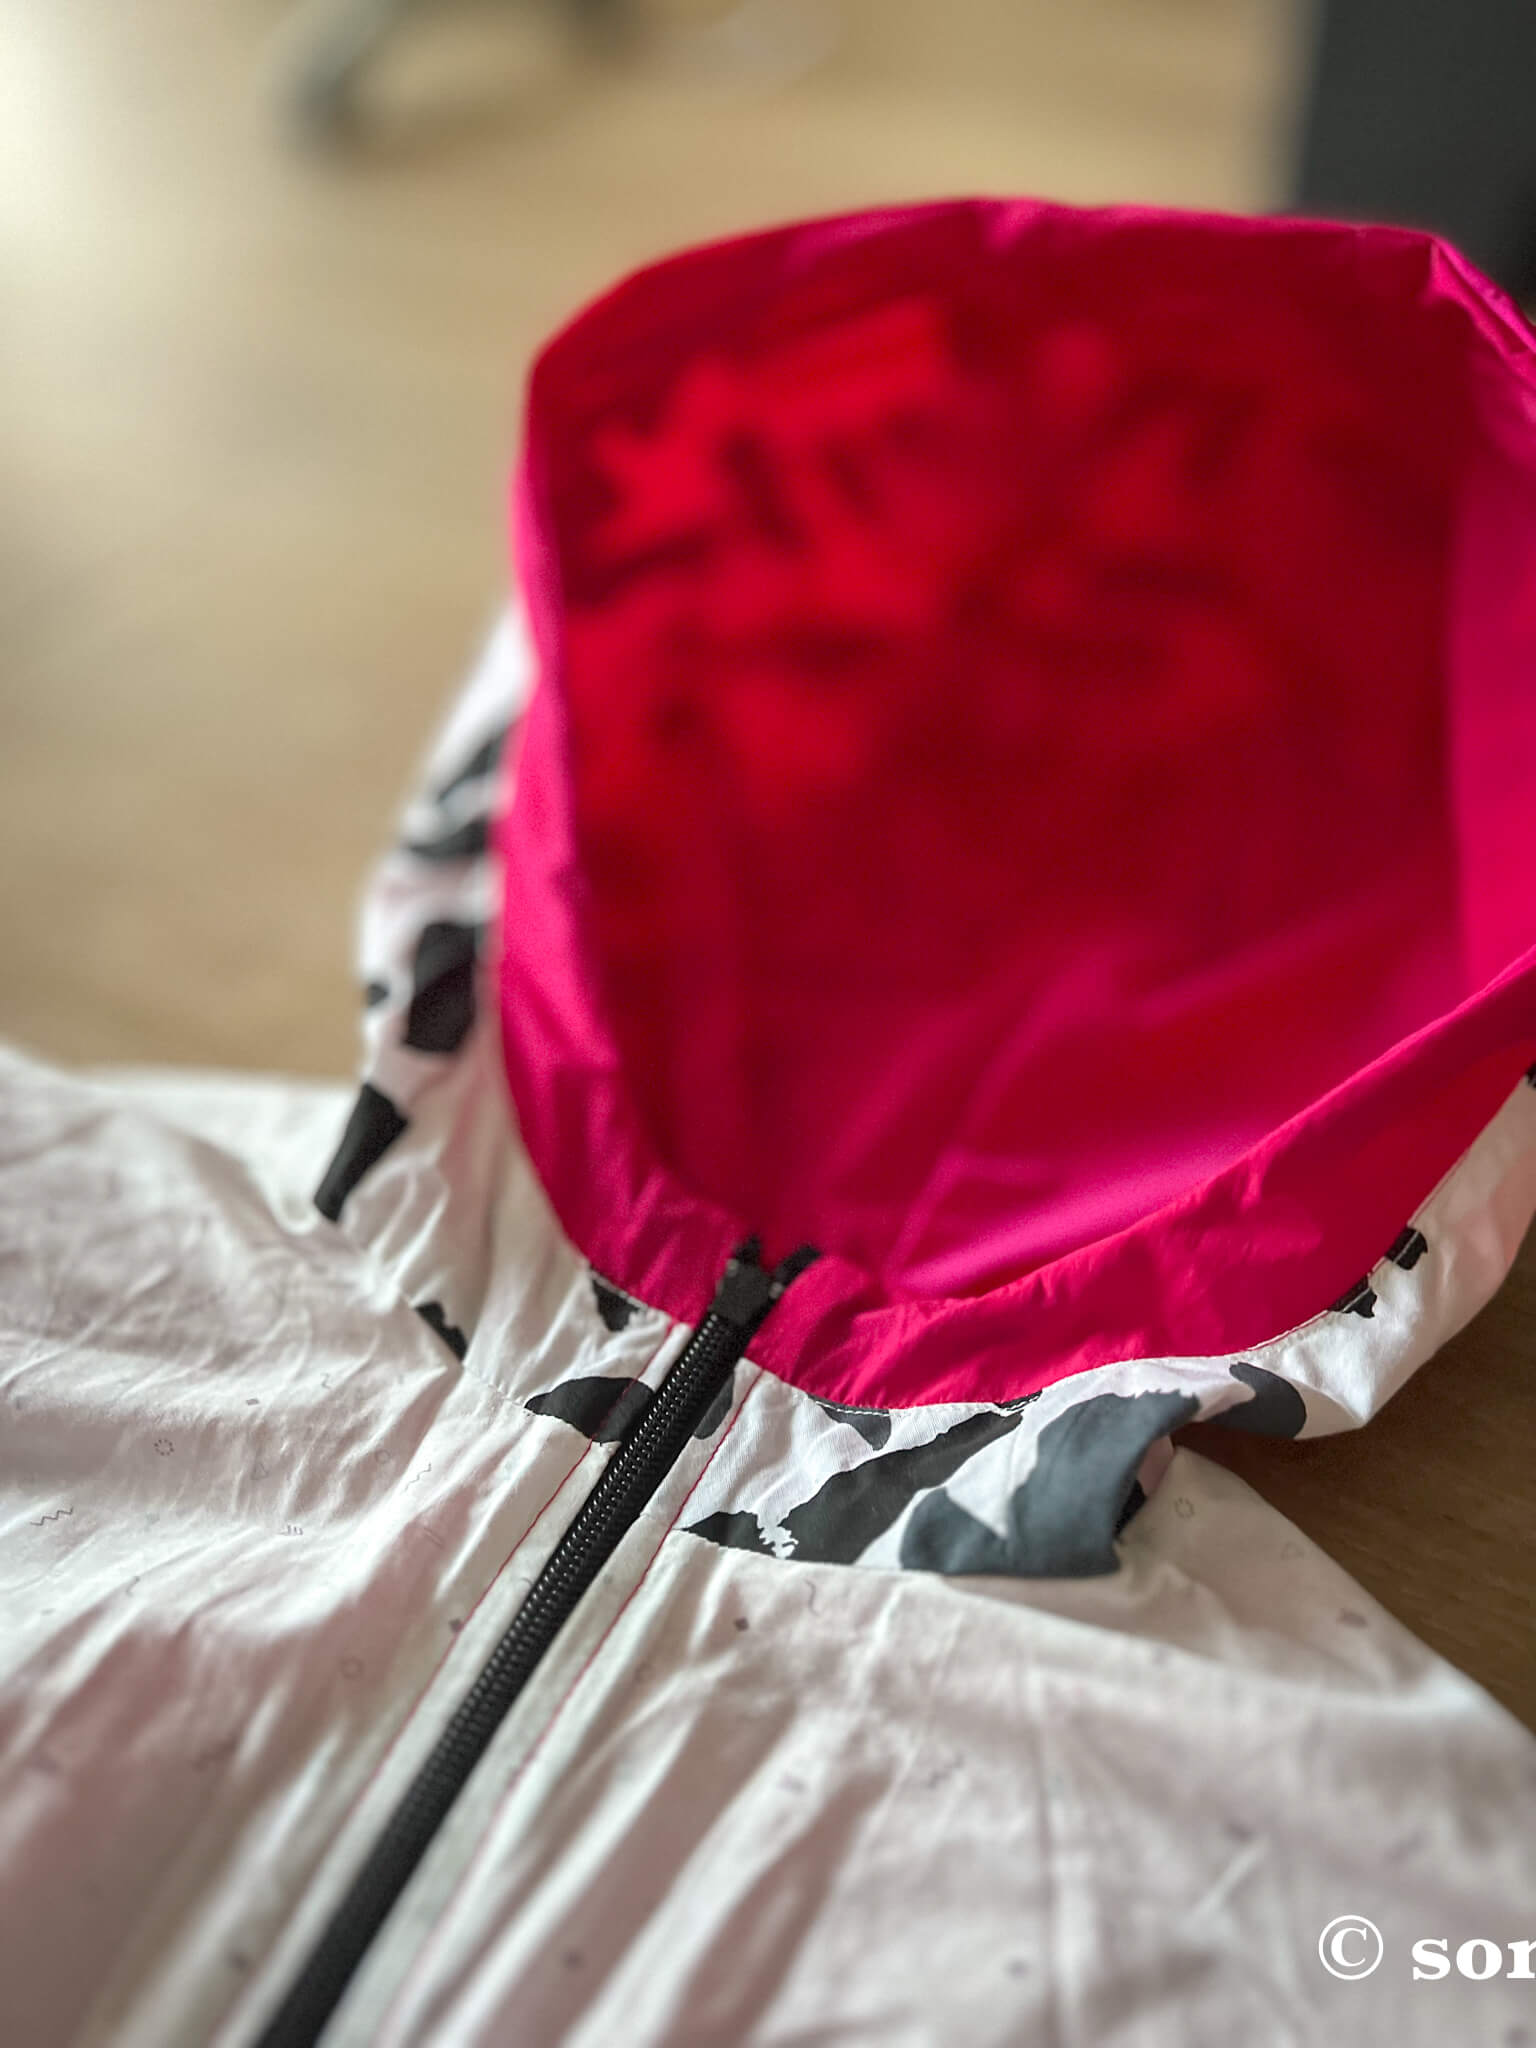
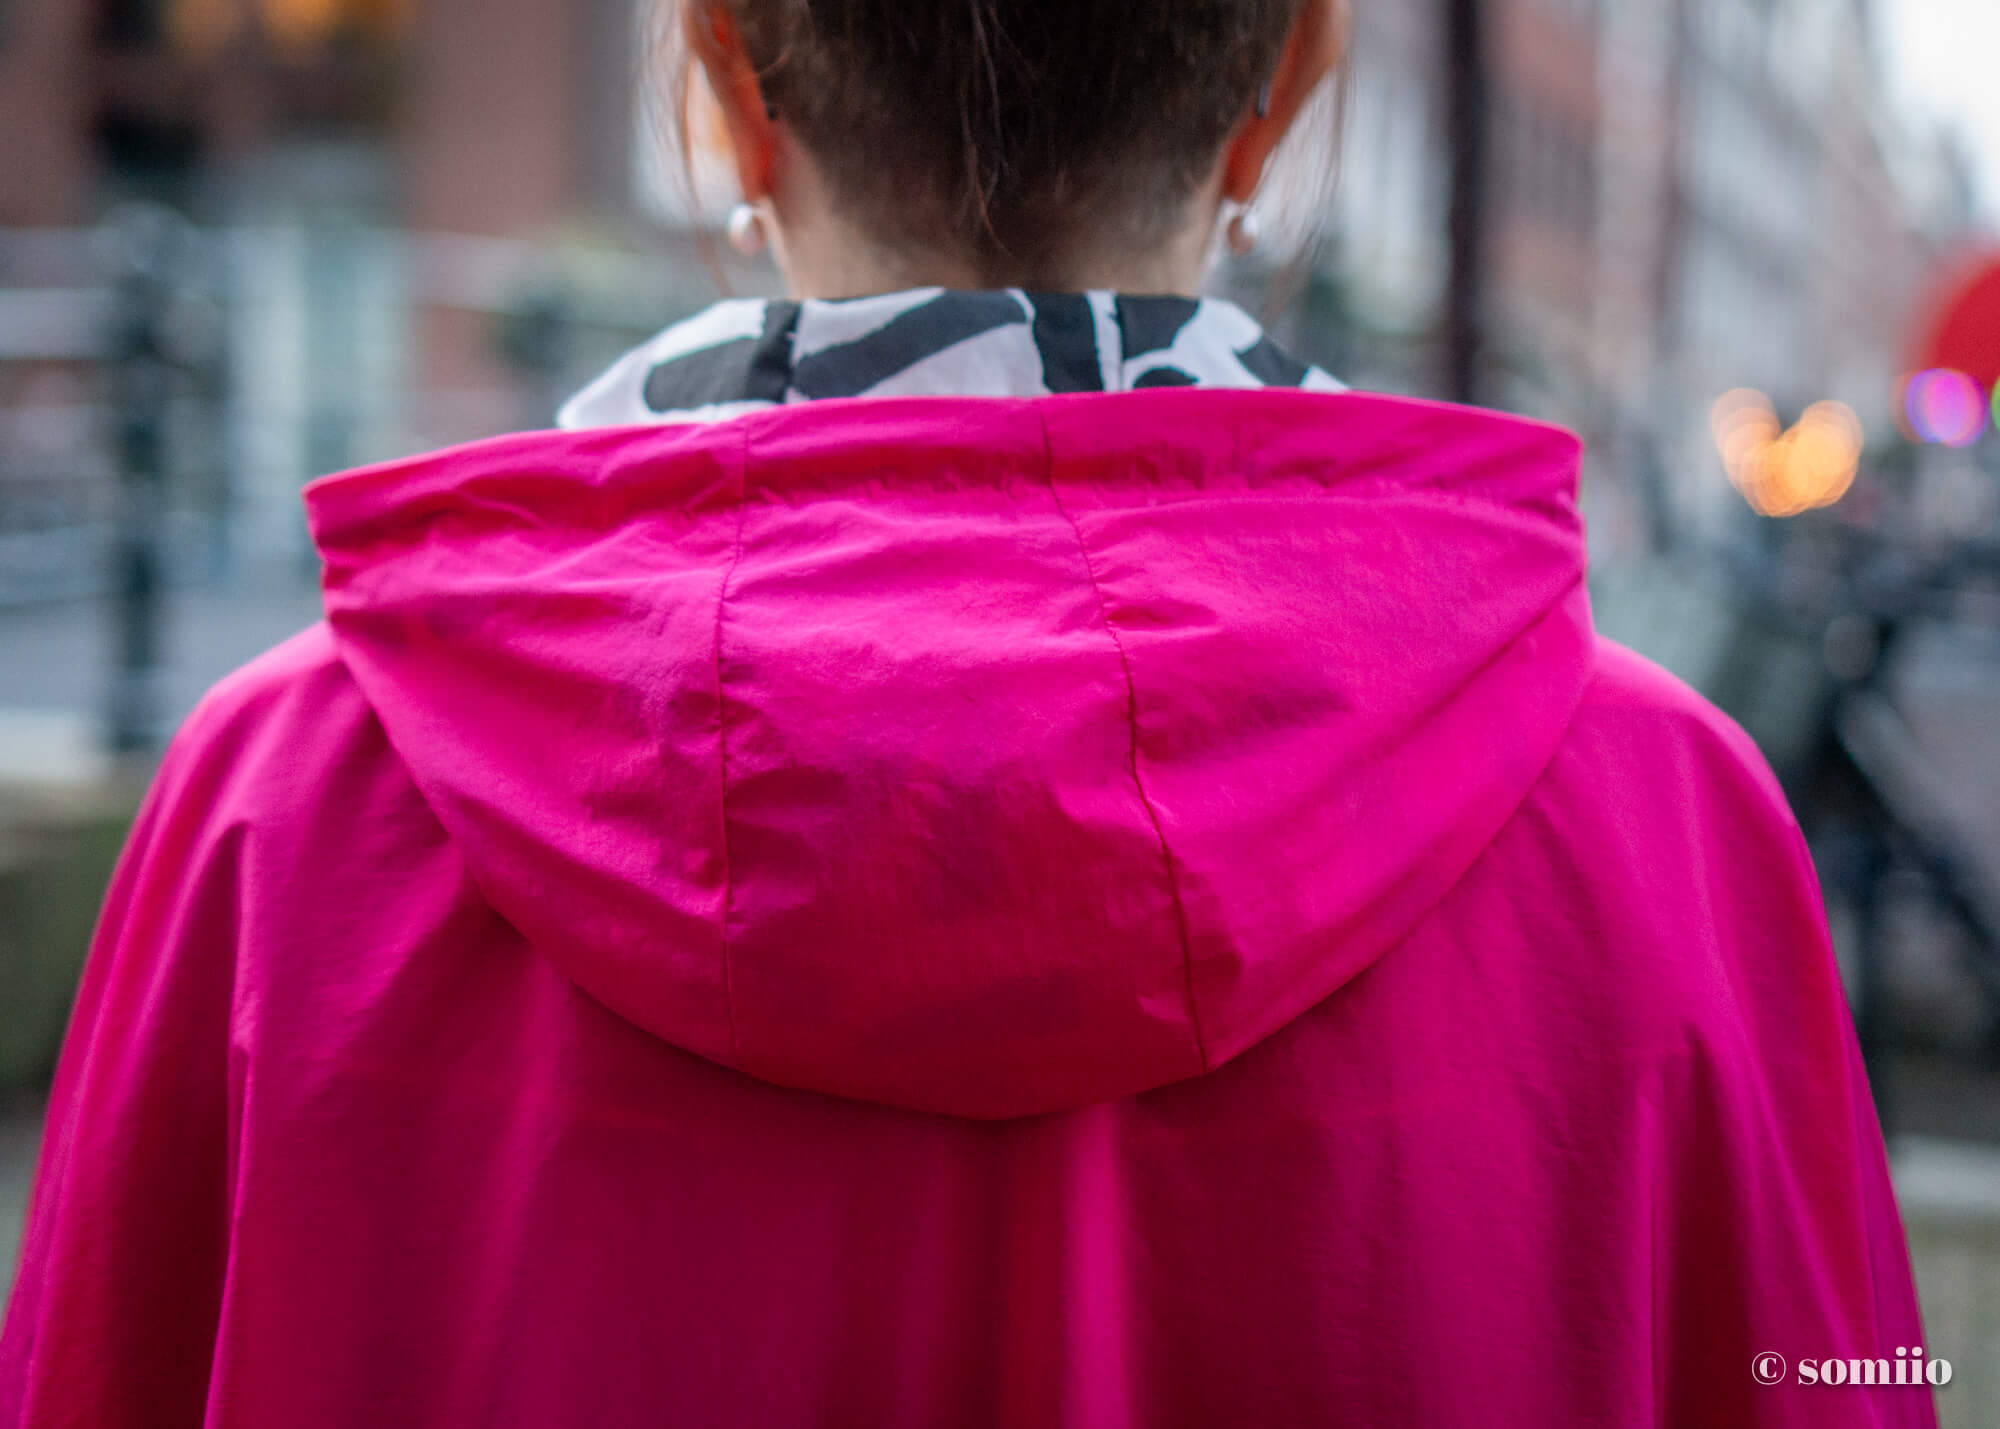
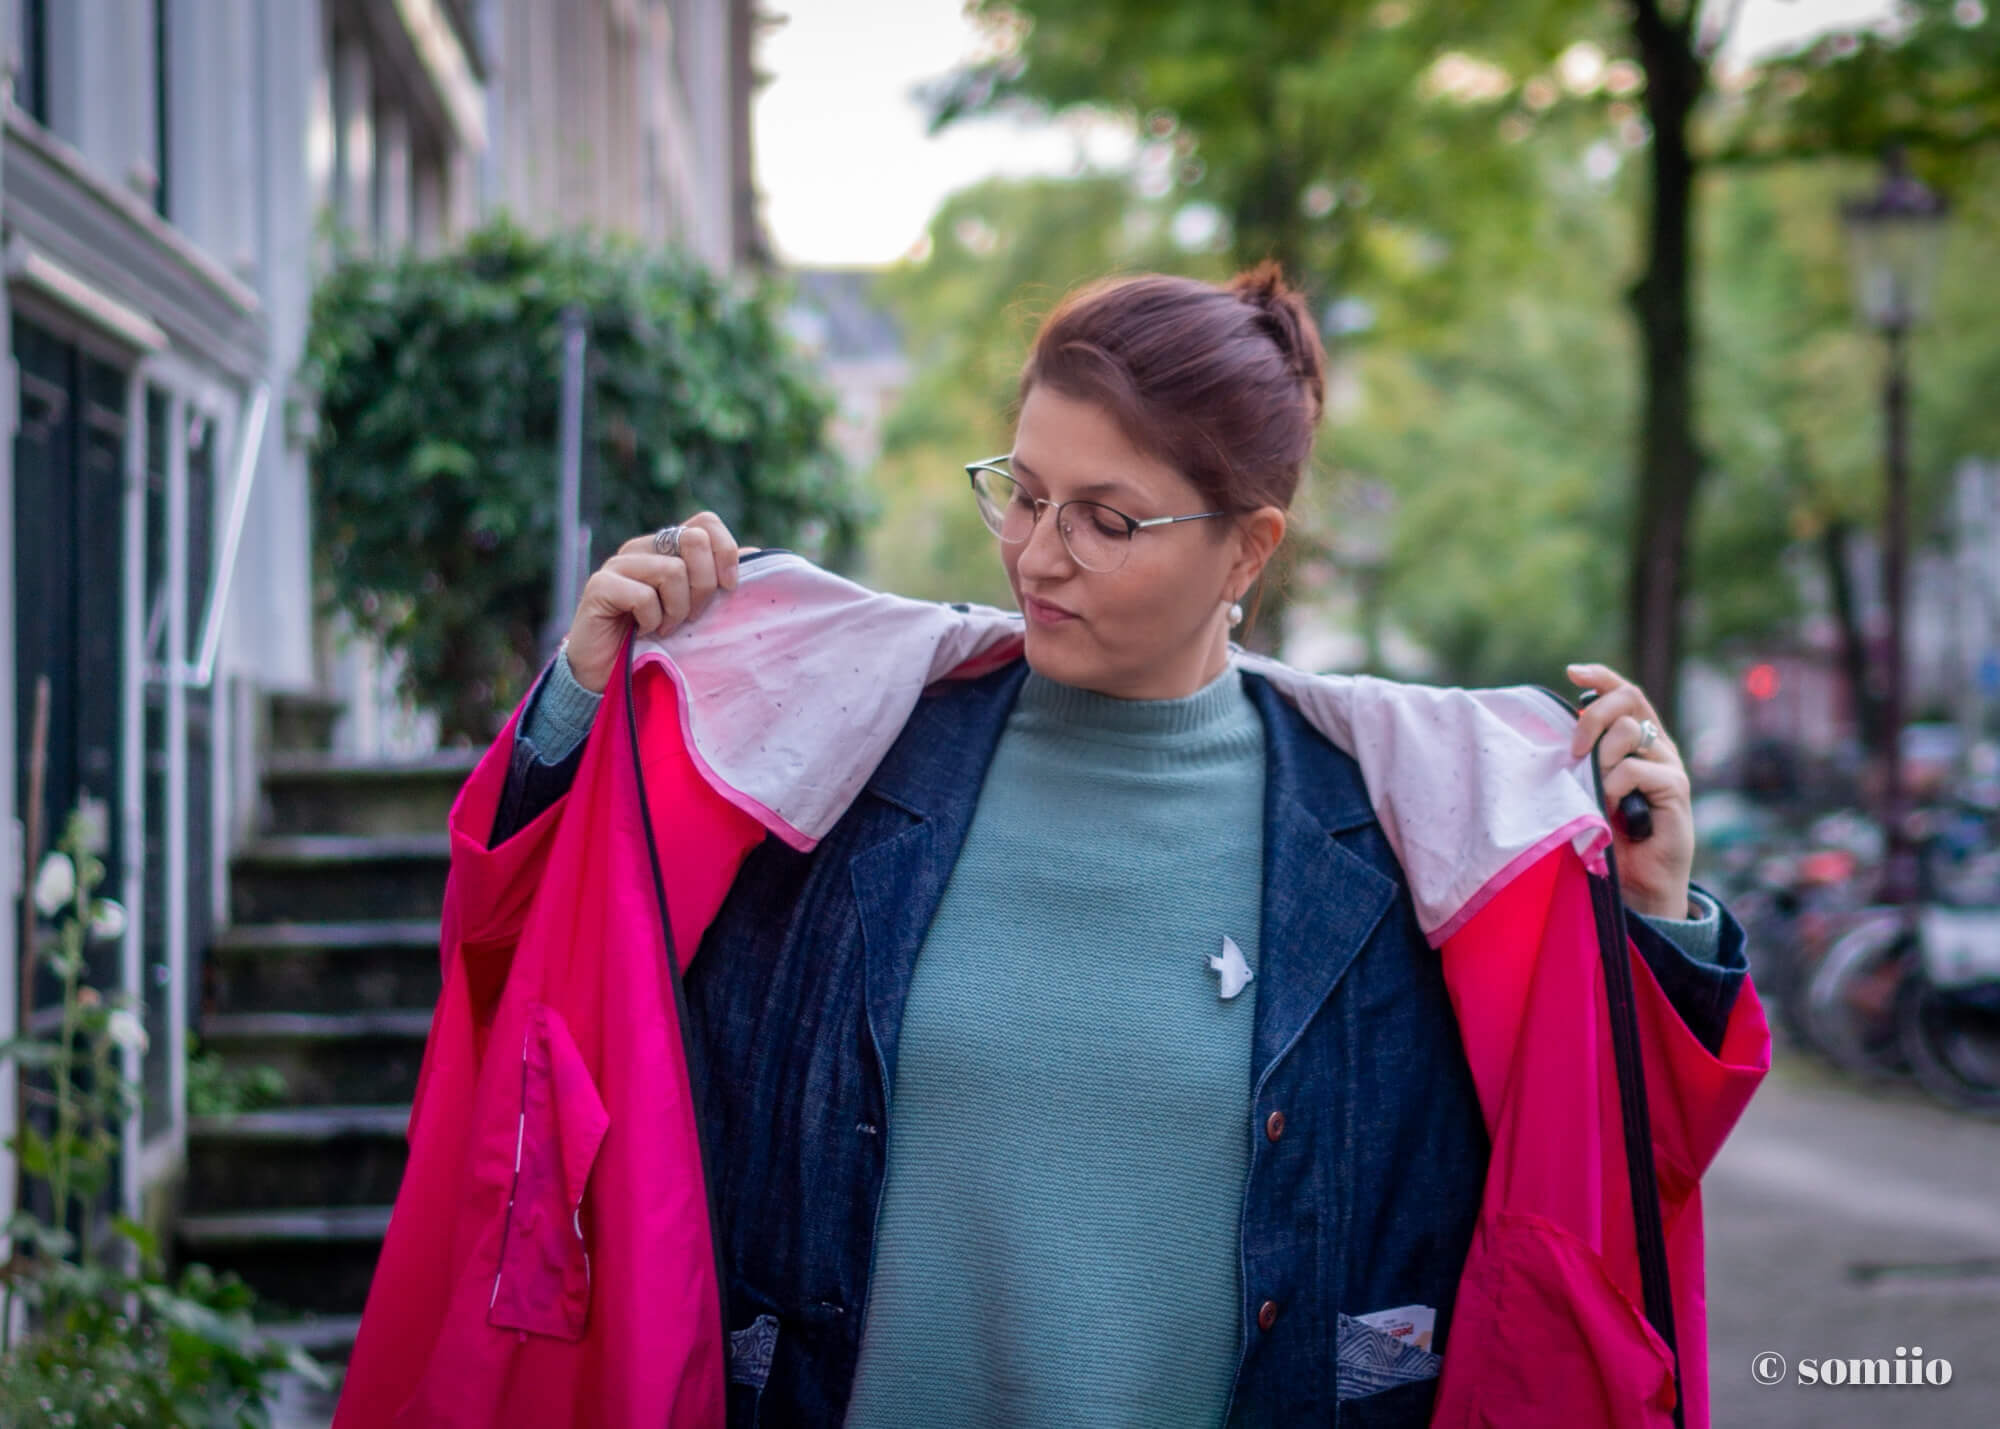
Next, I lined the hood, creating pattern pieces to complete the intended facing.
And when I see how visible the inside of the hood is, I’m glad I did.
Bonus: it’s much more comfortable to wear too.

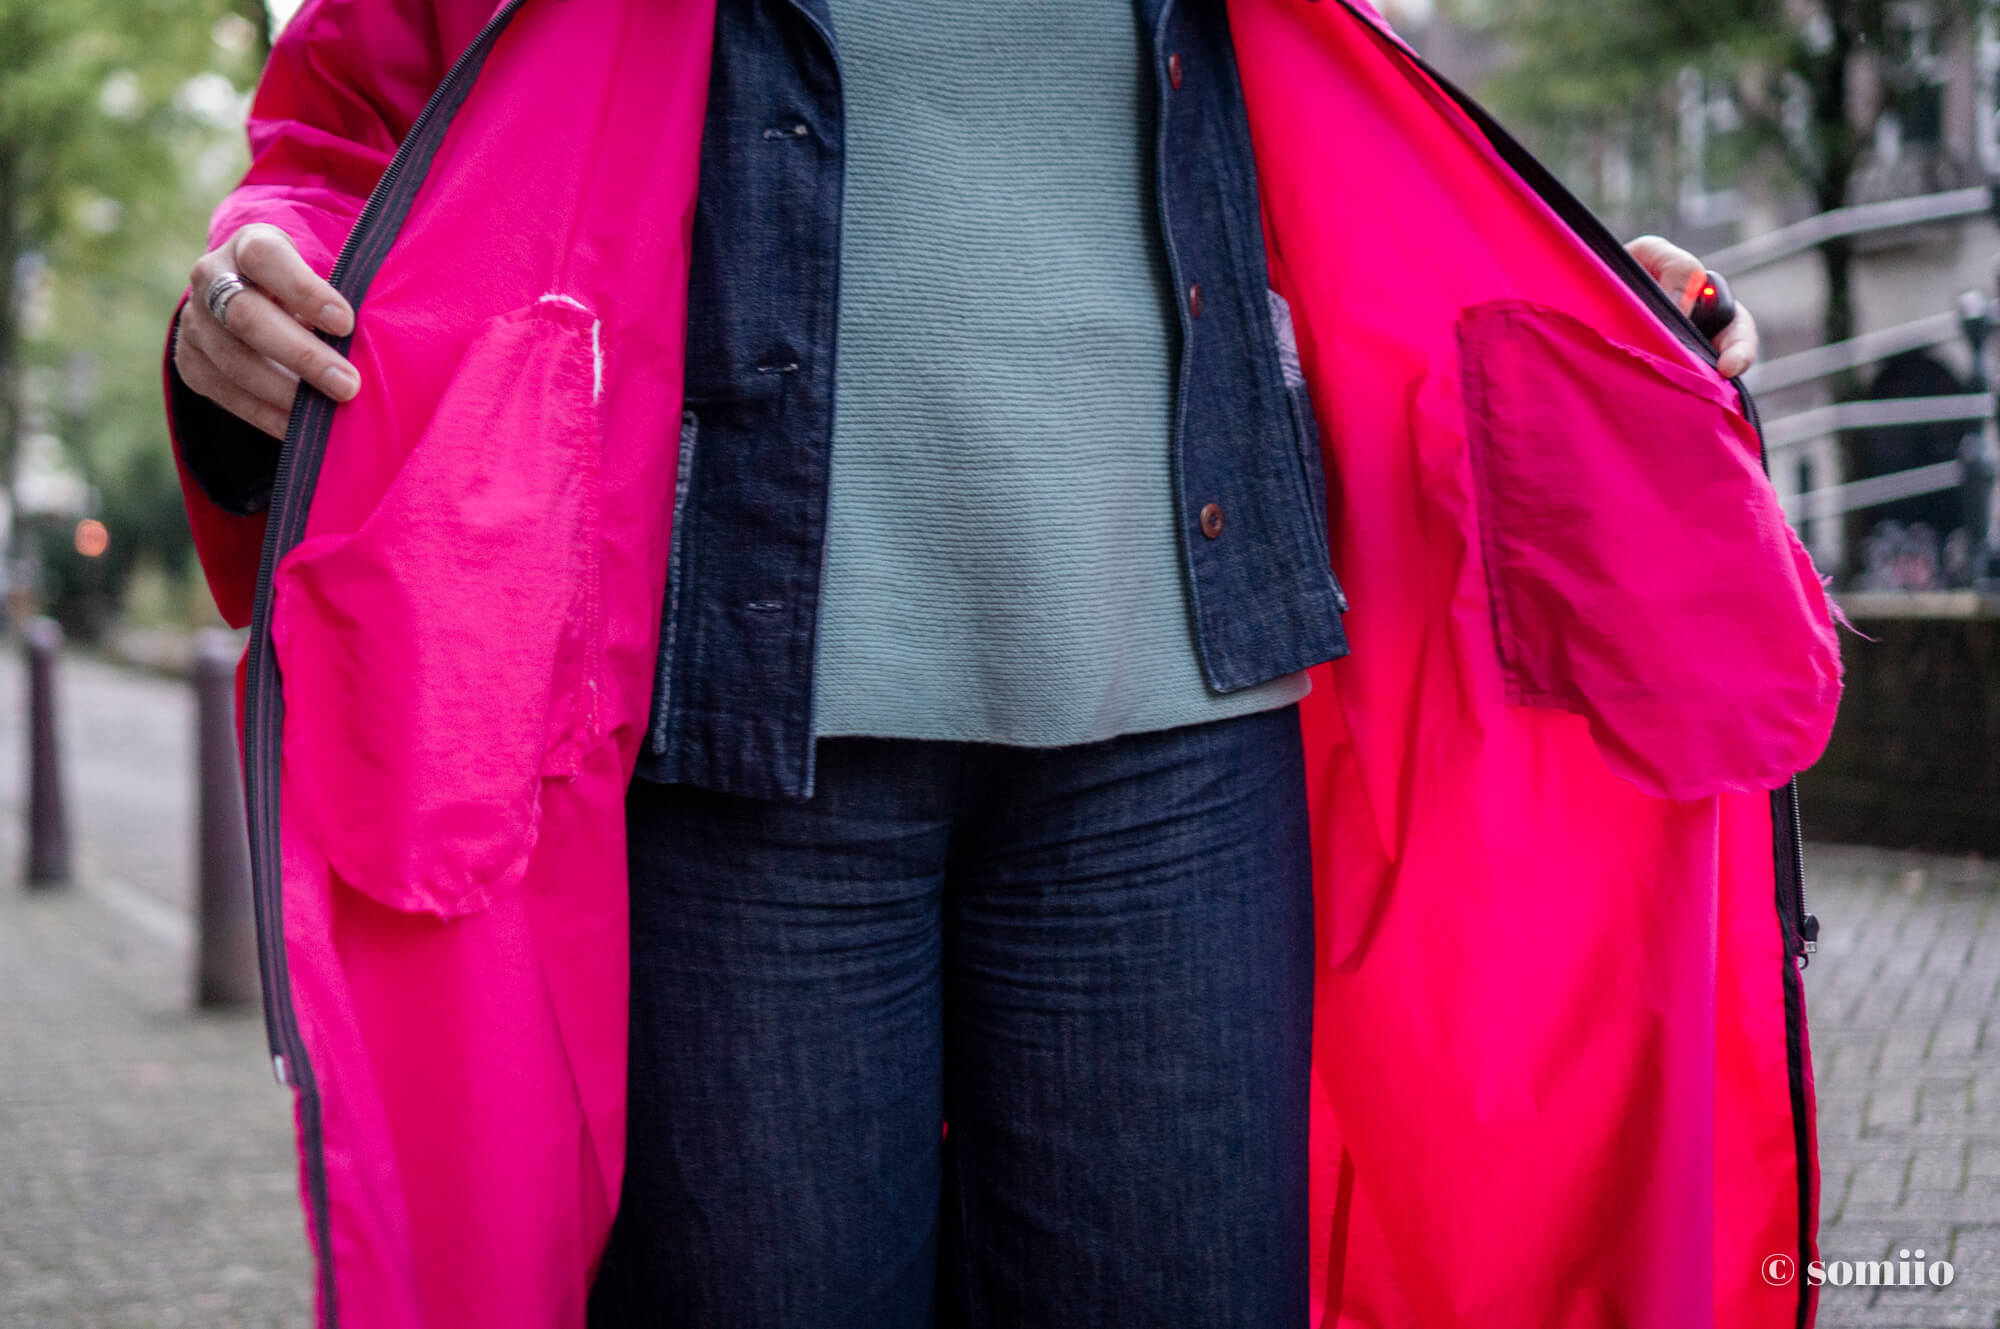
Third modification: the pockets, of course. I replaced them with zippered pockets with flaps.
The zipper secures the things I might put in these pockets. The flaps are there so that you don’t see if I mess up the sewing.
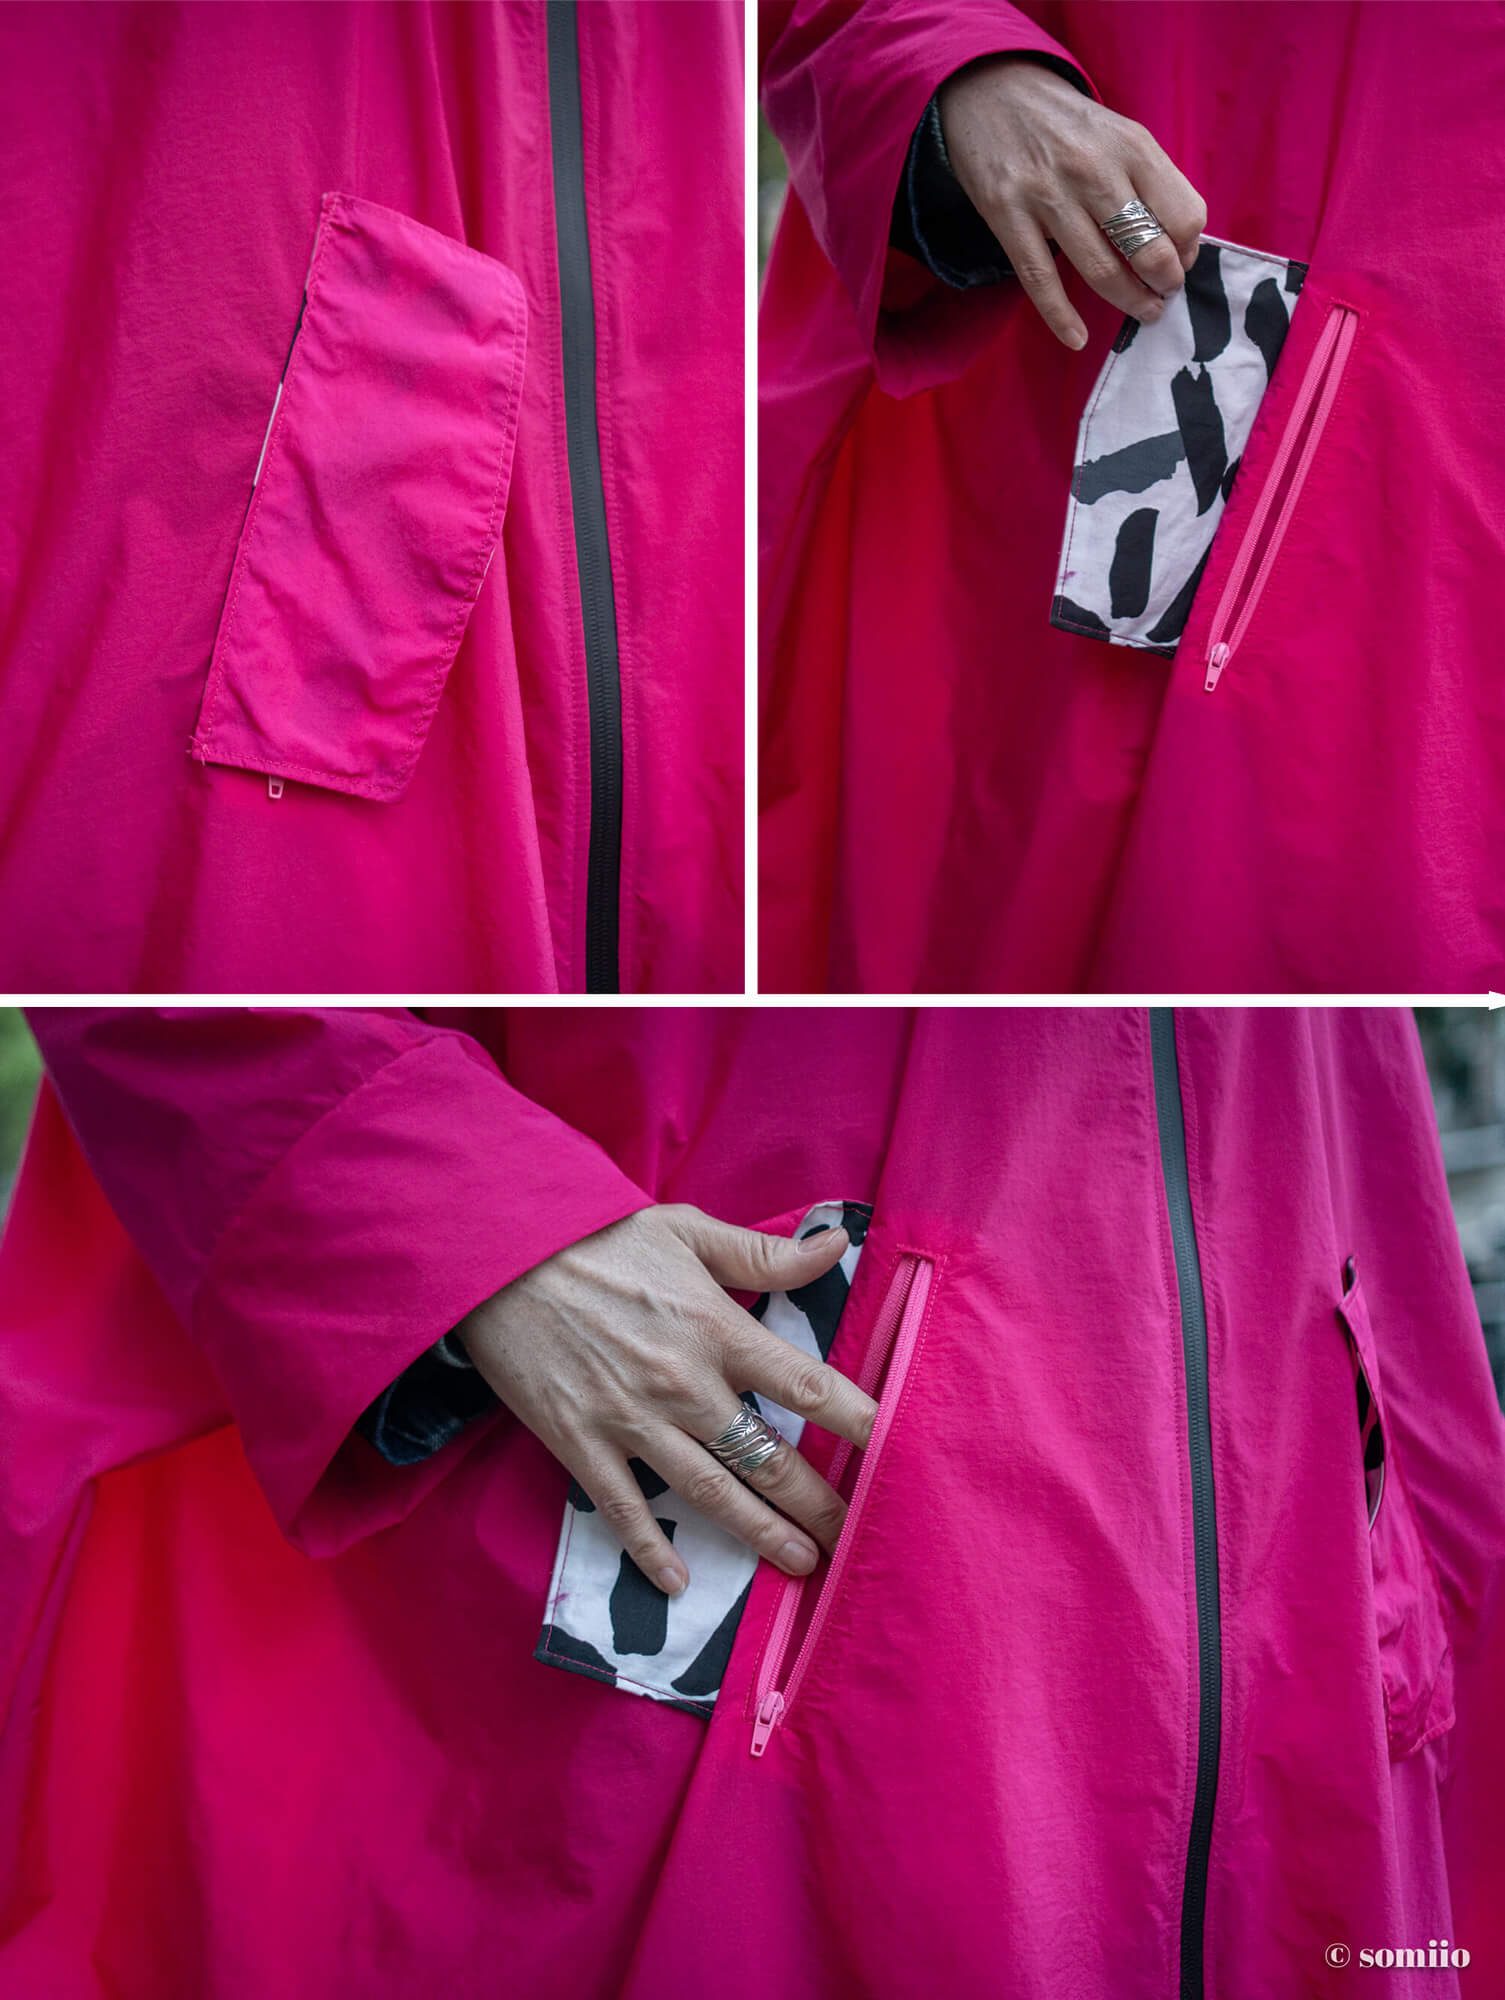
In the end, after struggling quite a bit with the topstitching (seriously, I hand-stitched the beginning and end stitches), I managed to make something not too ugly from the outside.
But I can tell you I tested all sorts of needles: universal 70, universal 80, microtex, silk special, etc. Depending on the number of layers, the stitches either formed or not. It was a nightmare.
On the wearing front, I find the pockets are too close to the center for my liking. When you put your hands in them, they sit on your belly like a kangaroo… a bit strange.
They are even close to sticking out.
To keep them in place, I did a little emergency stitching.
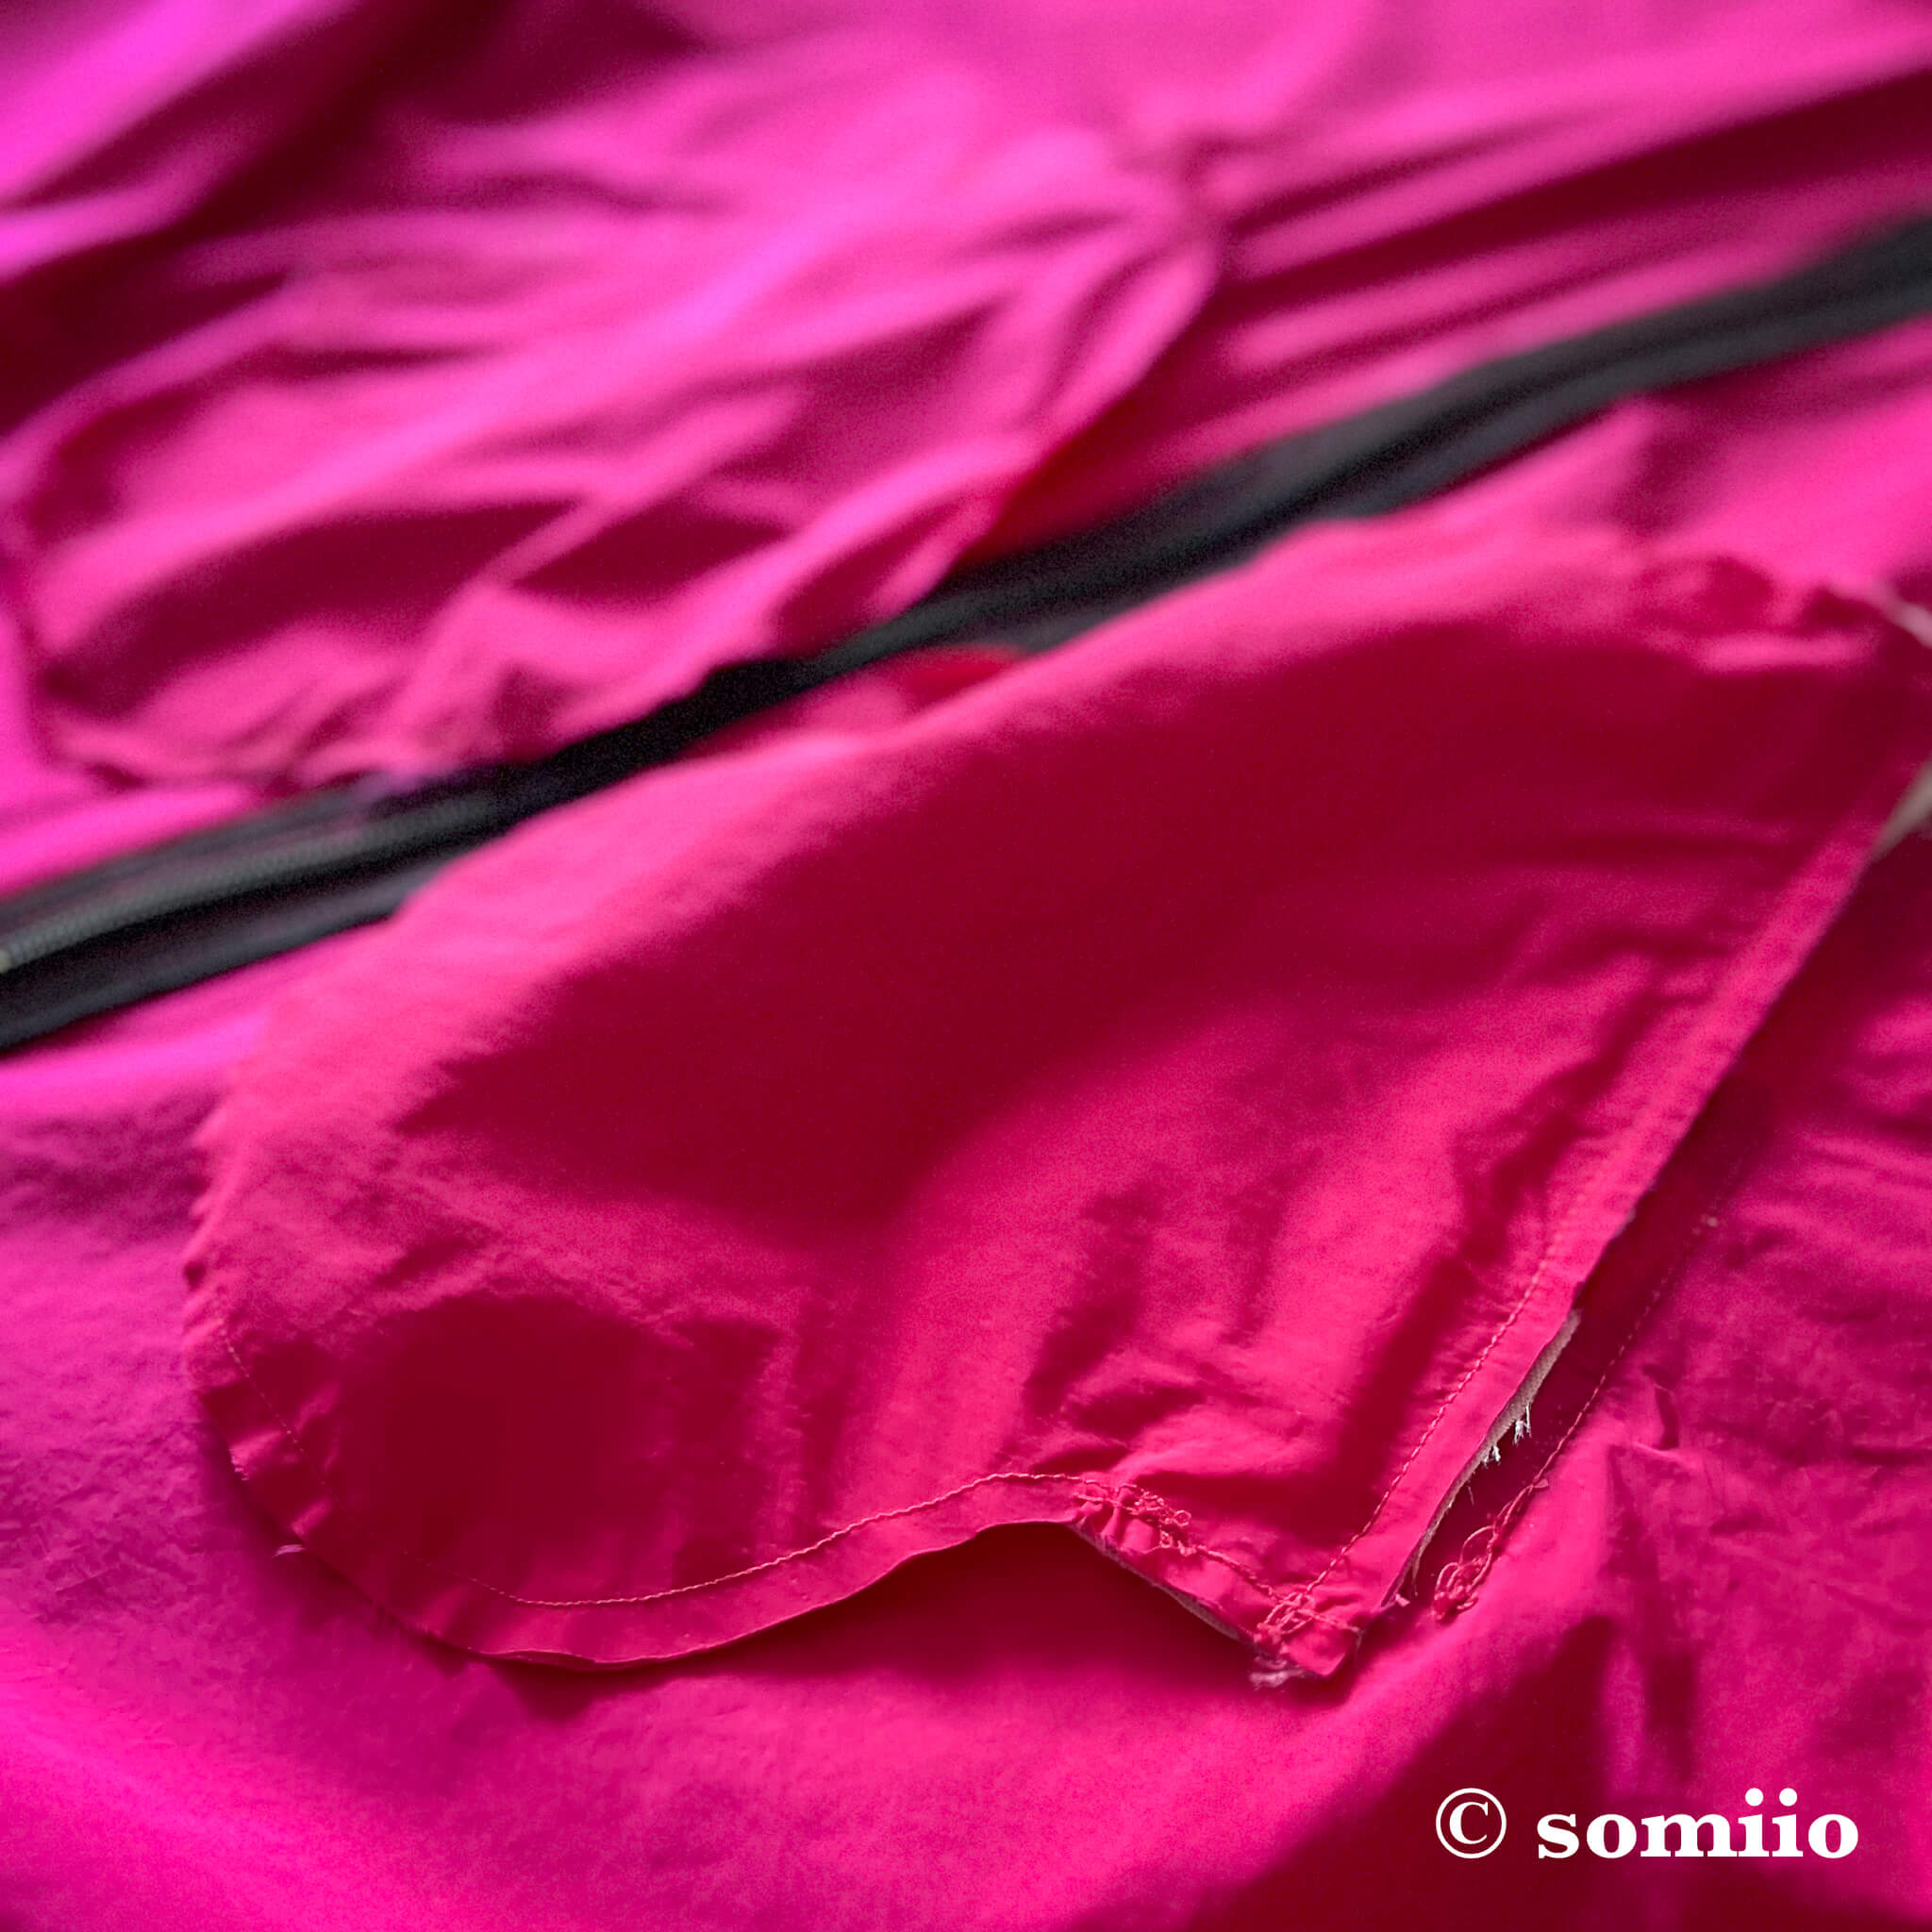
Due to a lack of time, I didn’t finish the pockets.
I think I need to find the courage to work on them a bit:
- Trim them so they protrude less.
- Finish the raw edges with bias tape.
- Attach a snap on the flaps to keep them in place.
Inserting the zipper also gave me some cold sweats. It was the disastrous first attempt, in particular, that made me put the project aside.
When I came back to it, I unpicked everything and started over my way.
At the top, the zipper was sandwiched between the outer fabric and the hood lining and the facing.
Then I finished the zipper edge and the bottom of waterproof cape 109 from Burda 11/22 with bias tape before making topstitching on each side.
Yes, more topstitching… although with bias tape underneath, it went slightly better.
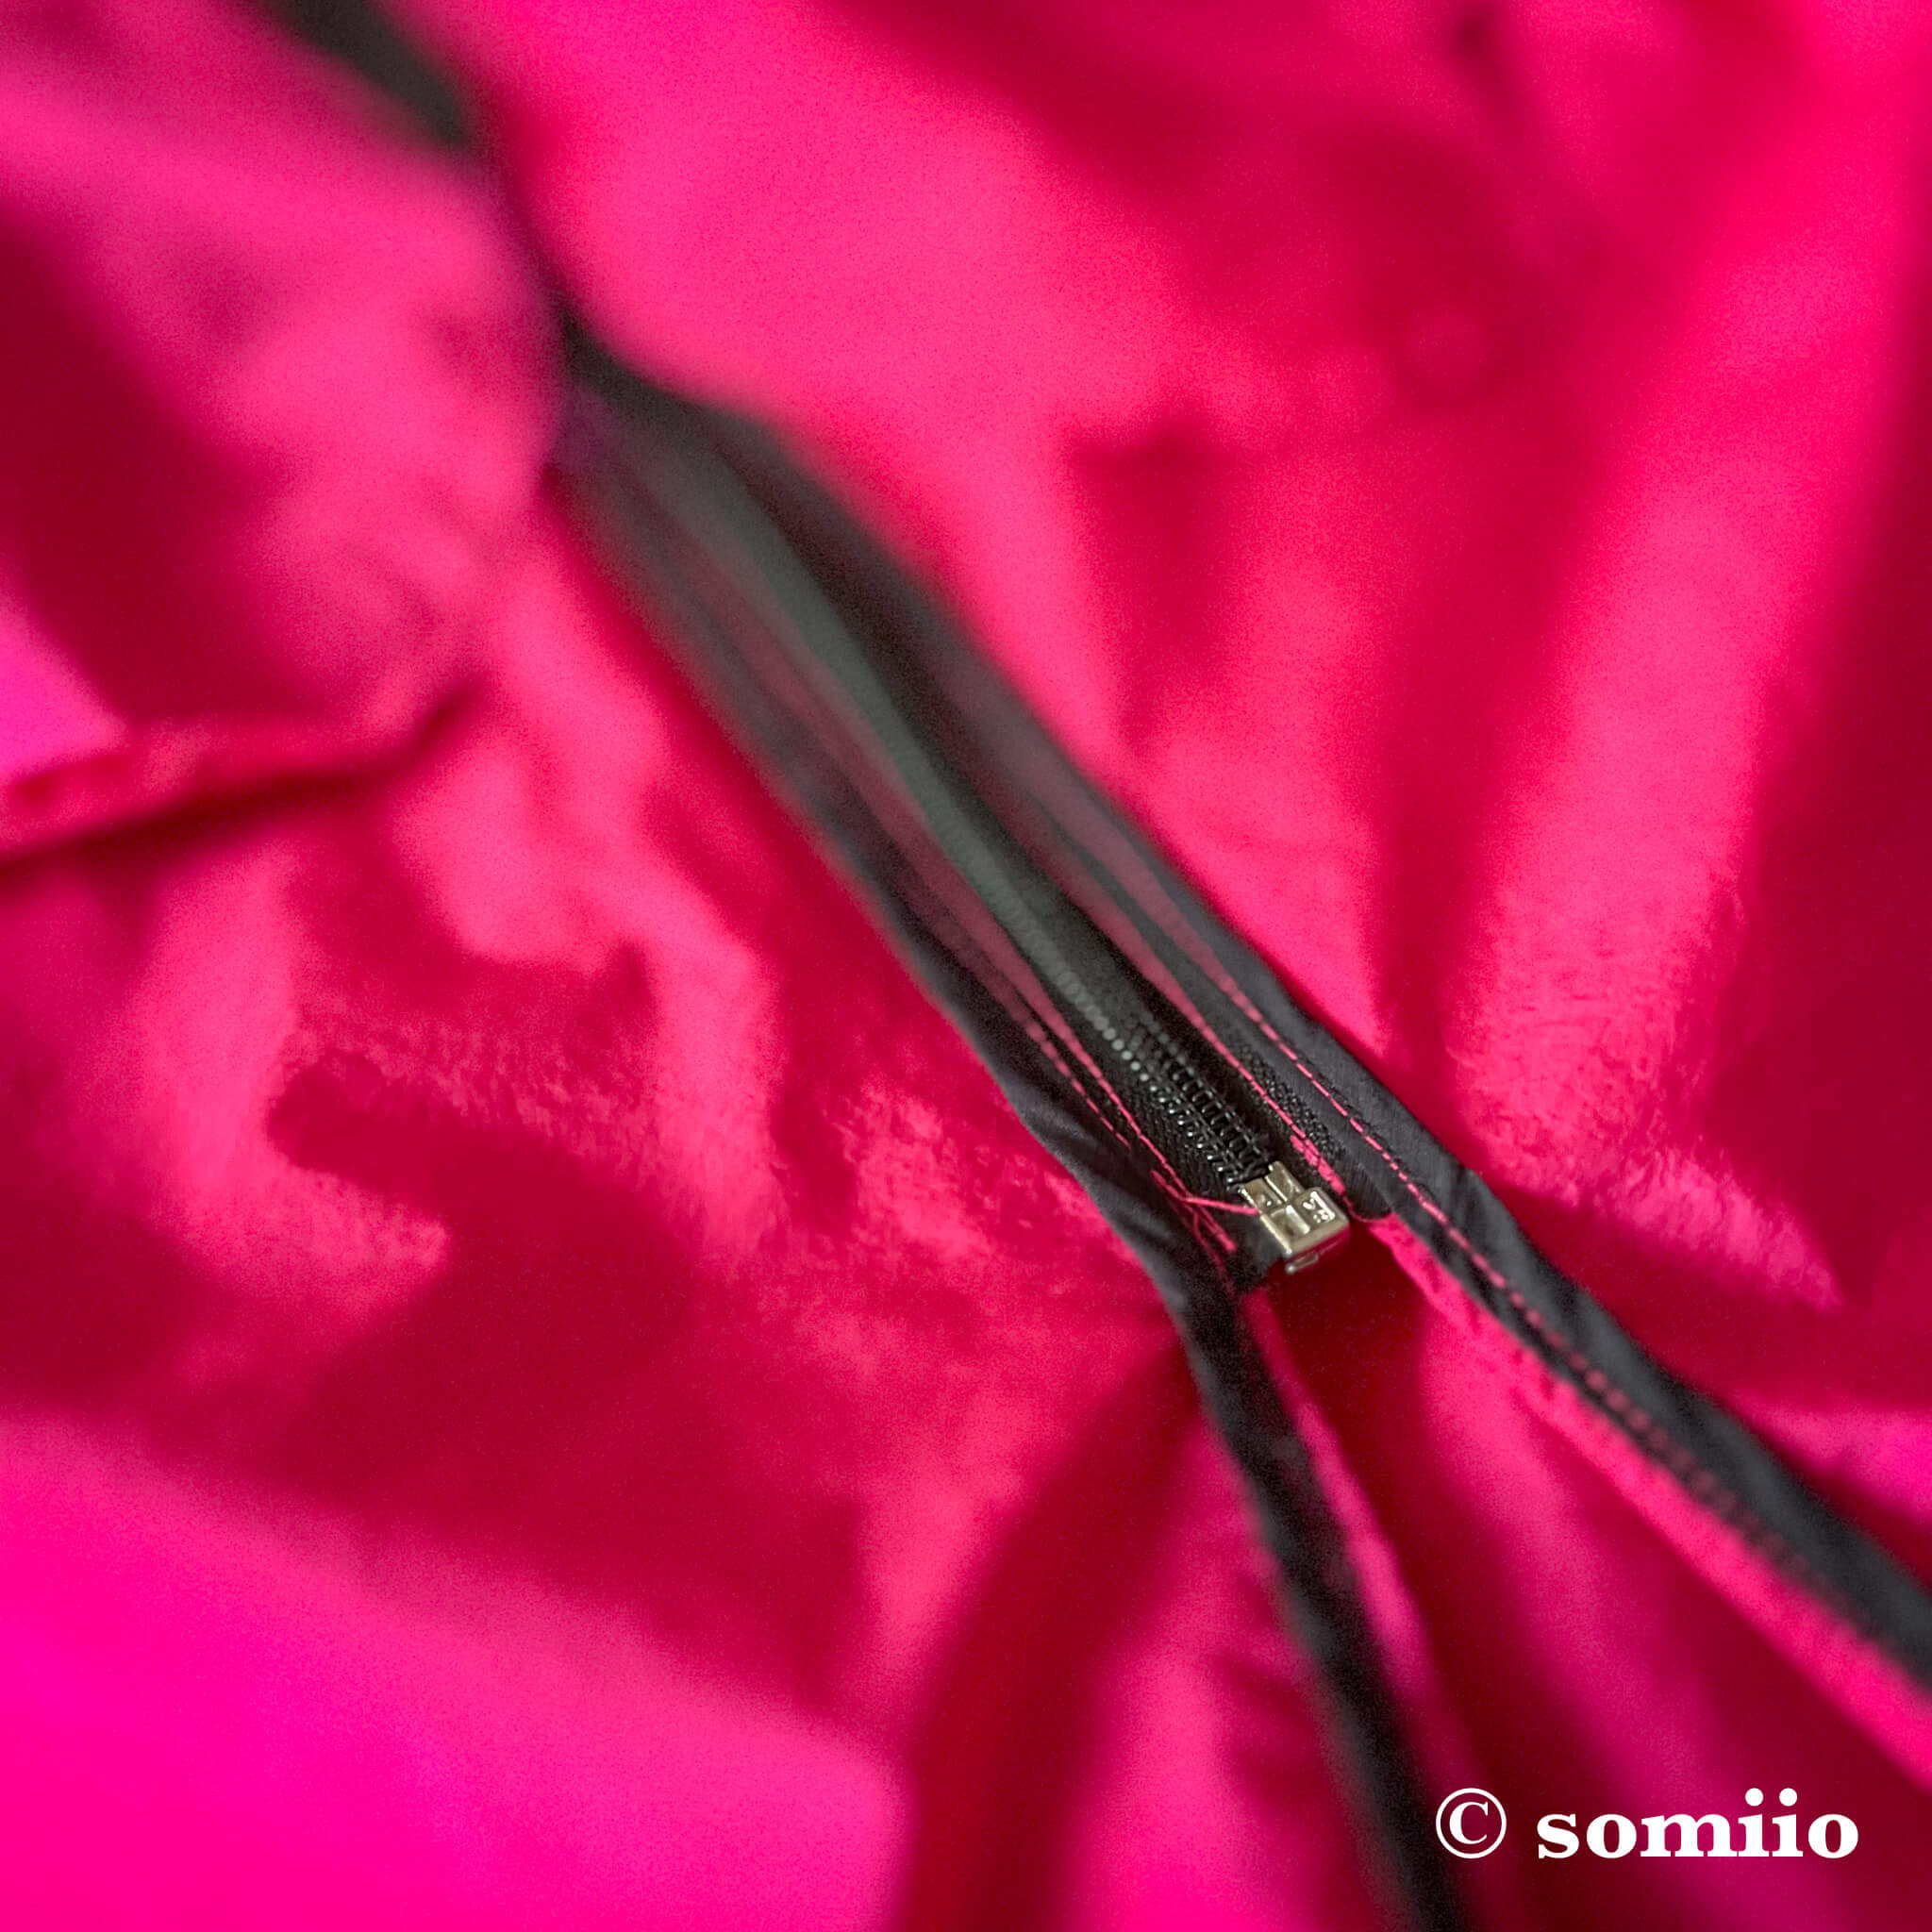
And the bias tape also allowed me to finish the top of the zipper cleanly and comfortably (which the instructions suggested I should cut… instruction that wins the award for the Dumbest Sewing Instruction of 2023).
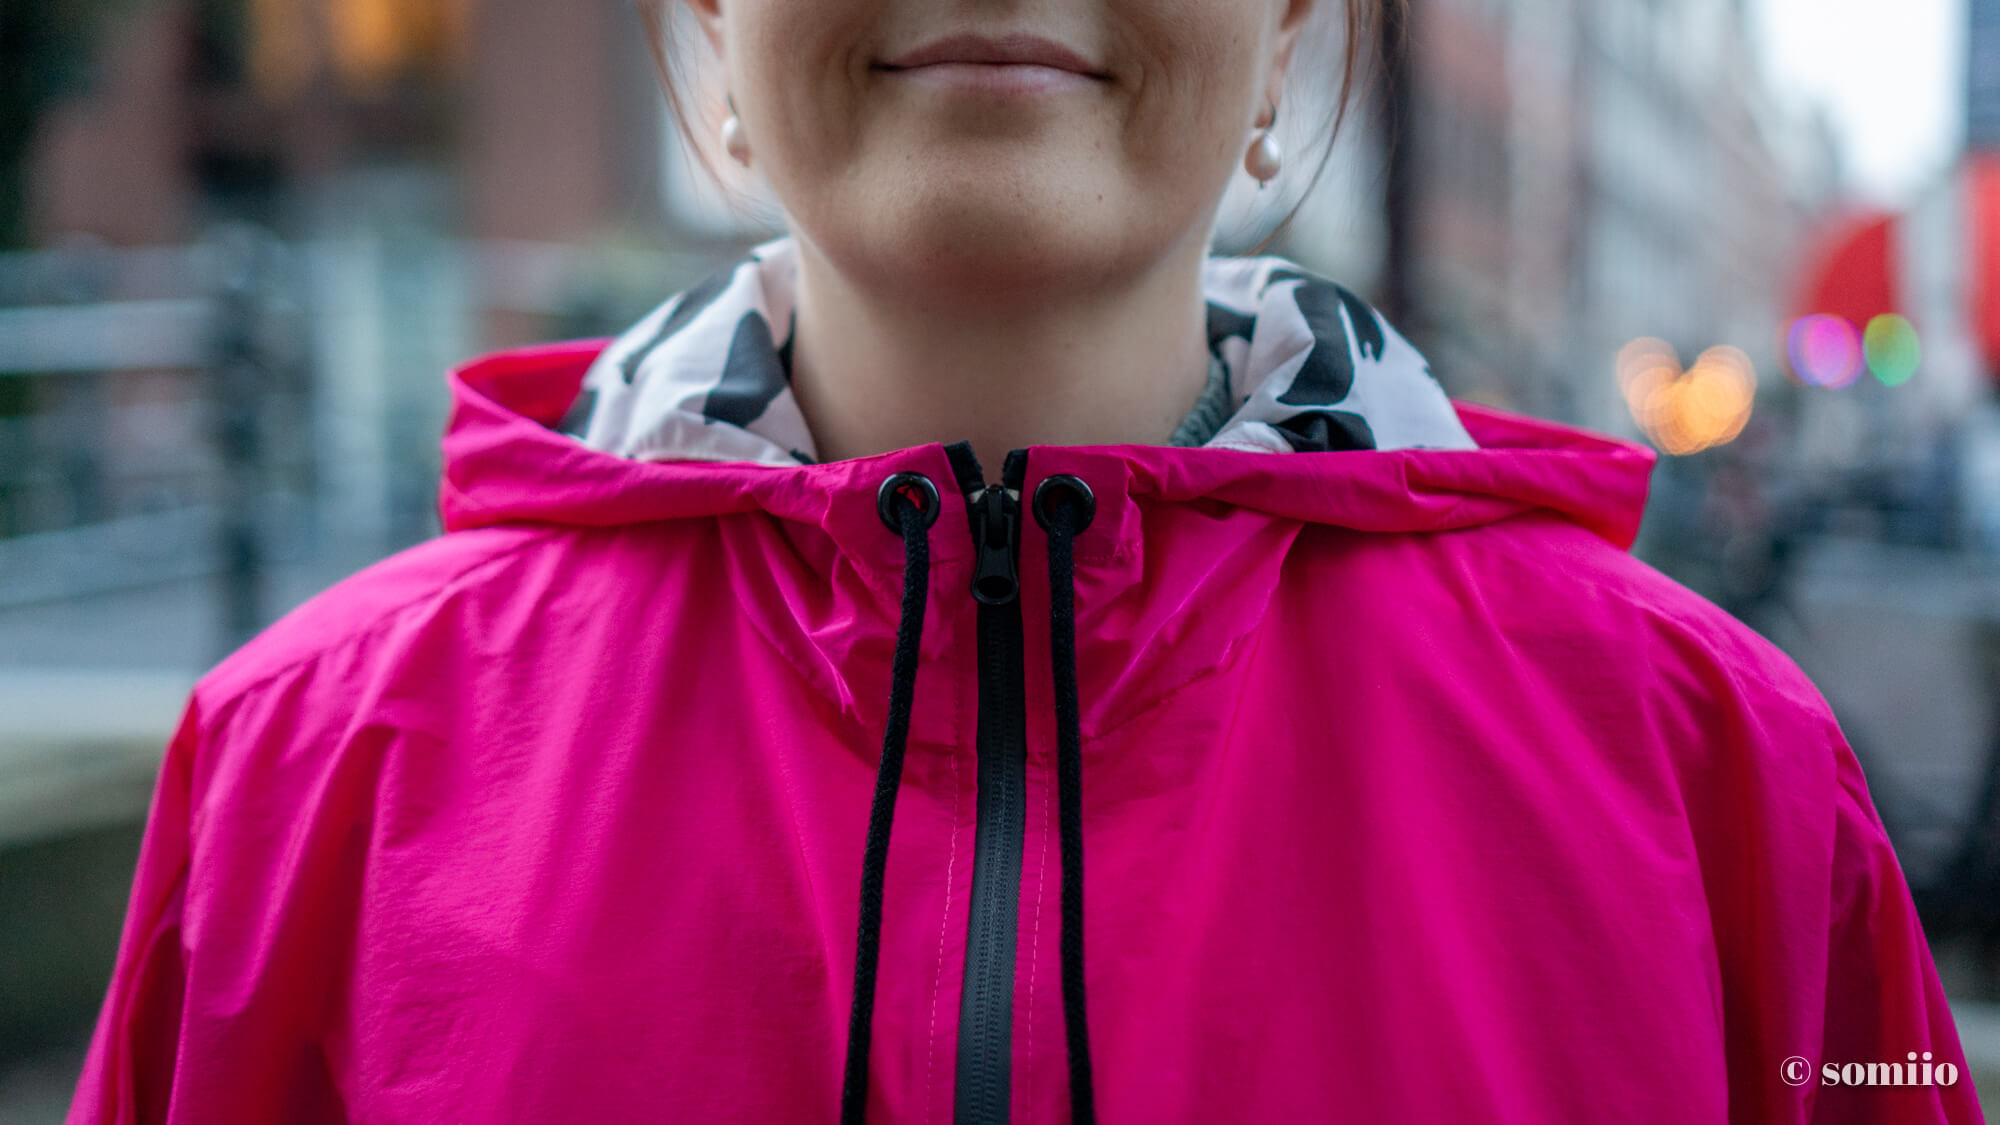
Otherwise, I was quite worried about inserting the eyelets into this fabric. Of course, there was no suggestion from Burda about this.
I tried some fusible interfacing, but it didn’t stay stuck for long.
Fortunately, I ordered cord with end caps from Snaply. The order included these Ironly eyelet reinforcements that hold really well on the first try. Normally, they are meant to be placed on the outside, but that wasn’t an option in this project.
So, the reinforcements are placed inside and do their job perfectly! Bravo Snaply (and thank you! No, I’m not getting paid or anything).
After consulting photos of the making of this Cape 109 from Burda 11/22 on Burda’s Russian website, I got the idea of this large facing to enclose the hood seam.
It worked well to enclose the zipper and seam. However, when worn, it tends to stick out in an annoying little bulge that annoys me greatly, even though I fixed it with a stitch on the shoulders to keep it from moving. #fail
I’ll have to figure out how to solve this problem… maybe with some darts to reduce the volume at the bottom?
Finally, my last annoyance came from the hem.
I succeeded in one… but the second one never wanted to go through. As soon as I tried to transition between the first centimeter (where the middle front hem created some thickness) and the rest of the hem, the stitches went haywire.
I eventually gave up… I had other sewing projects to do urgently before my departure.
Conclusion
NEVER AGAIN WILL I SEW WATERPROOF SYNTHETIC TAFFETA! Jeez.
Seriously, it was a pain from start to finish.
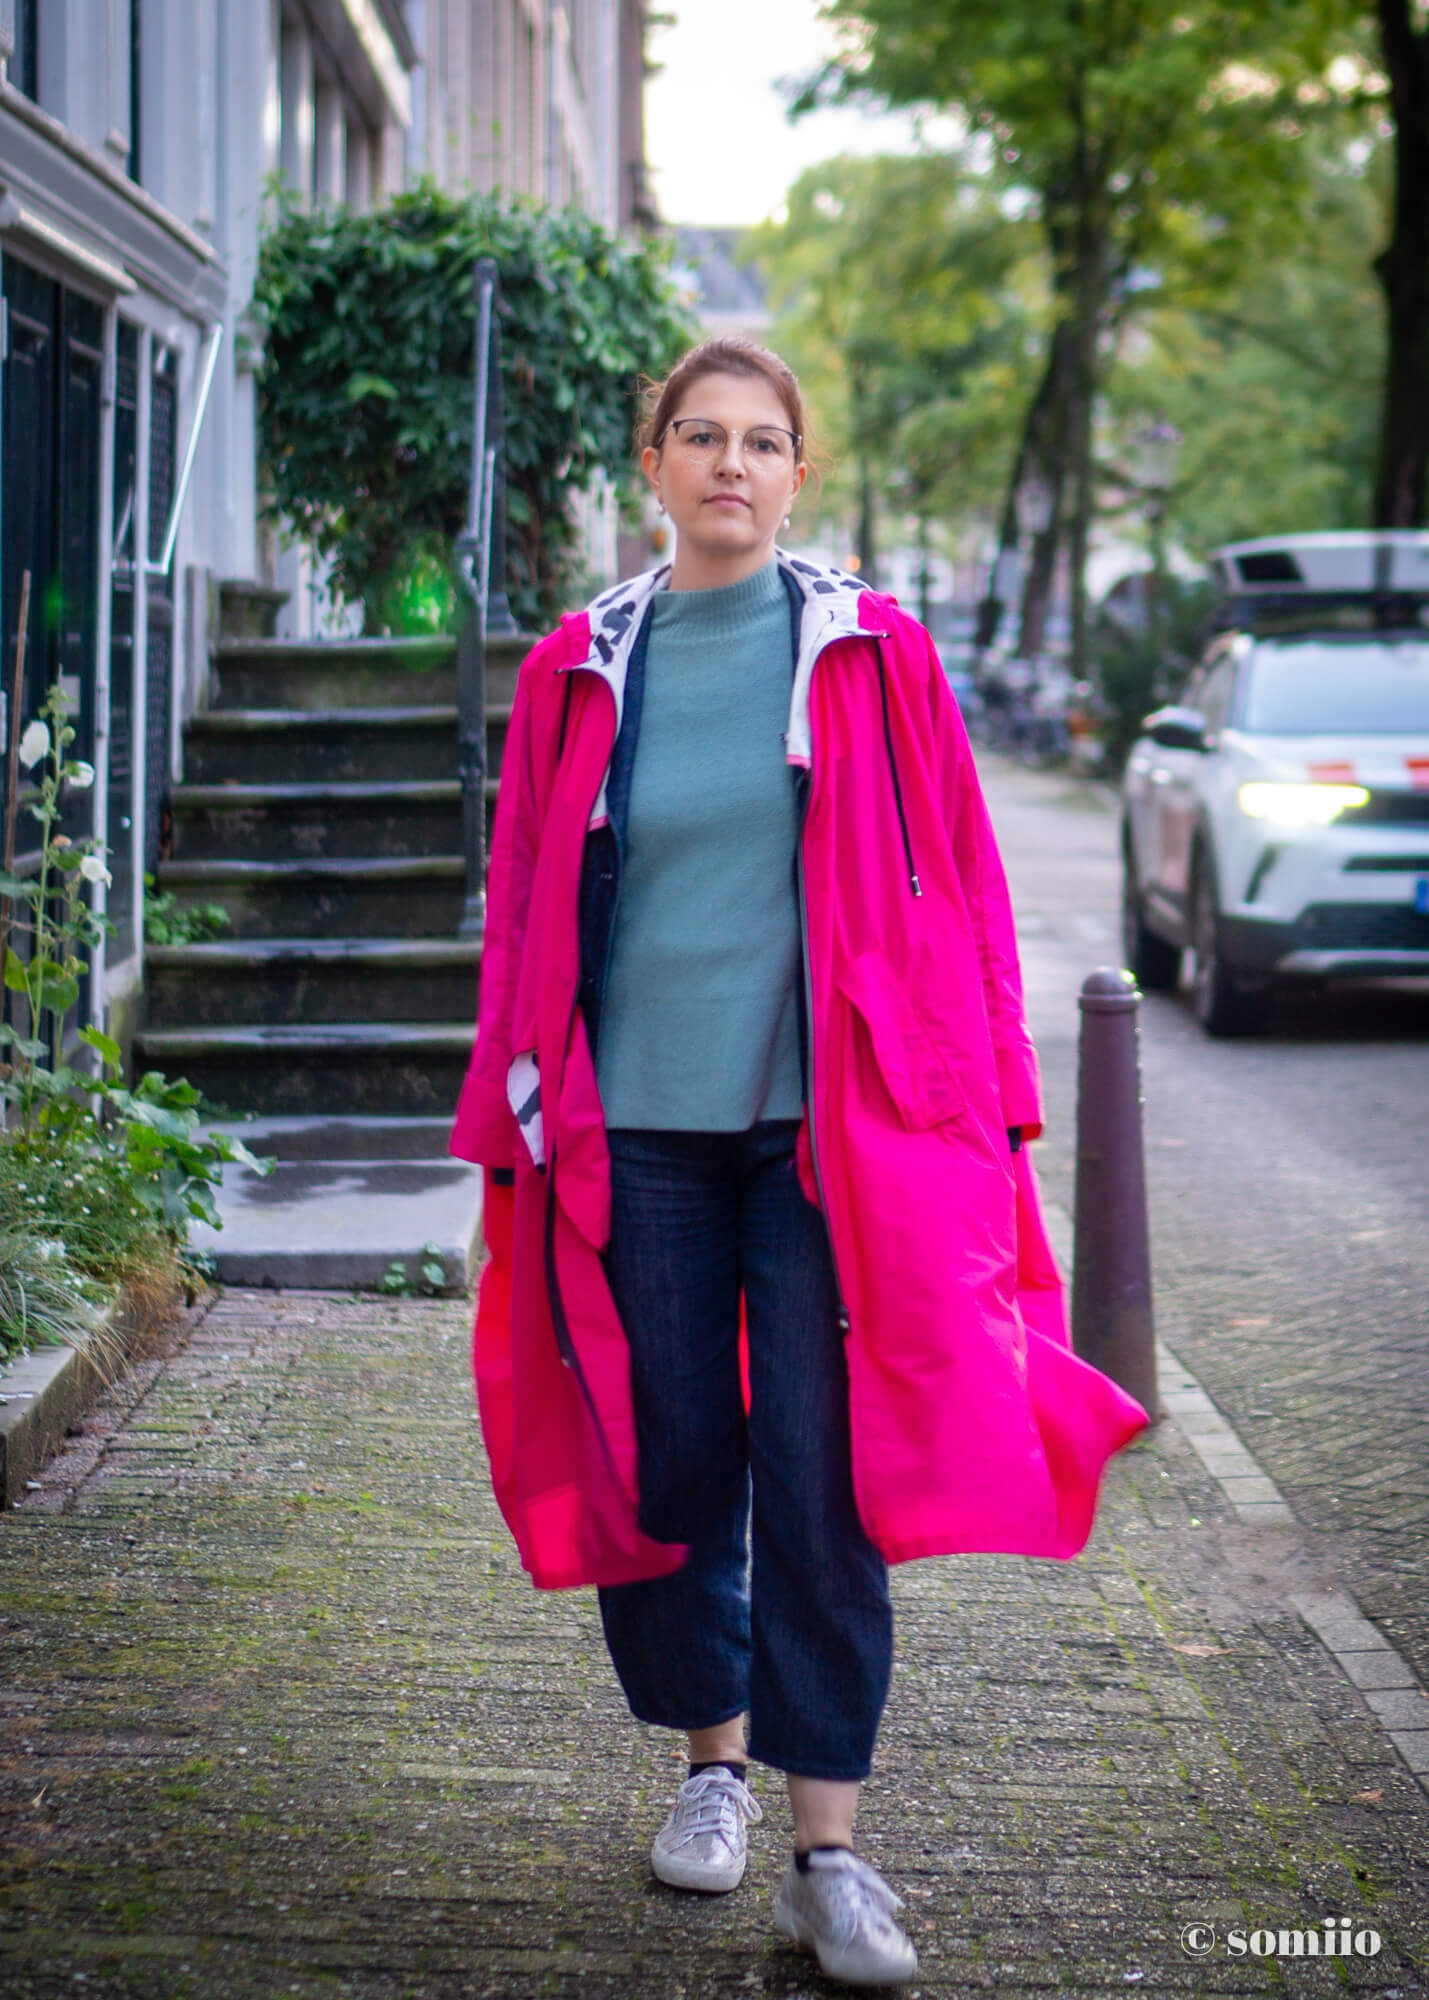
Otherwise, this type of cape is quite practical. It can be worn over any outfit. It takes up little space. It presents a serious challenge to any pickpocket (I wear my bag underneath – #goodluck). I think you can also use it for cycling.
Since my return to France, we’ve had unusually hot and strange weather for October (help, global warming!). So, I haven’t worn it. Especially because its flaws bother me and prevent me from really liking it without reservation.
And it’s a shame because I find its floating and frilly effect very fun. And pink! A touch of cheerfulness in the rain.
Speaking of pink, let’s talk about Pink October for a moment: remember to check your breasts, to handle them regularly. It’s not as if it’s really unpleasant .
So, that’s it for my return to the blog! I hope you won’t hold it against me for complaining like a thief throughout. Normally, that won’t be the case for the next articles; p.
XOXO