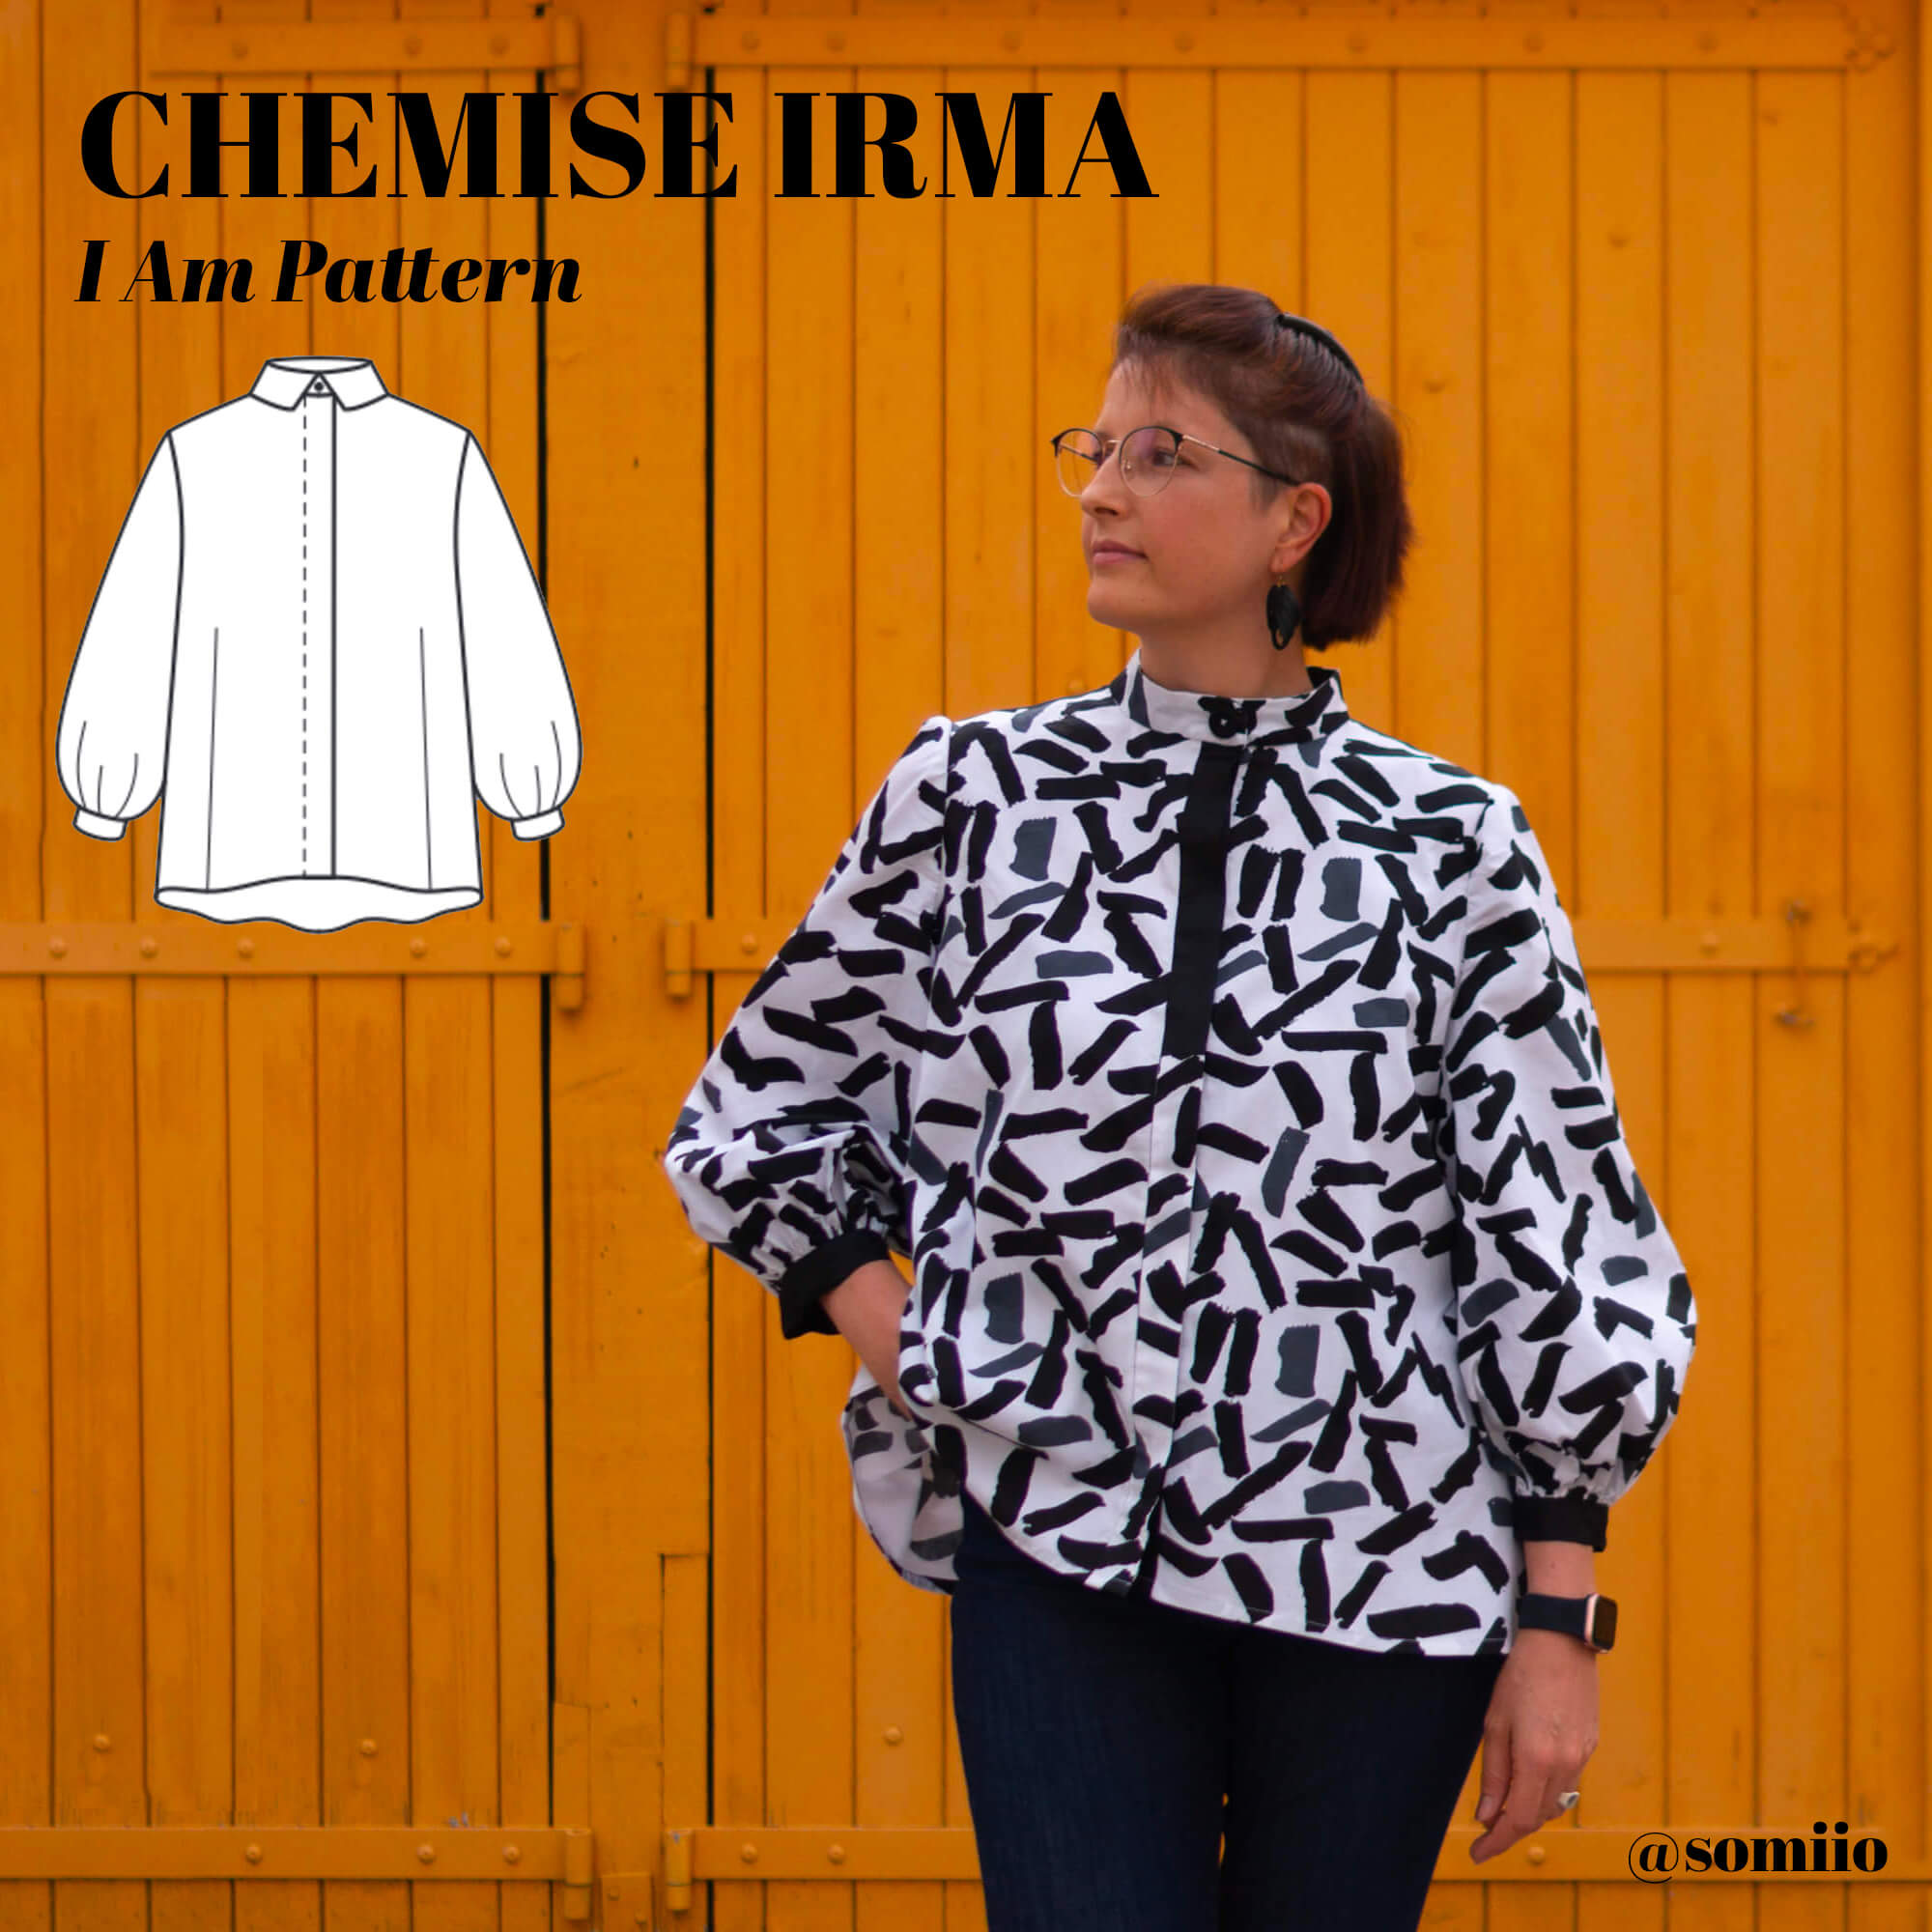

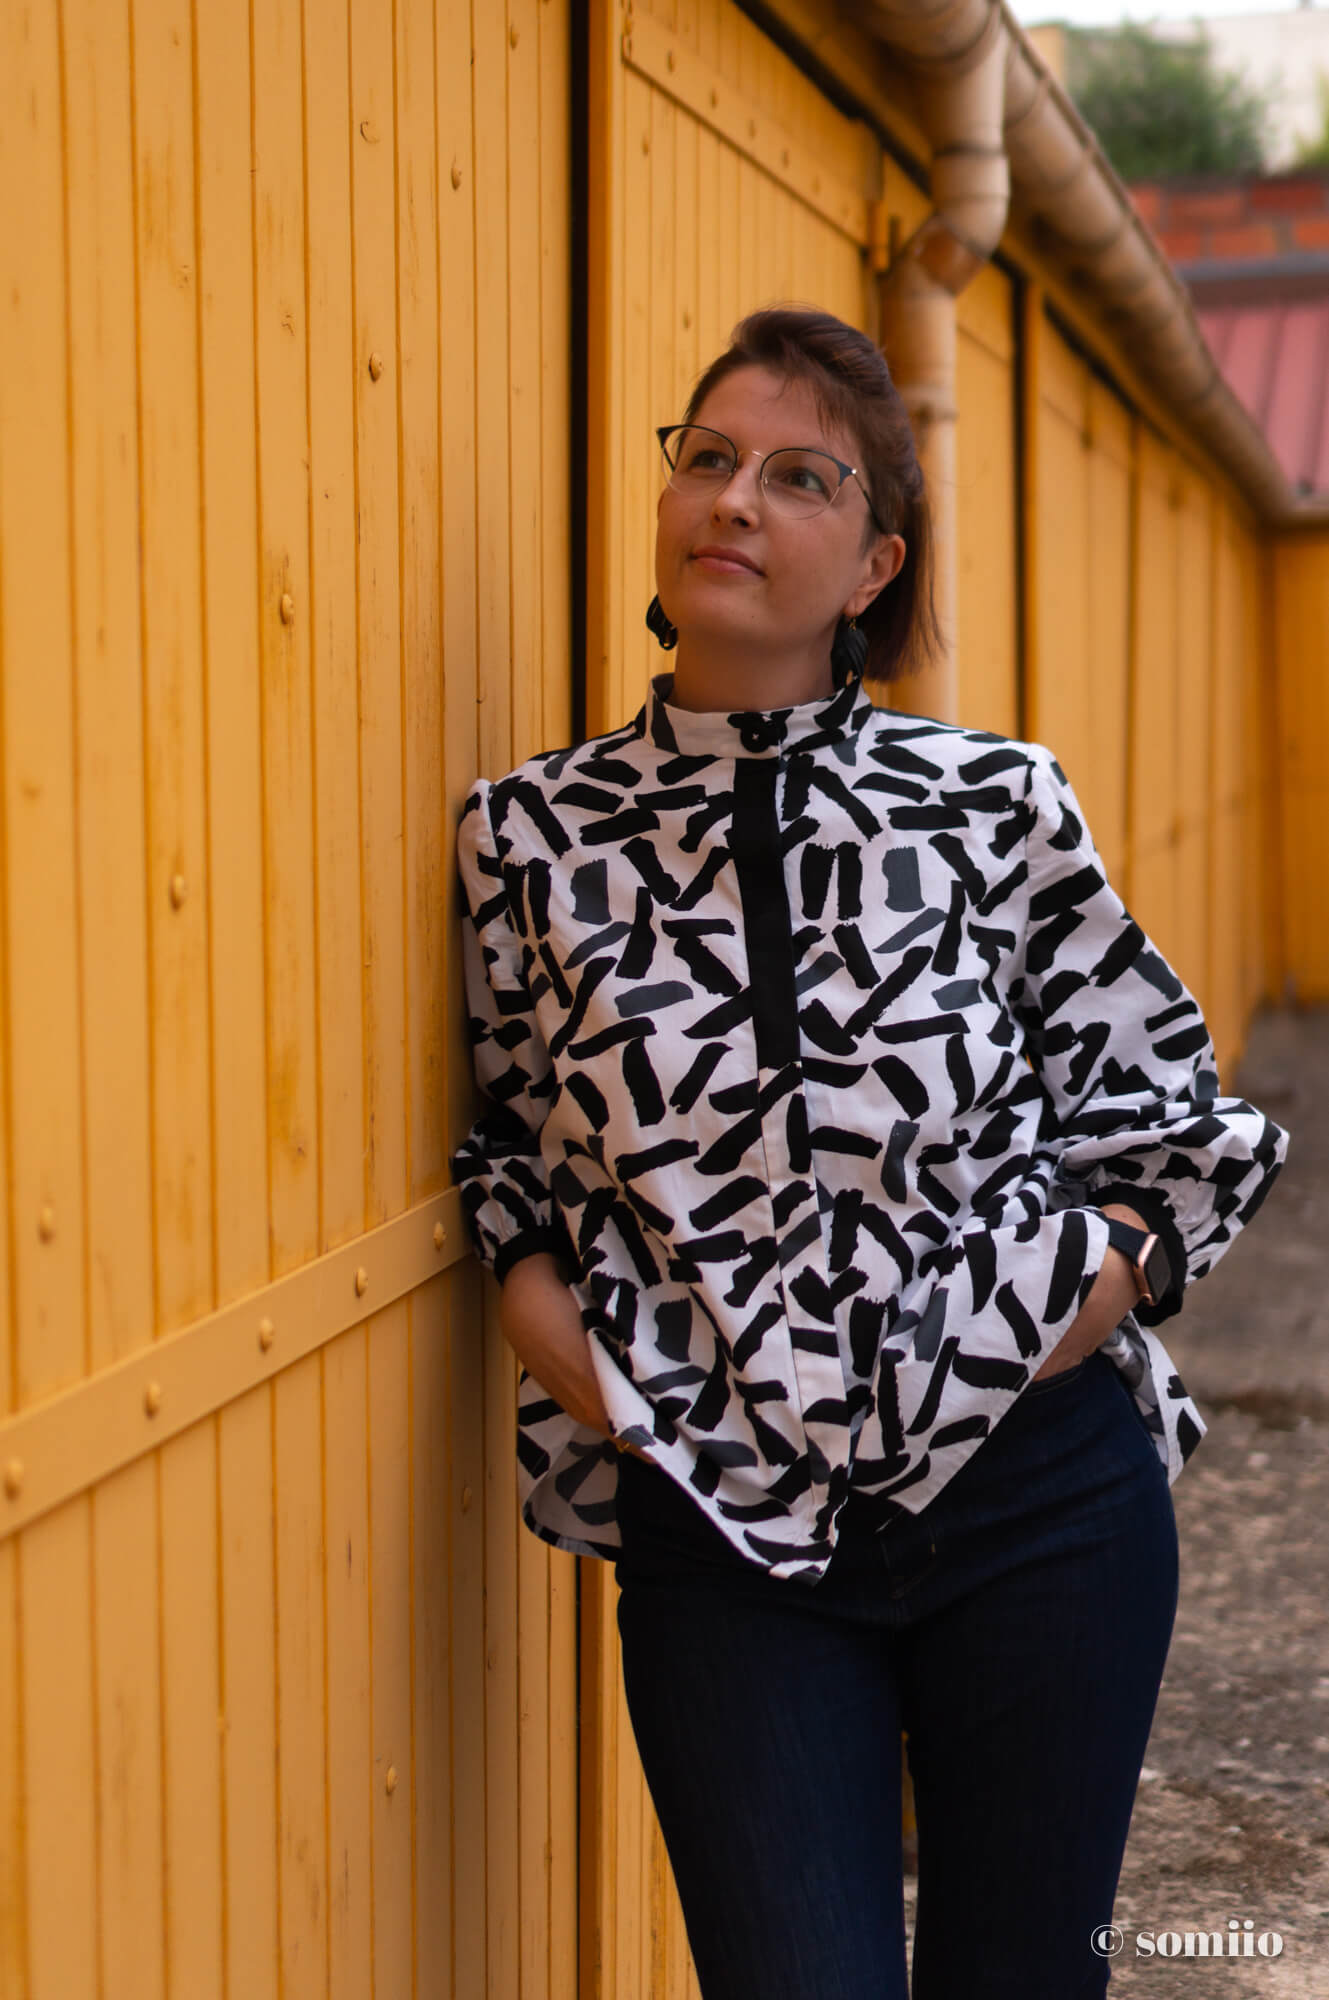
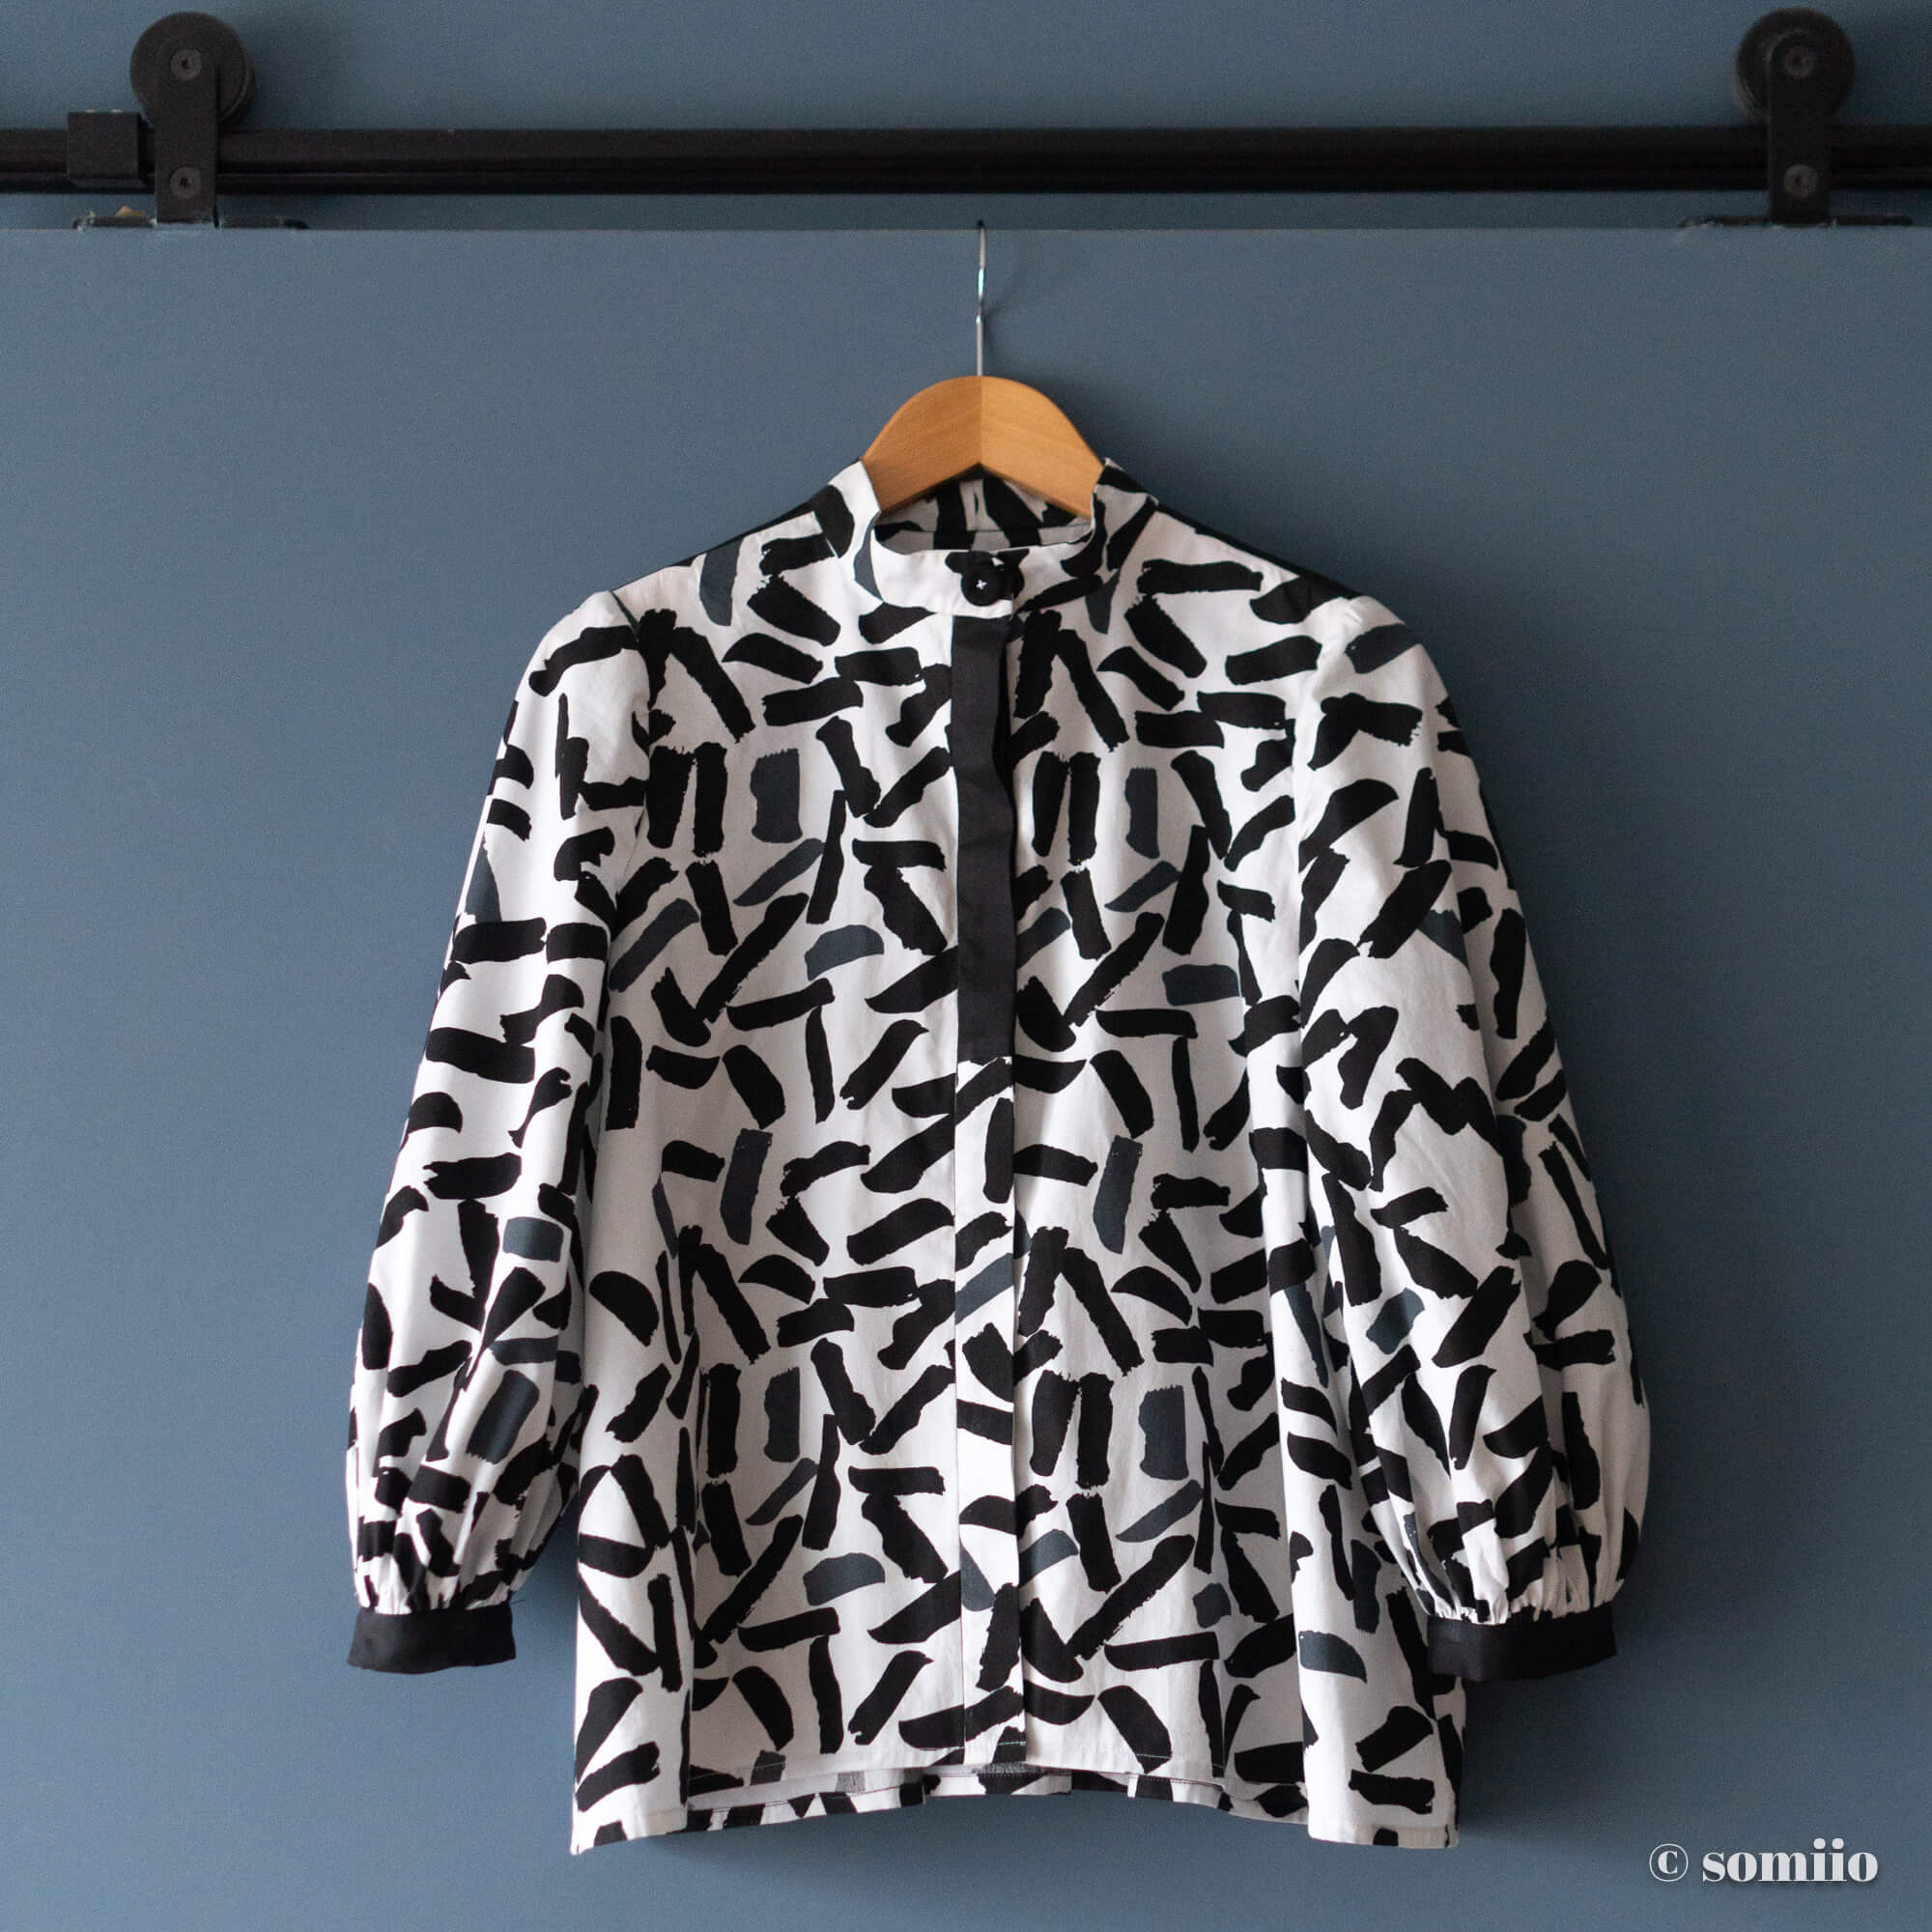
Black & white Irma shirt (I AM Pattern)
This Irma shirt comes after my beloved Irma dress sewn last year. Admittedly, it might sound like a cheesy summer project, but the weather so far hasn’t prompted me to pounce on my pile of summer projects.
I took advantage of this second installment to correct the little fit issues spotted on the dress. And now it’s almost perfect!
In any case, while I don’t own and wear many shirts, I do love sewing them. And especially, in a well-behaved poplin that doesn’t squiggle an inch when cut and assembled.
Relaxed sewing. A bit like a holiday.
 |
Hop, the eighth project sewn into my sewing project list 2023! Eighth in August… we’re up to 1 a month. |
| ITEM | SHOP | QUANTITY | PRIX |
| I Am Pattern | I Am Pattern | already paid for | |
| Popeline Katia | Rascol | 1,50 m | €16.80 |
| Silk twill | Dream Fabrics | 0.50m | €3.00 |
| Black Buttons | Arts Reserve | 6 | €0.50 |
| Big black button | Stock | 1 | €0.10 |
| Sew-on snap | Stock | 1 | €0.10 |
| Wire | Stock | 1 | €0 |
| Total | €20.30 |
The Irma shirt pattern
The Irma shirt is a shirt and dress pattern from the brand I Am Pattern. As is often the case with this brand the cut is modern and minimalist.
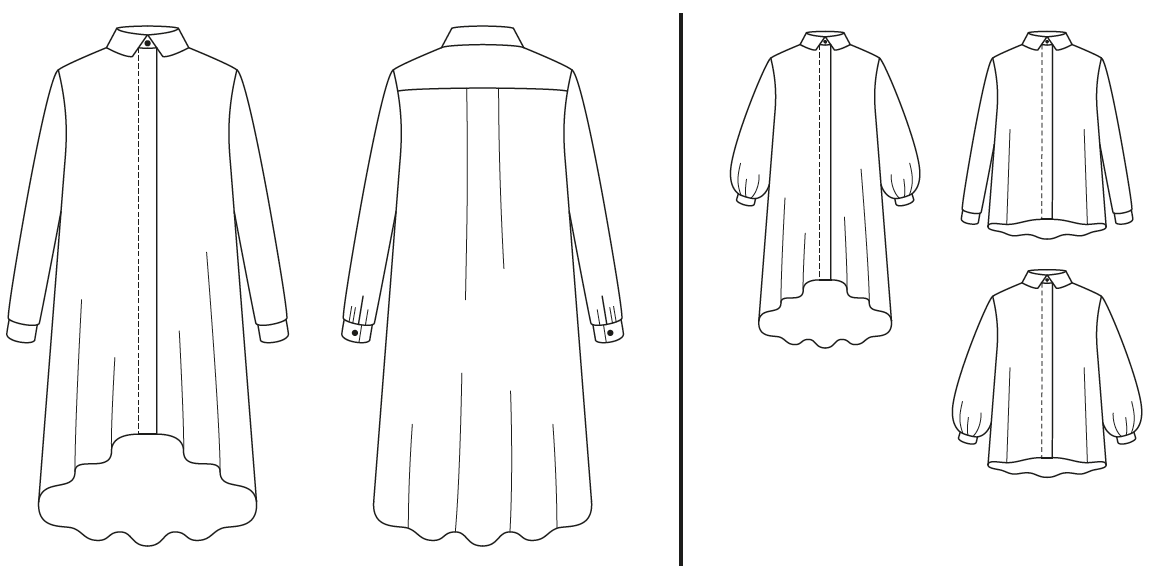 The 2 versions of the template feature:
- a concealed button placket to match (i.e. cut in one piece with the front),
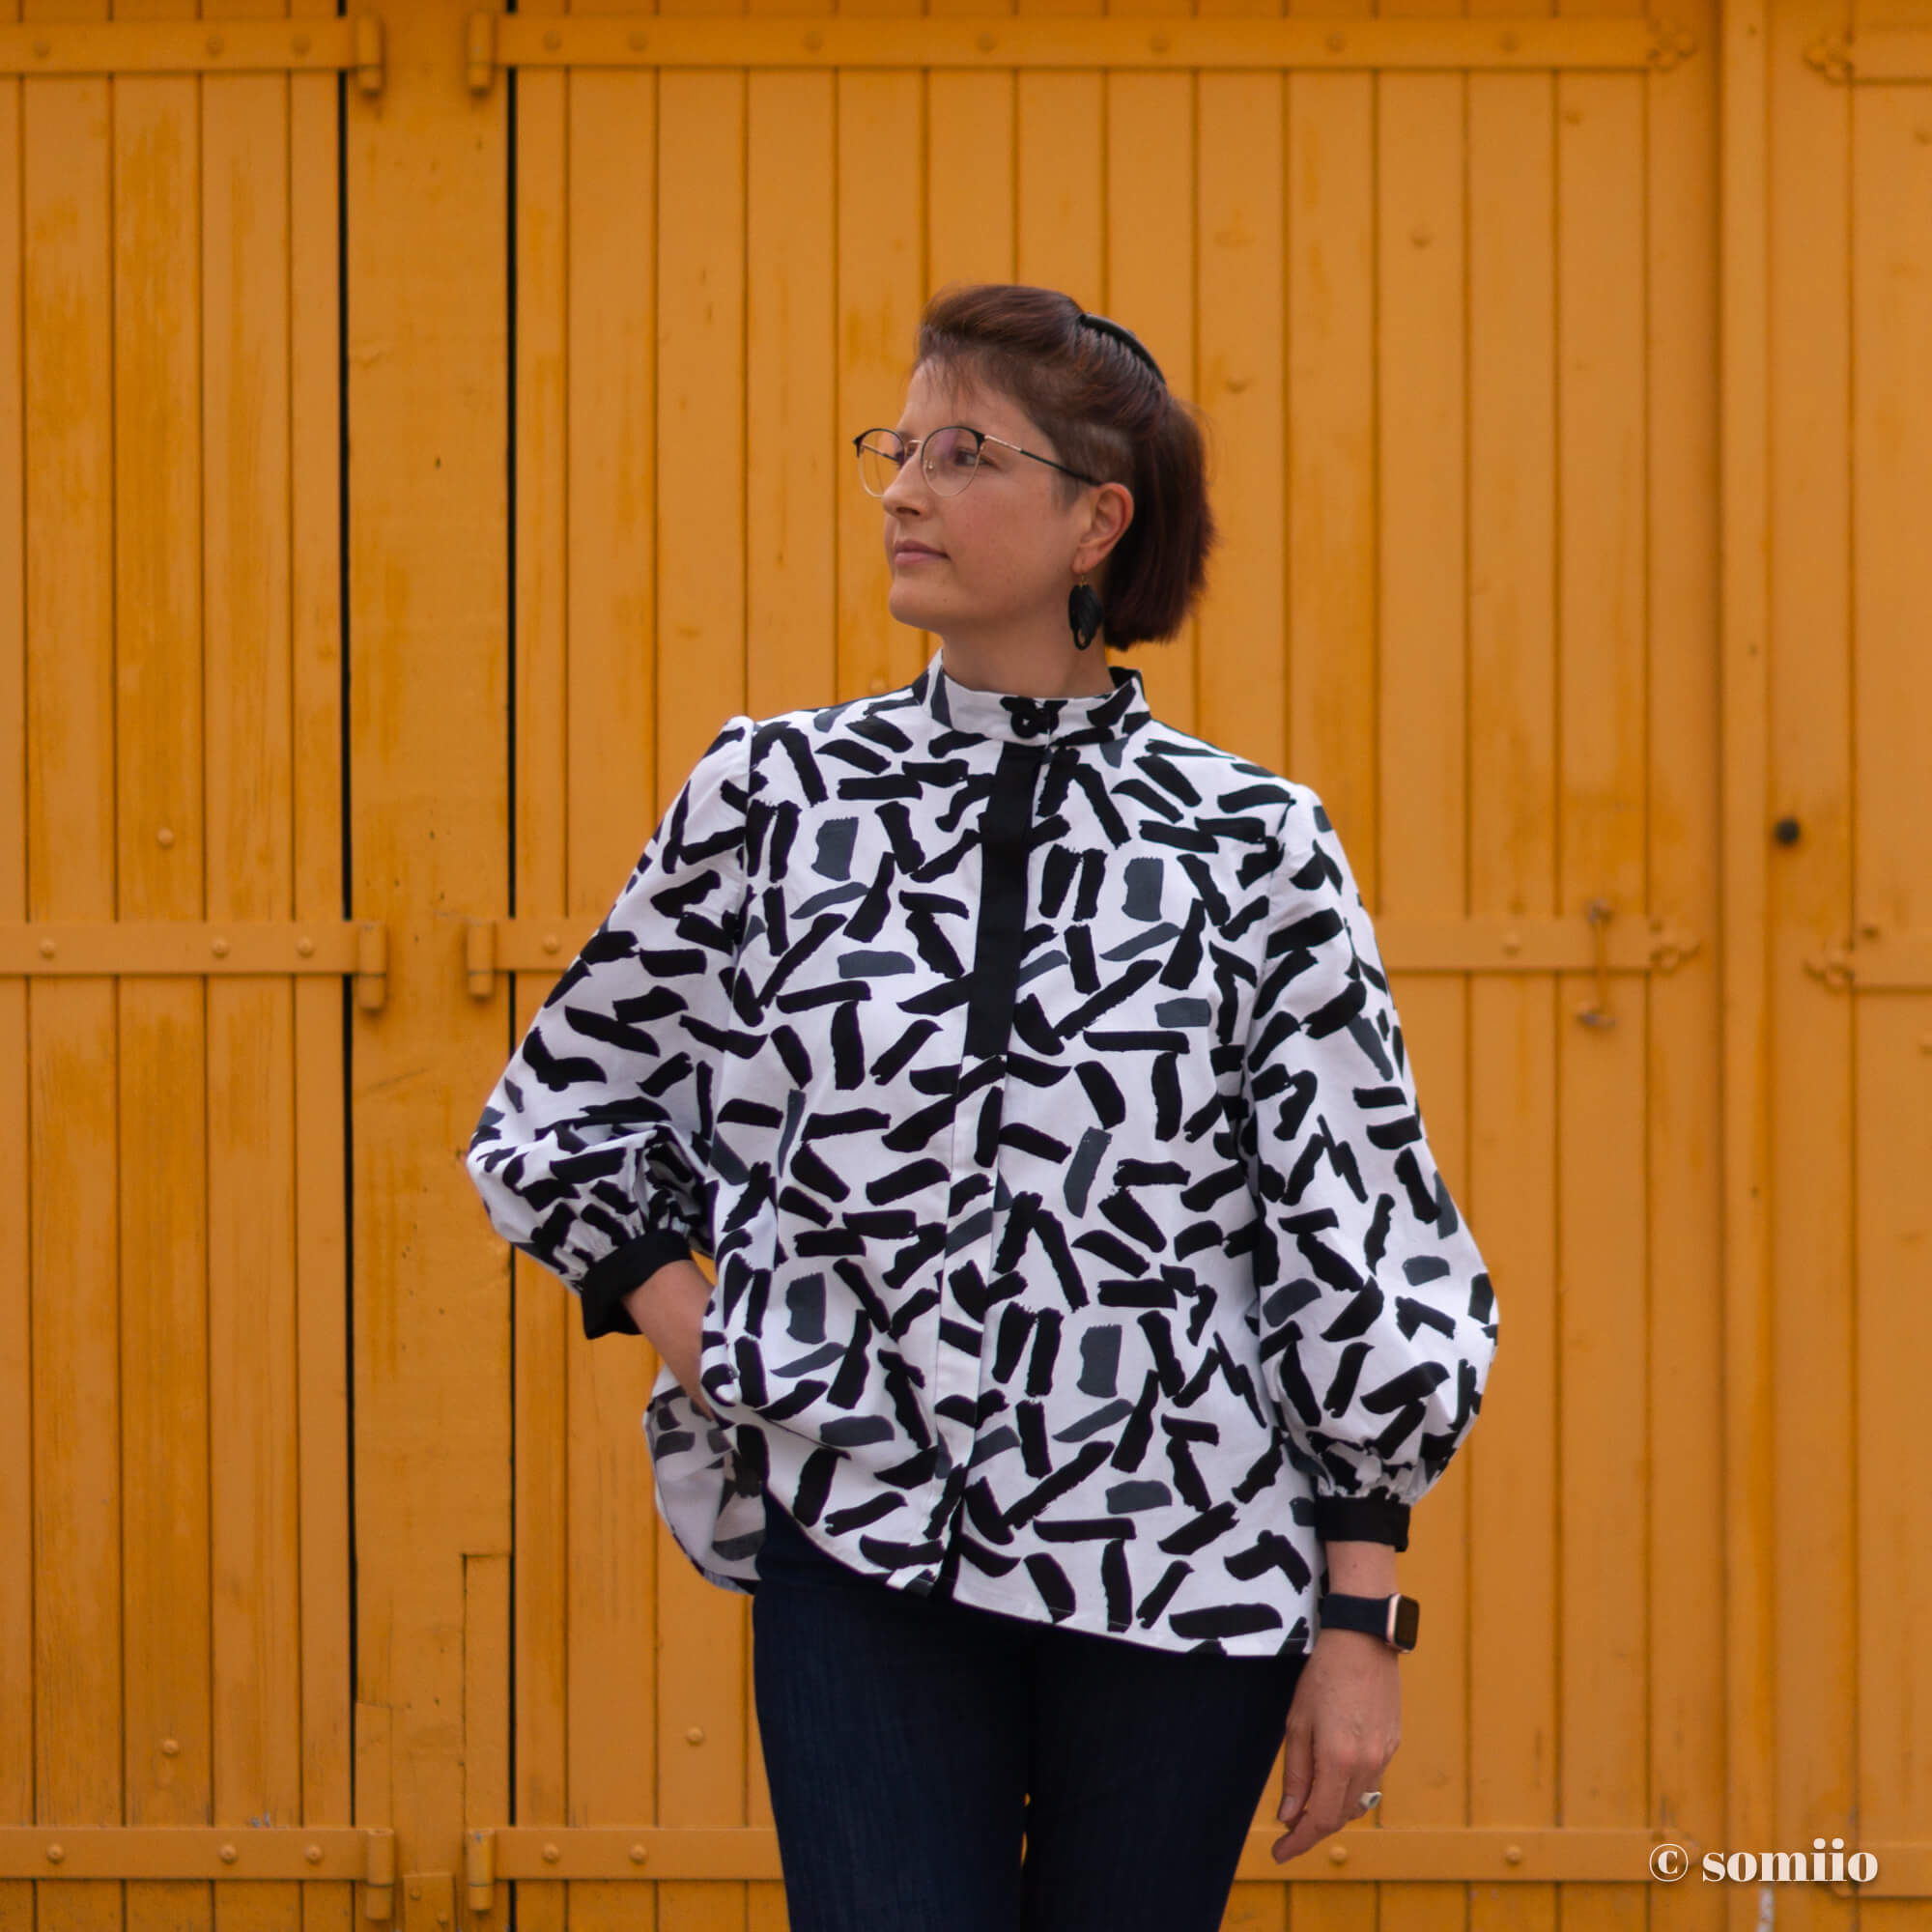
- a very flared cut,
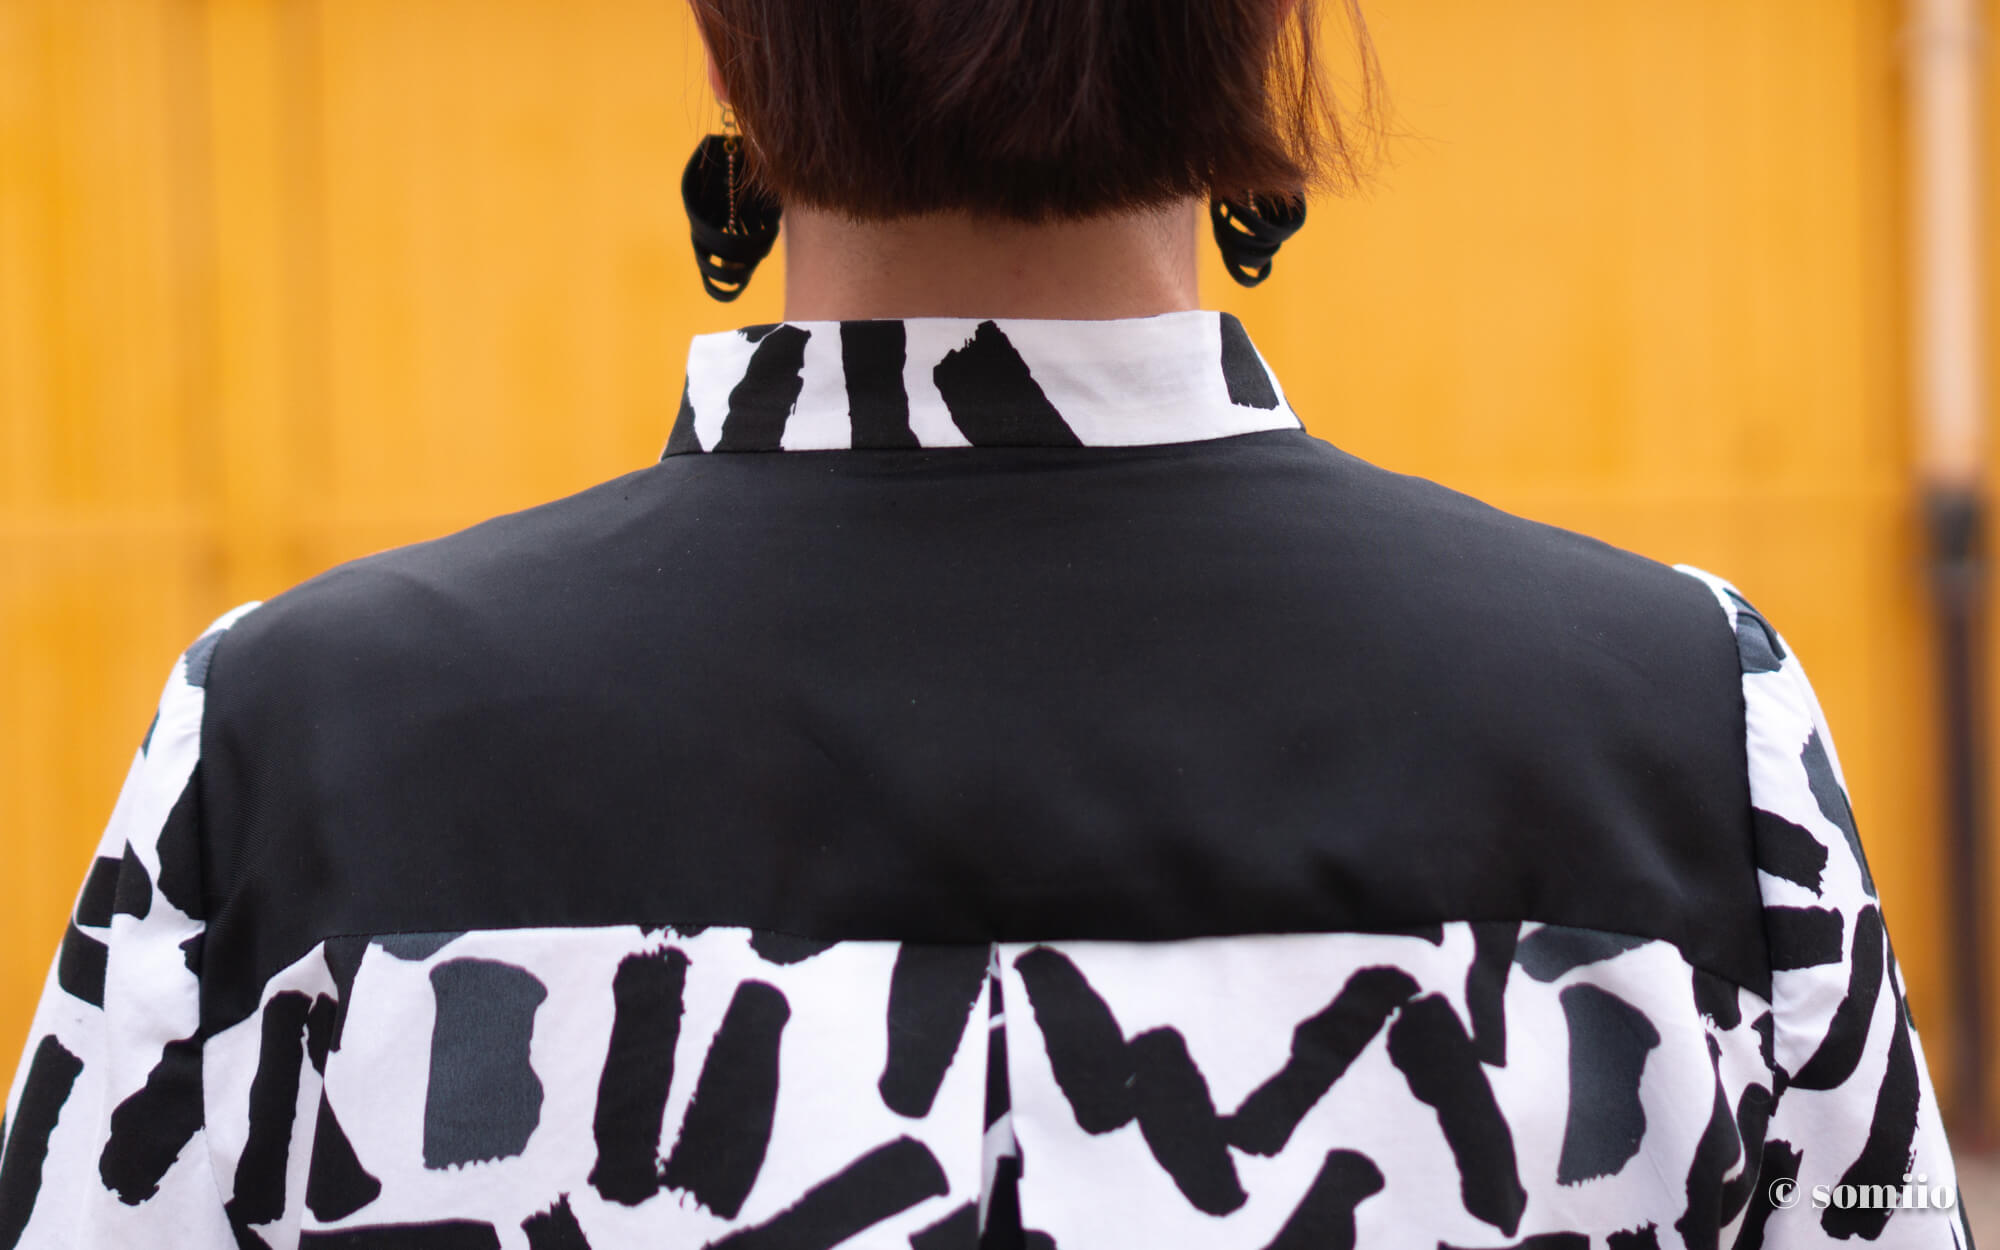
- a back with yoke and flat pleat,
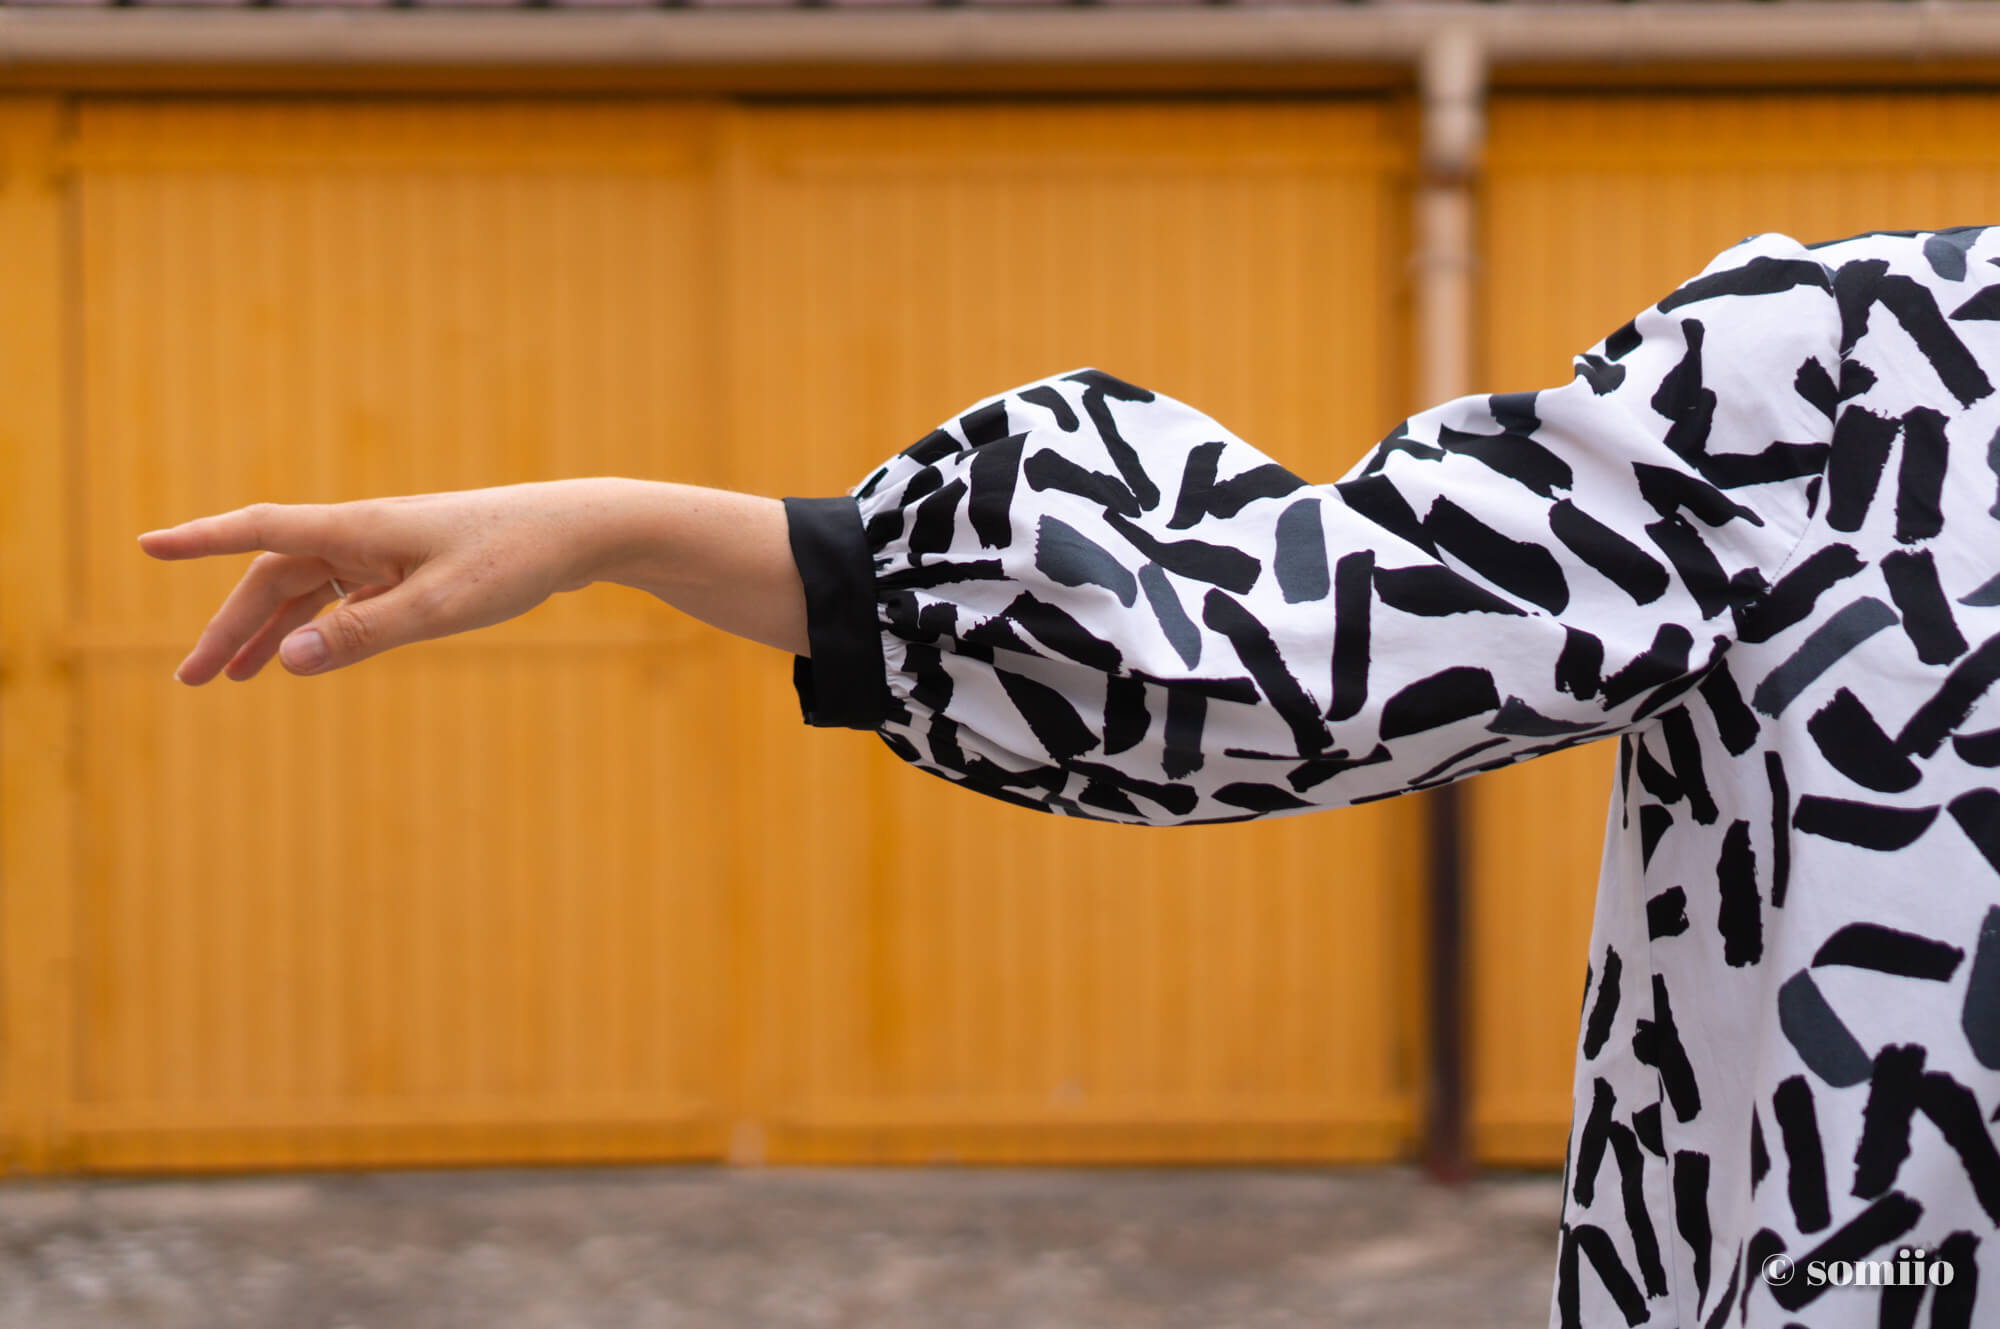
- two set-in sleeve options: classic shirt and 3/4 balloon.

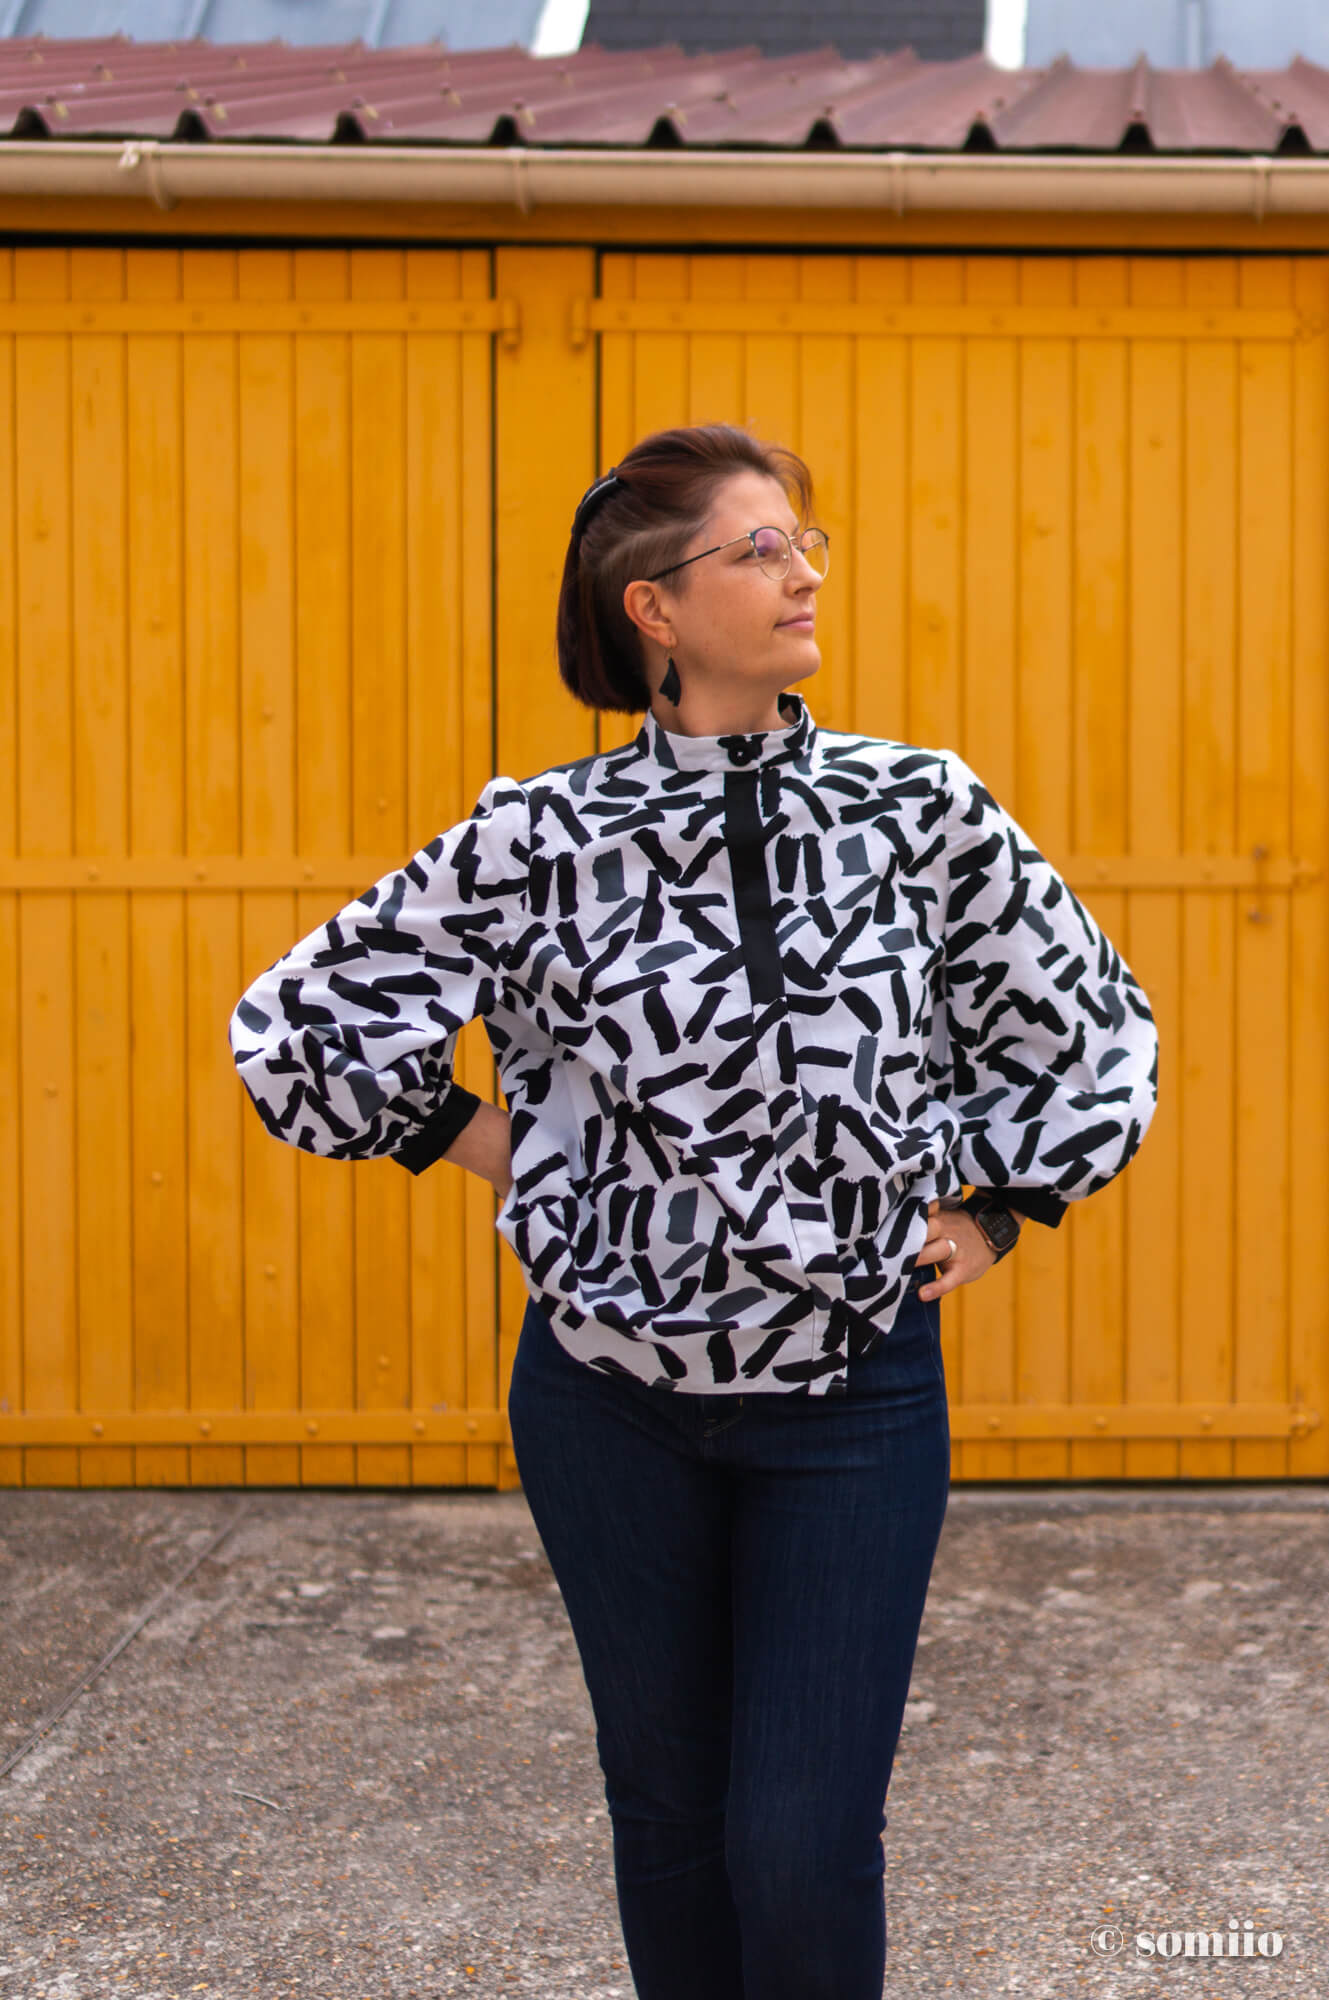
And I clearly had a coup de coeur for the presentation photos of the shirt with the balloon sleeves.
For a more detailed presentation of the pattern, the quality of the explanations and the board, I’ll let you take a look at my article on my Irma dress.
I don’t like rambling, it makes me feel old (when I realise it anyway!).

So, today, it’s going to be a post with lots of photos but not so much stuff to talk about 🙂
Stitching the Irma shirt
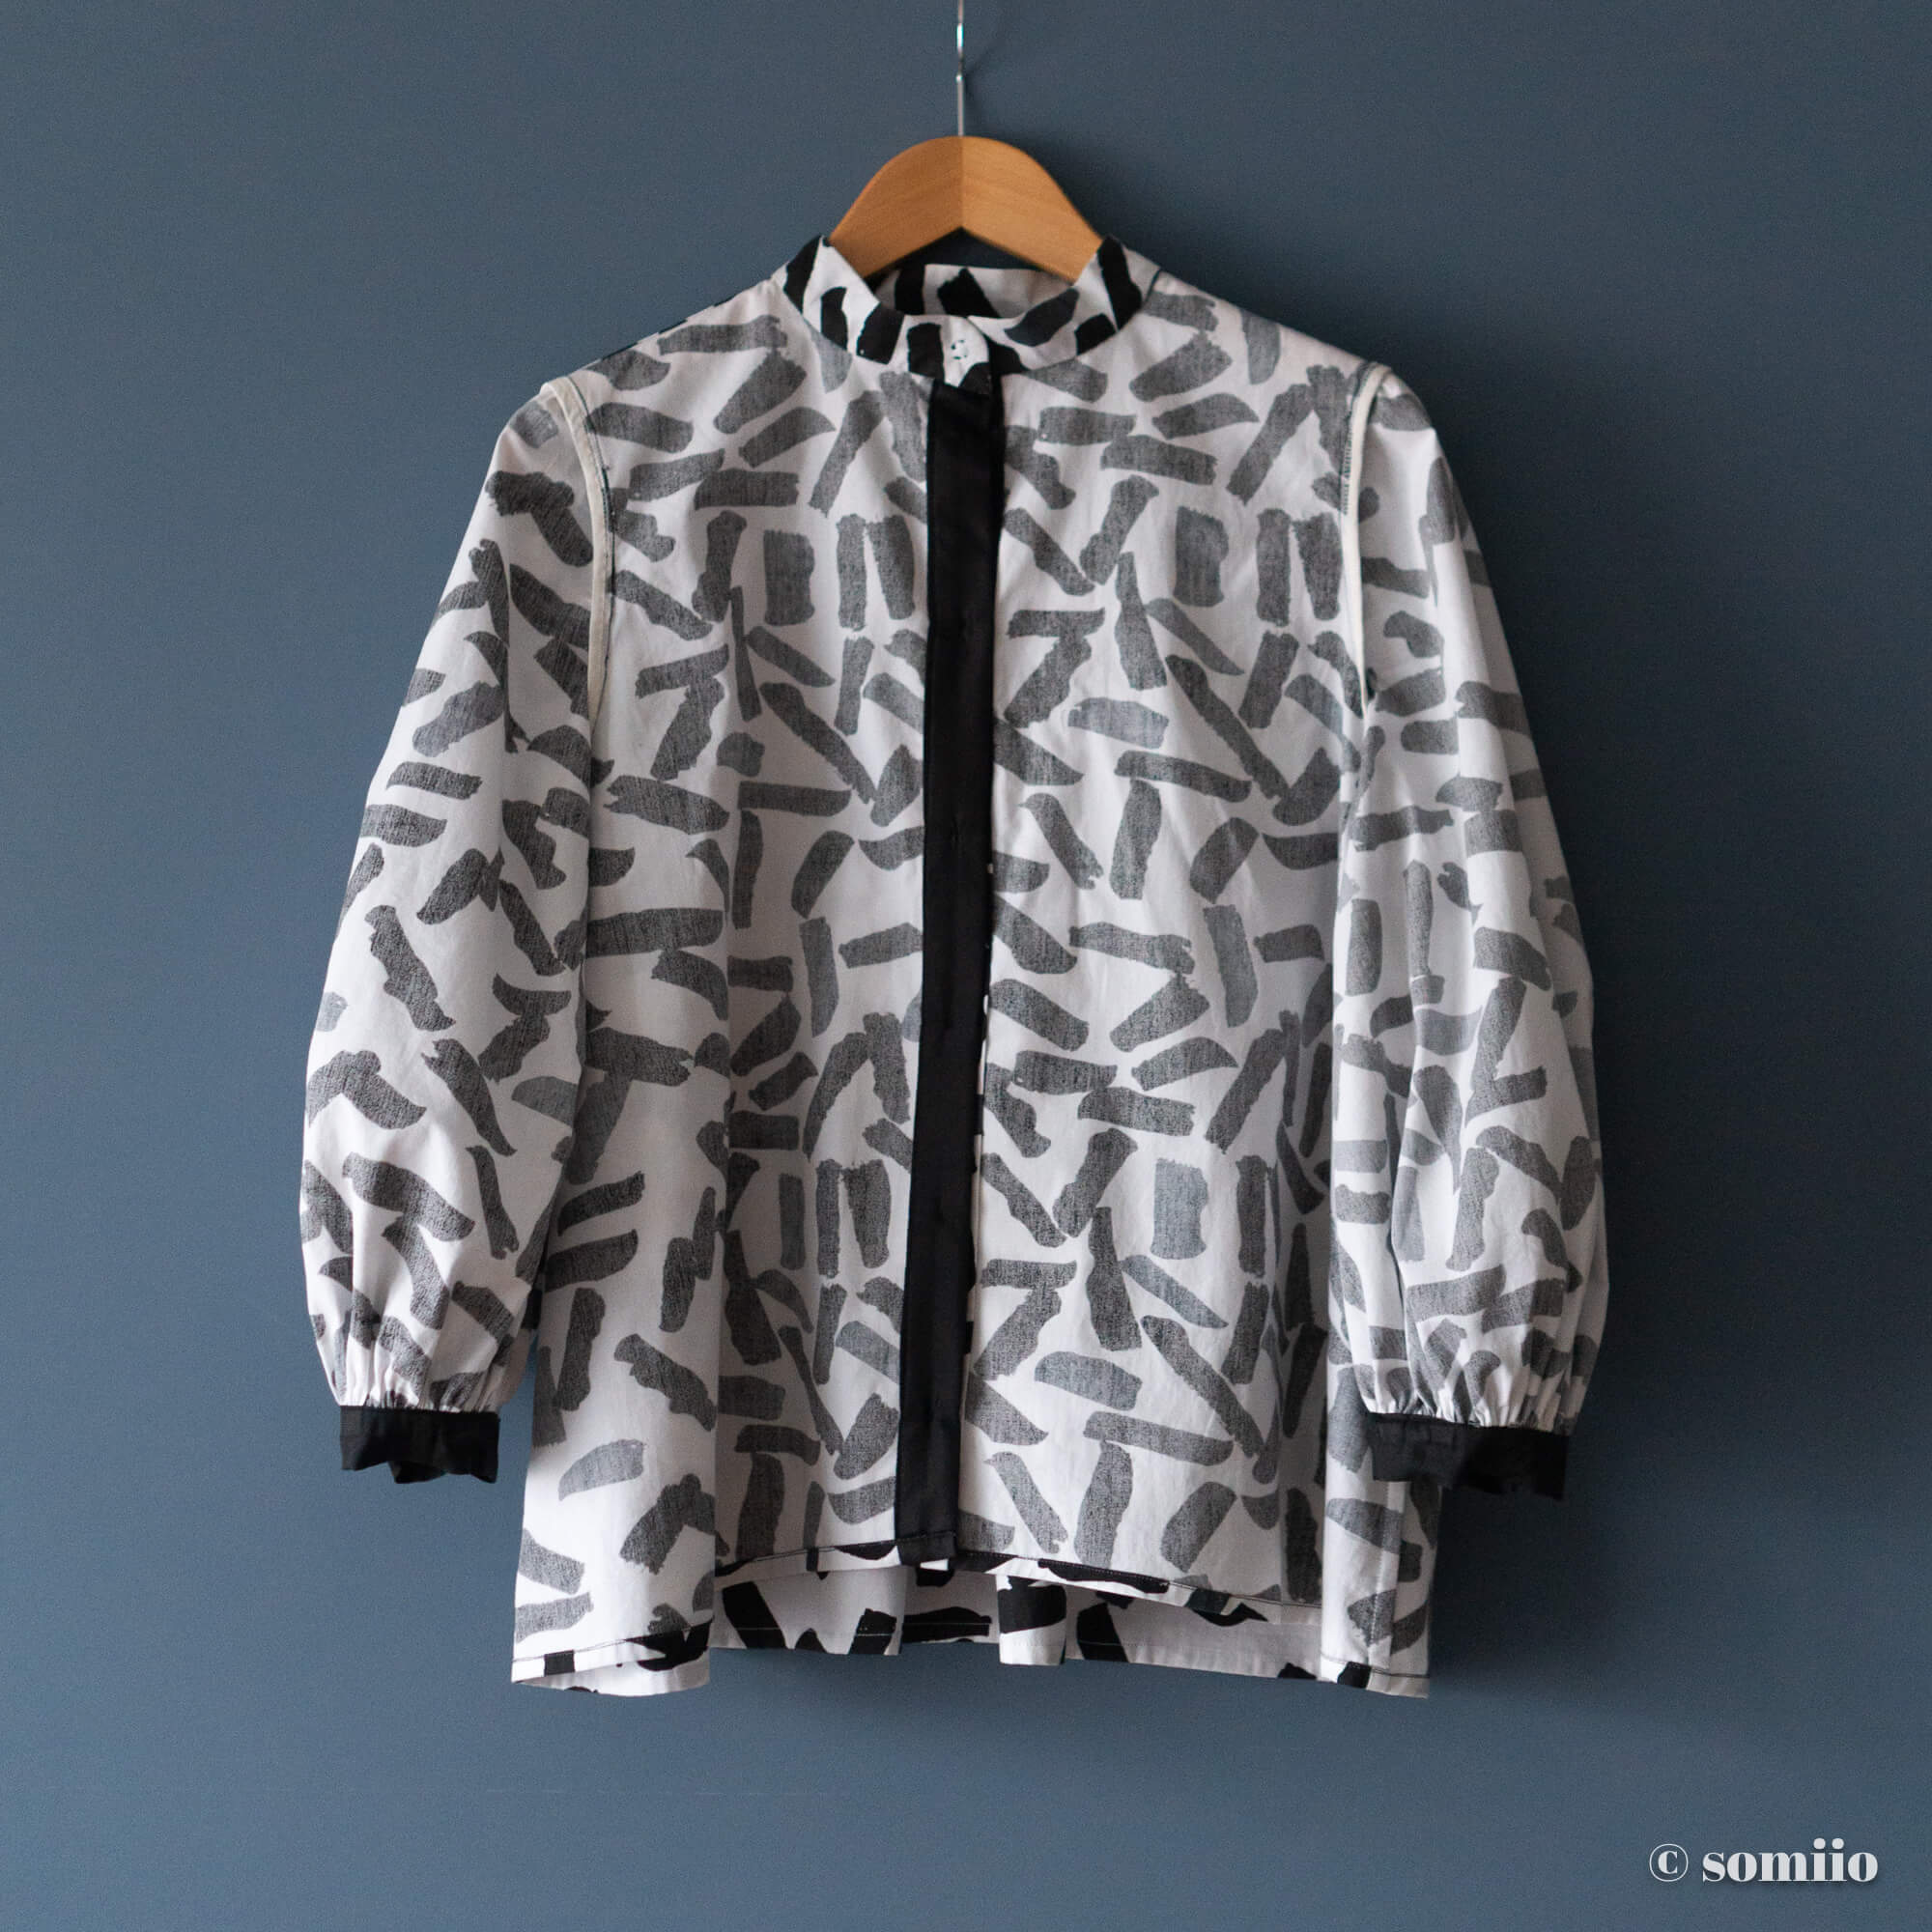
Second version doesn’t mean clone…. so let’s play the 7 mistakes game together.
It’s a classic beach game after all. For want of sand in the crack of your bum, at least we can get back to our favourite summer activities. Yesiiii!
Come on hop, look at the photos and compare before you see the answers below ↴
Version 2 of the Irma shirt: the common points
Already, I’ve kept the same size: the 38, which fits me just right.
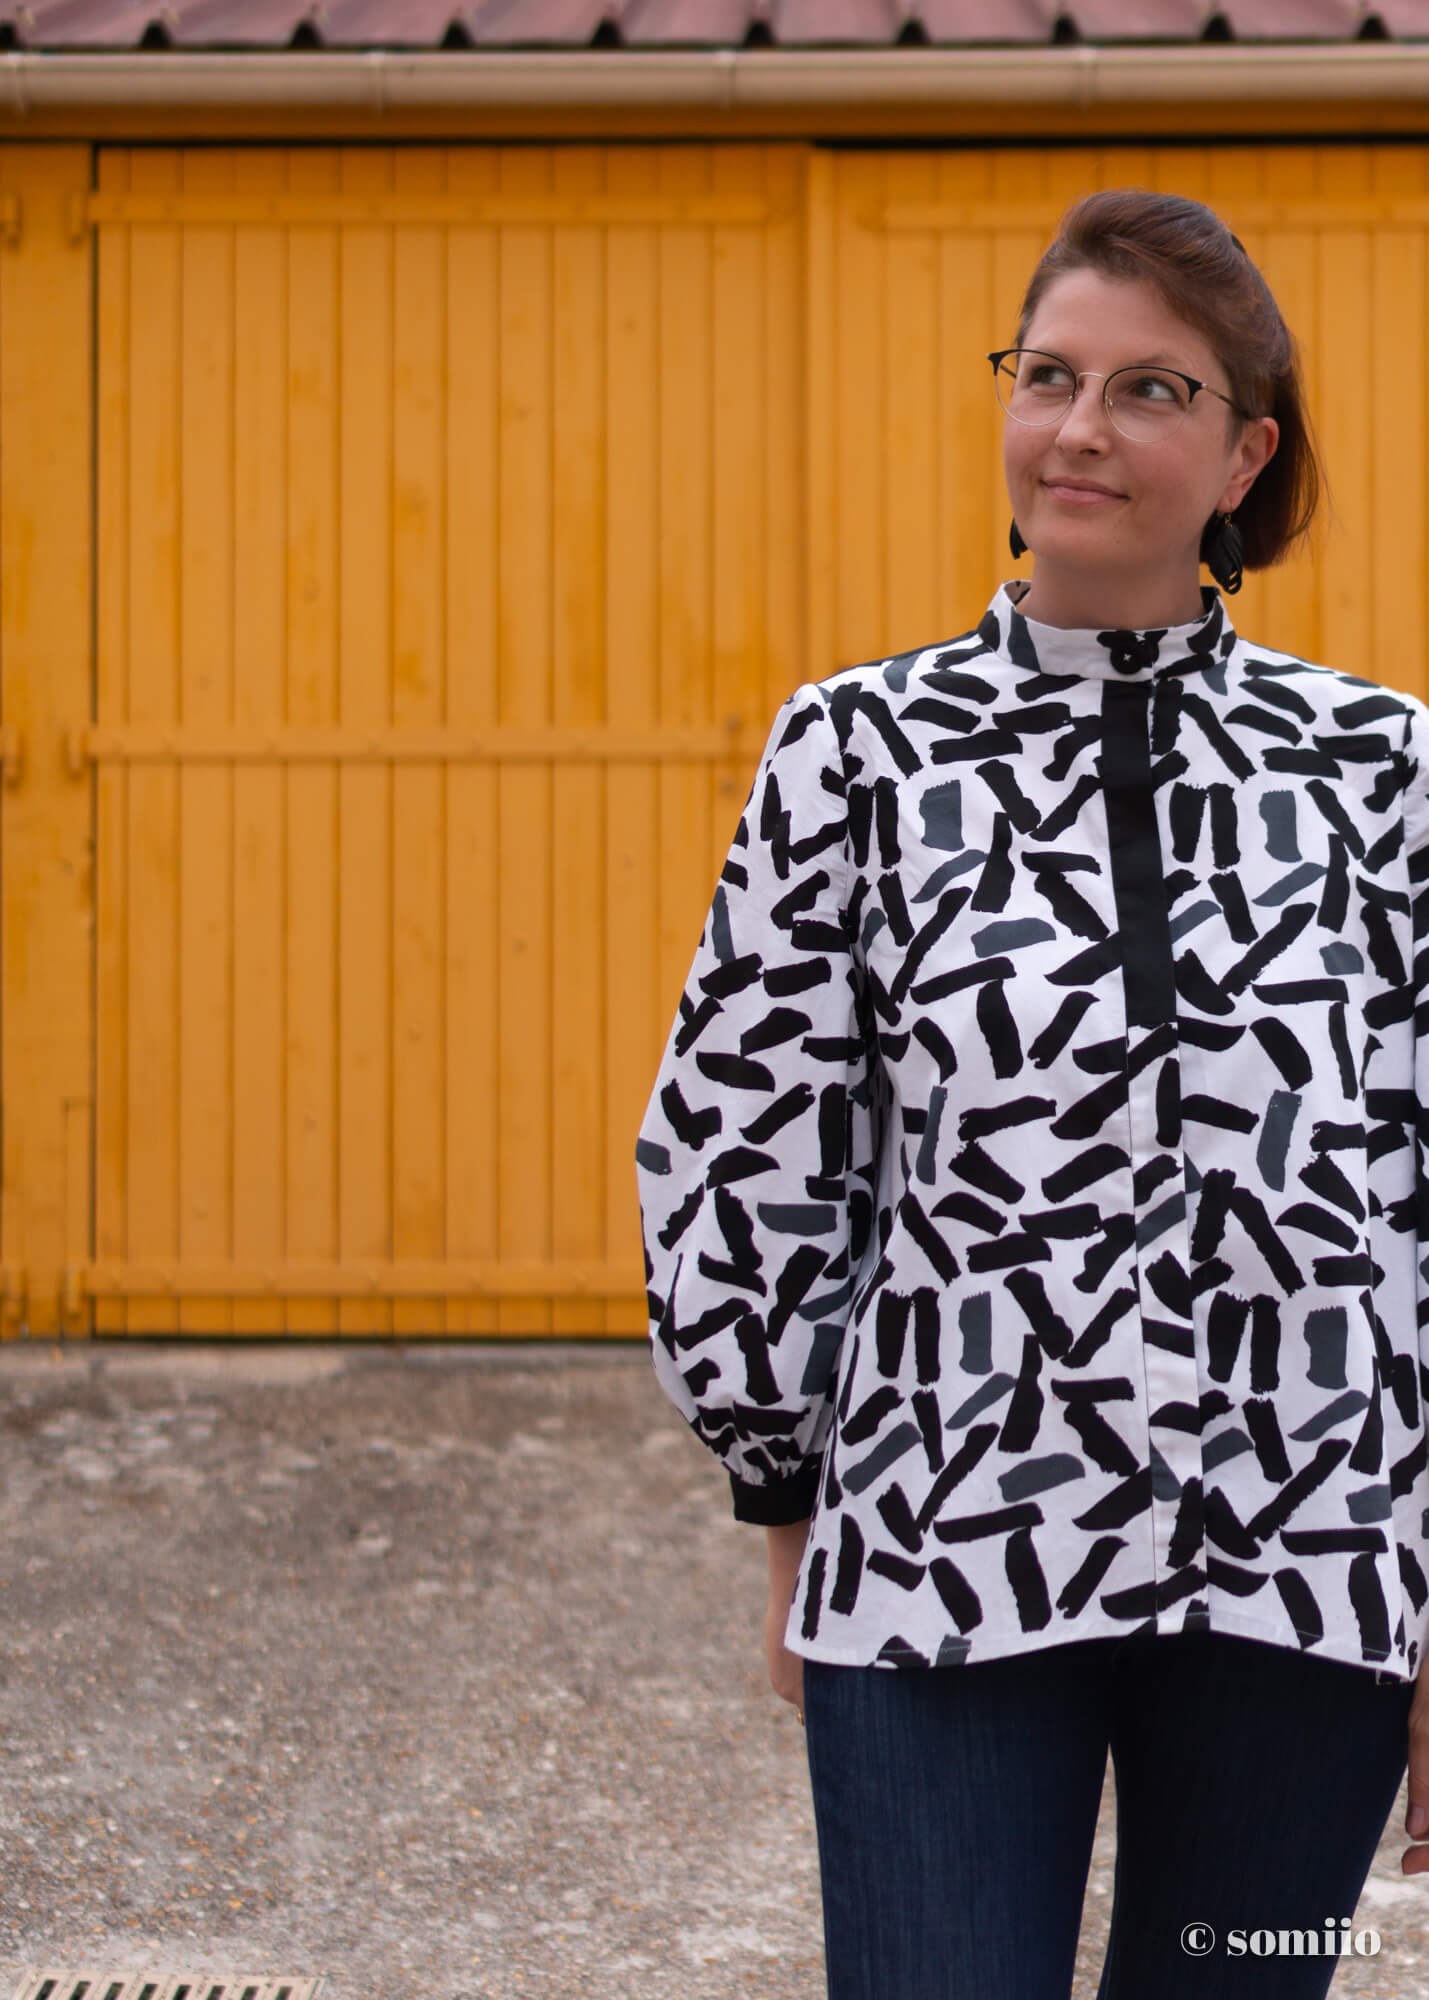
I also kept the balloon sleeves.
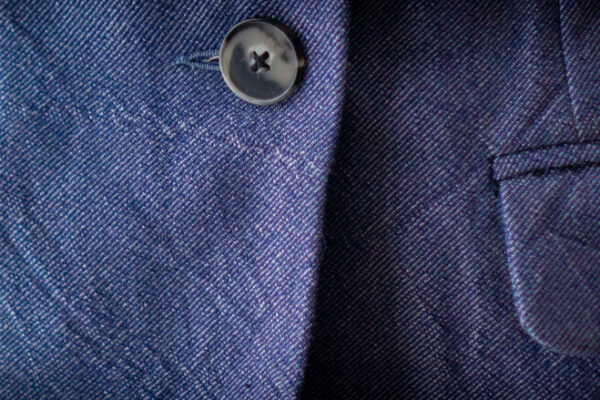
The button placket is a separate piece as with the first version (rather than on the same pattern piece as the pattern originally proposed).
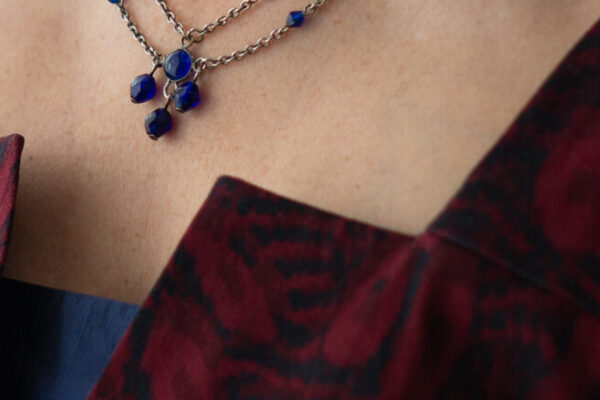
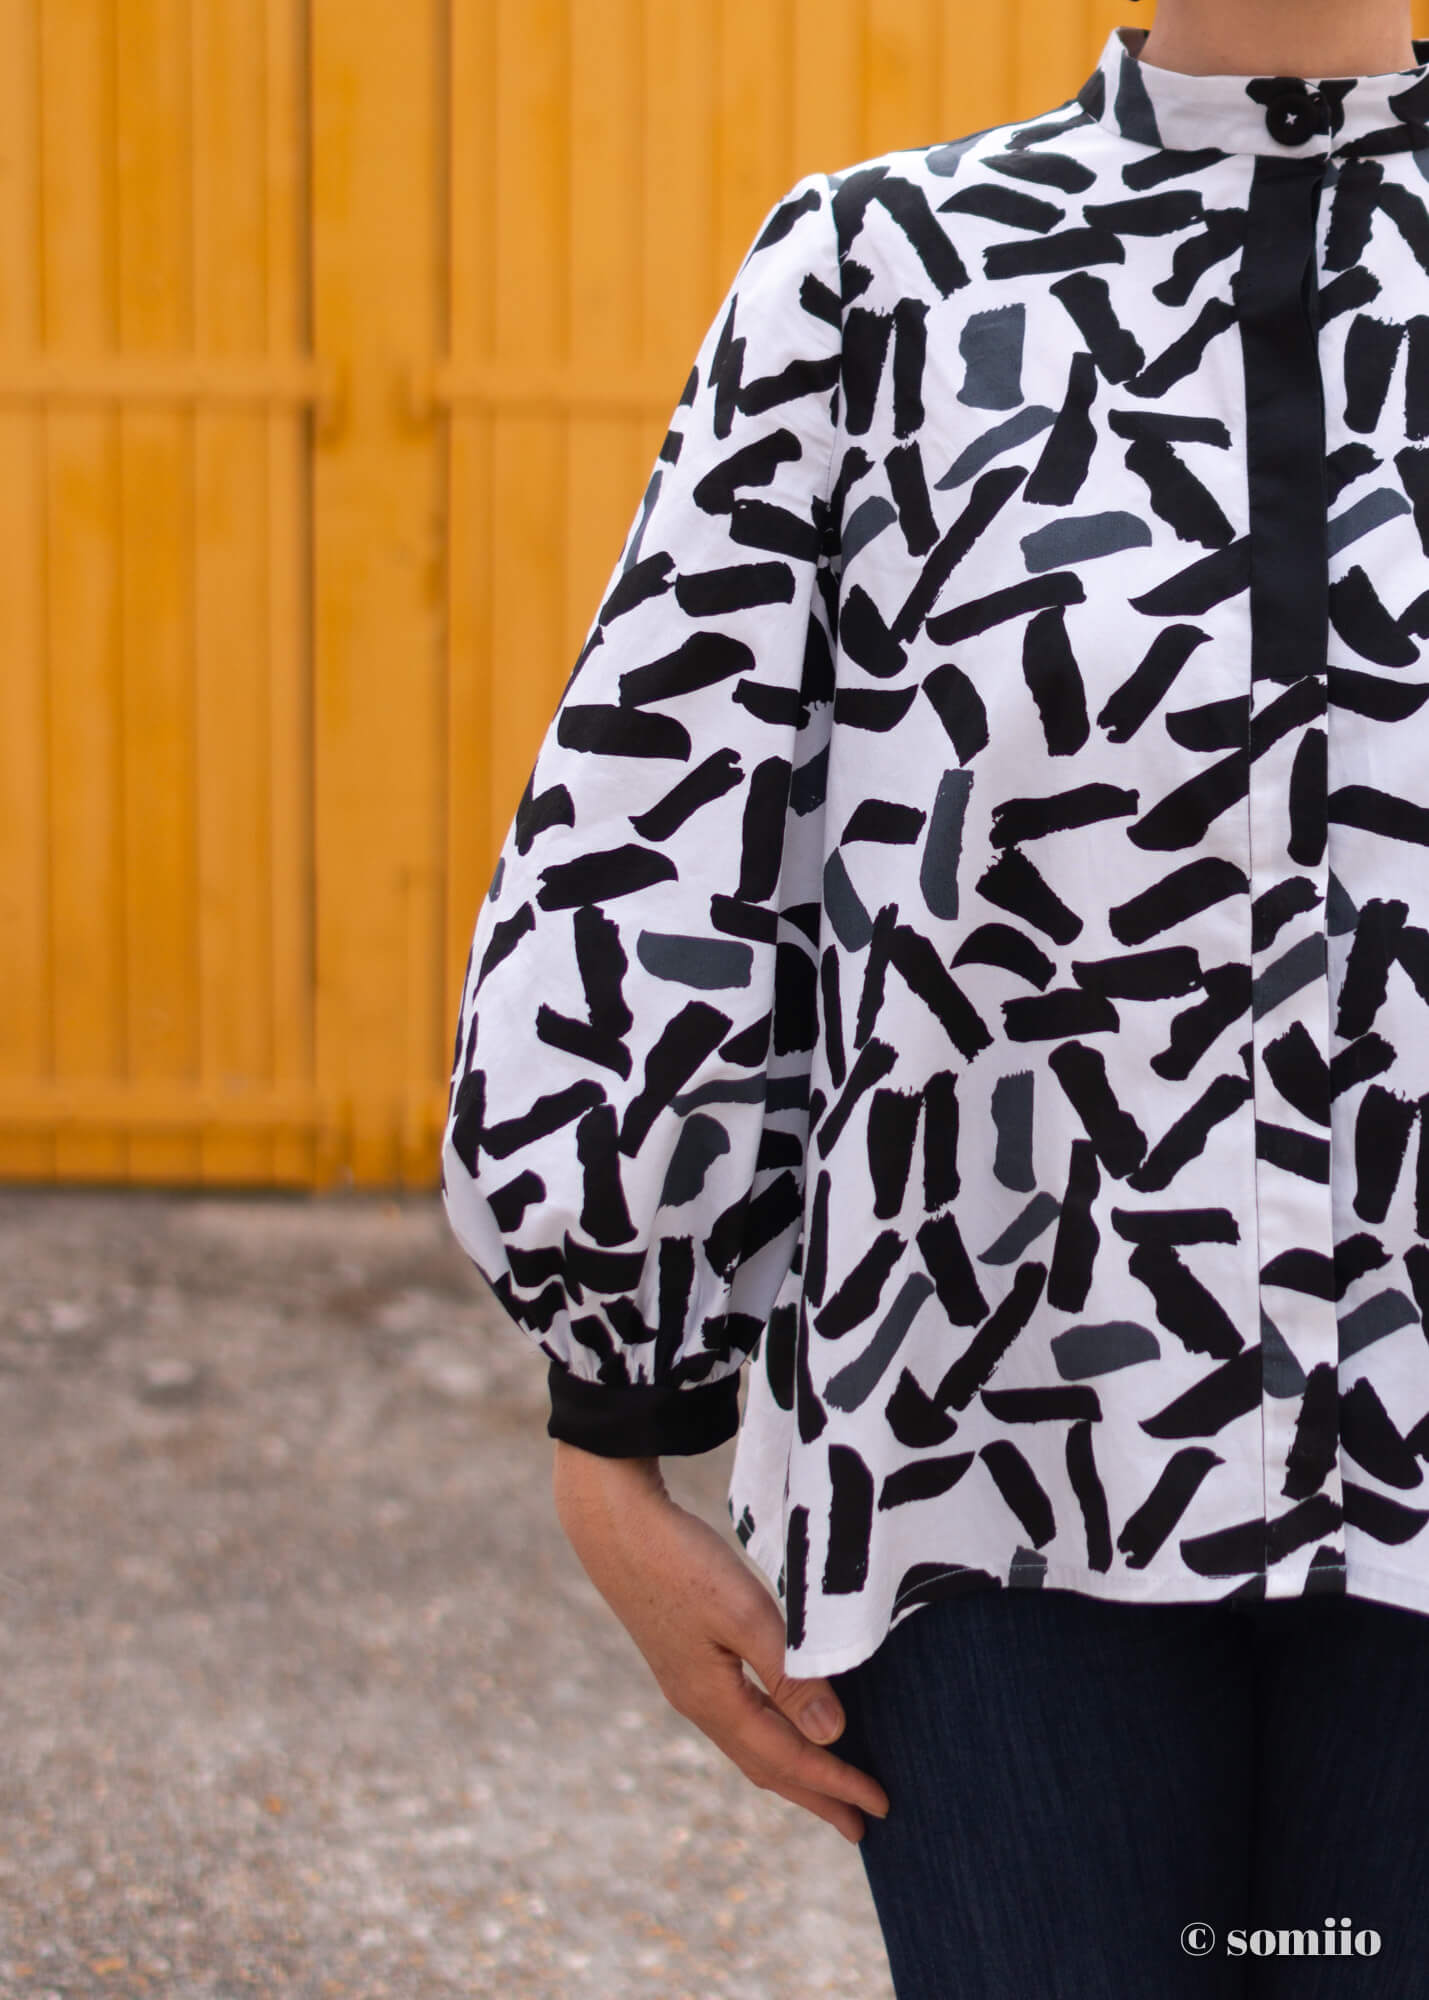
Here, however, I didn’t make it entirely contrasting but only partially to make it look like a tie.
The black parts of the shirt are silk pongee, which I’ve carefully interfaced with super fine woven iron-on to give it body.

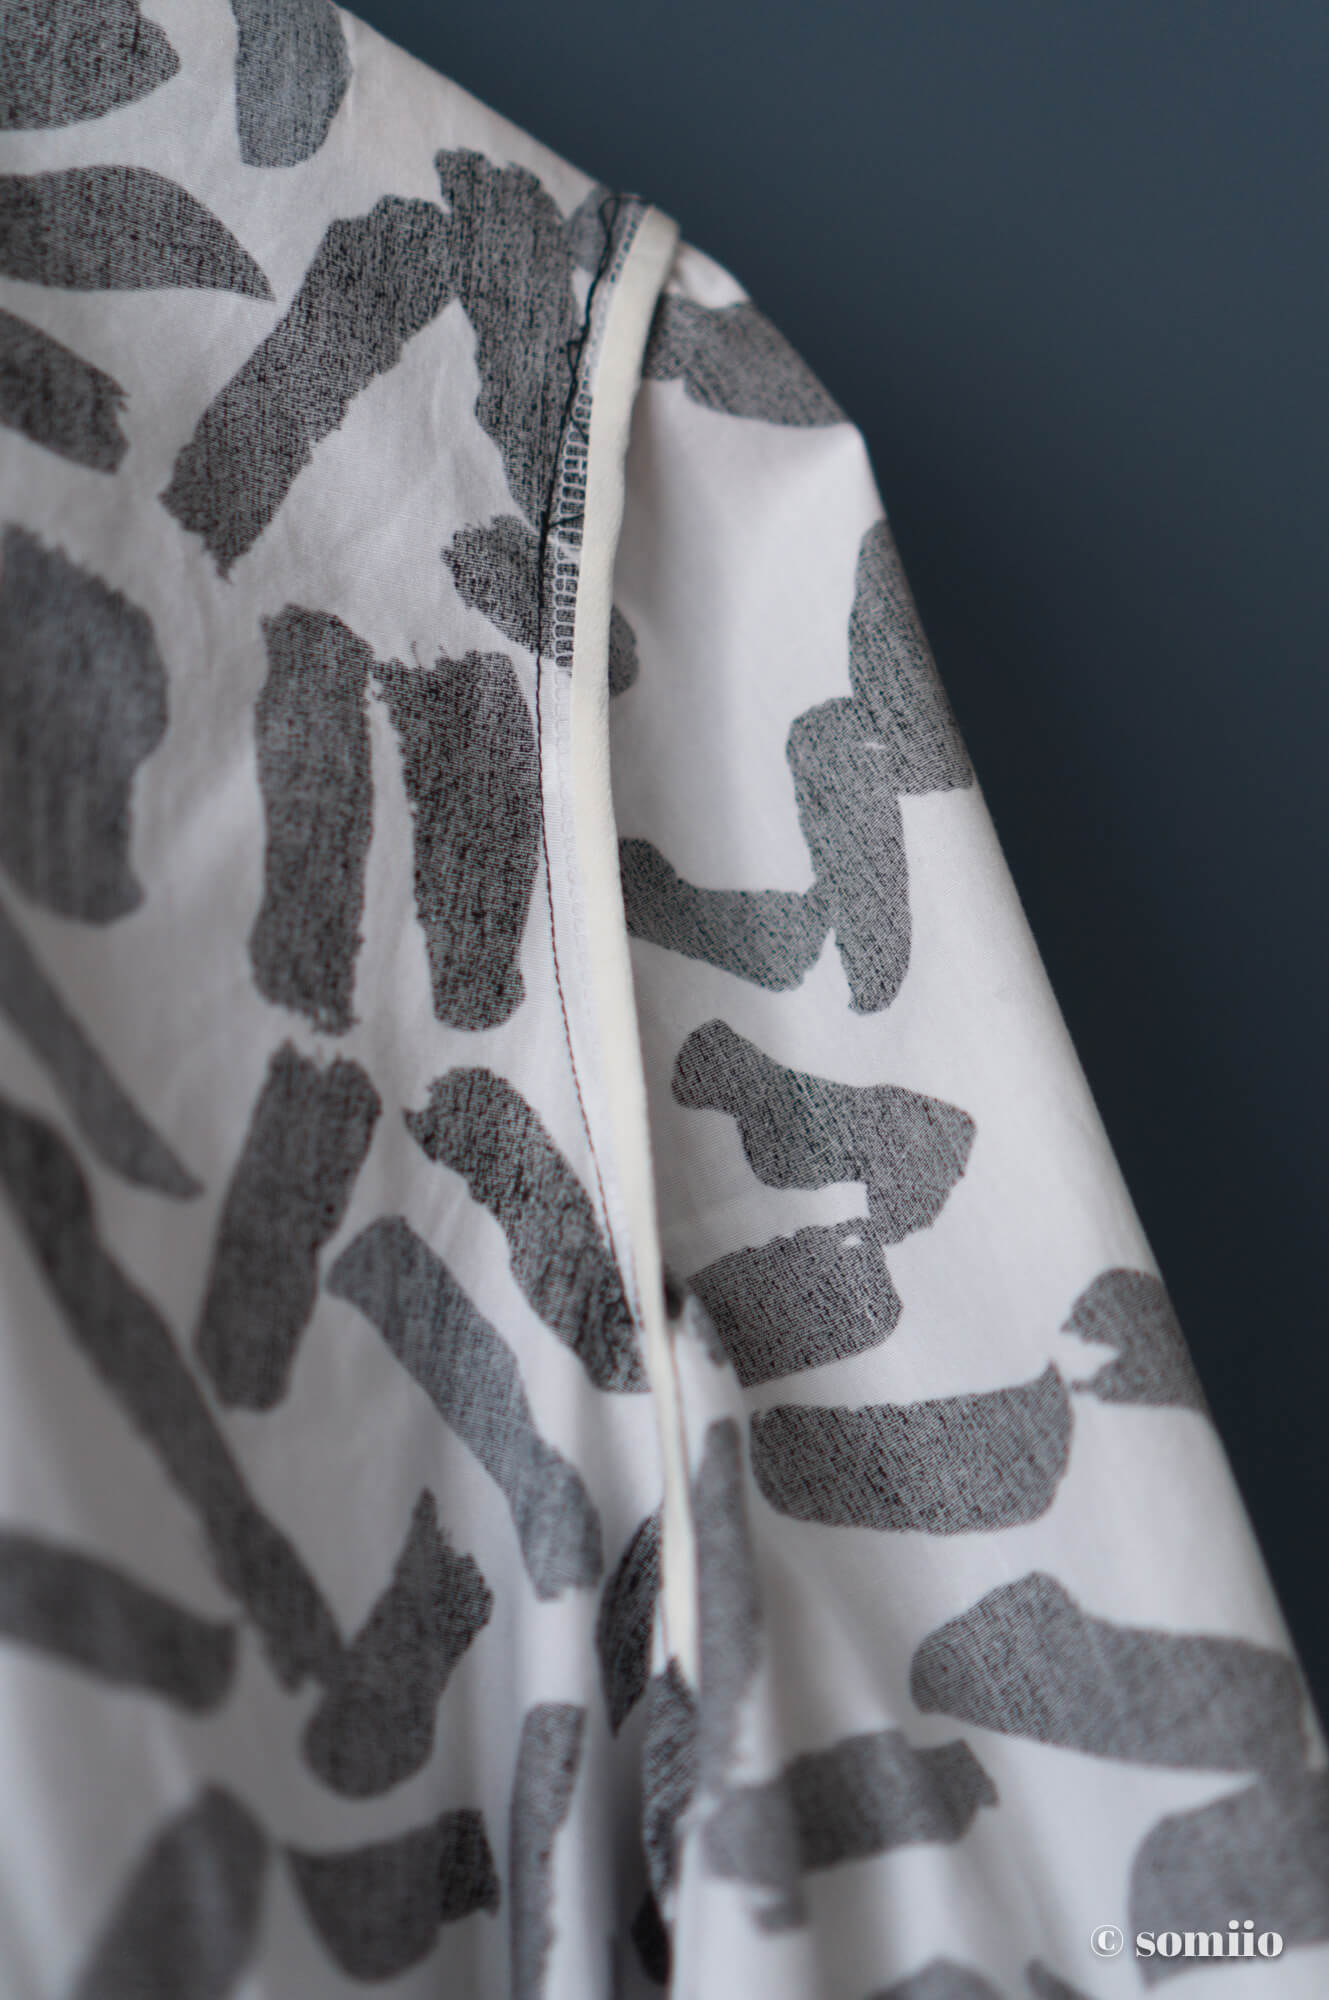
Another thing in common, I also took my time to make the same pretty finishes with English seams, the burrito back yoke lining and…
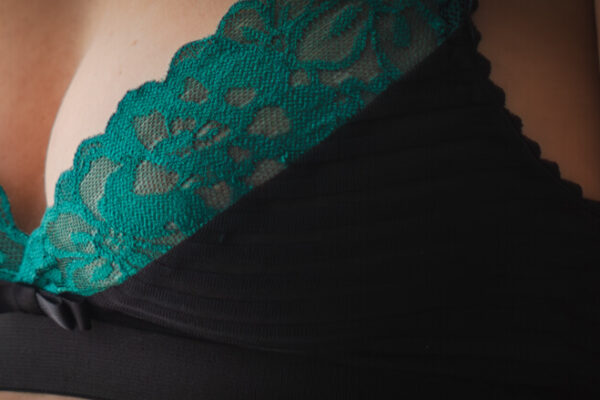
…armhole seams finished with bias.
Version 2 of the Irma shirt: the differences
Let’s move on to the differences… First of all, I’ve corrected the notorious too steep shoulder slope pattern that was a problem on my Irma dress.
It may sound complicated but actually, not at all.

- I glued the back and back yoke together (taking into account the seam allowances of course)
- then I cut out the armhole (purple lines)
- then I pulled it up to get a slope closer to the standards: around 19-20°
- and I did it again for the front.
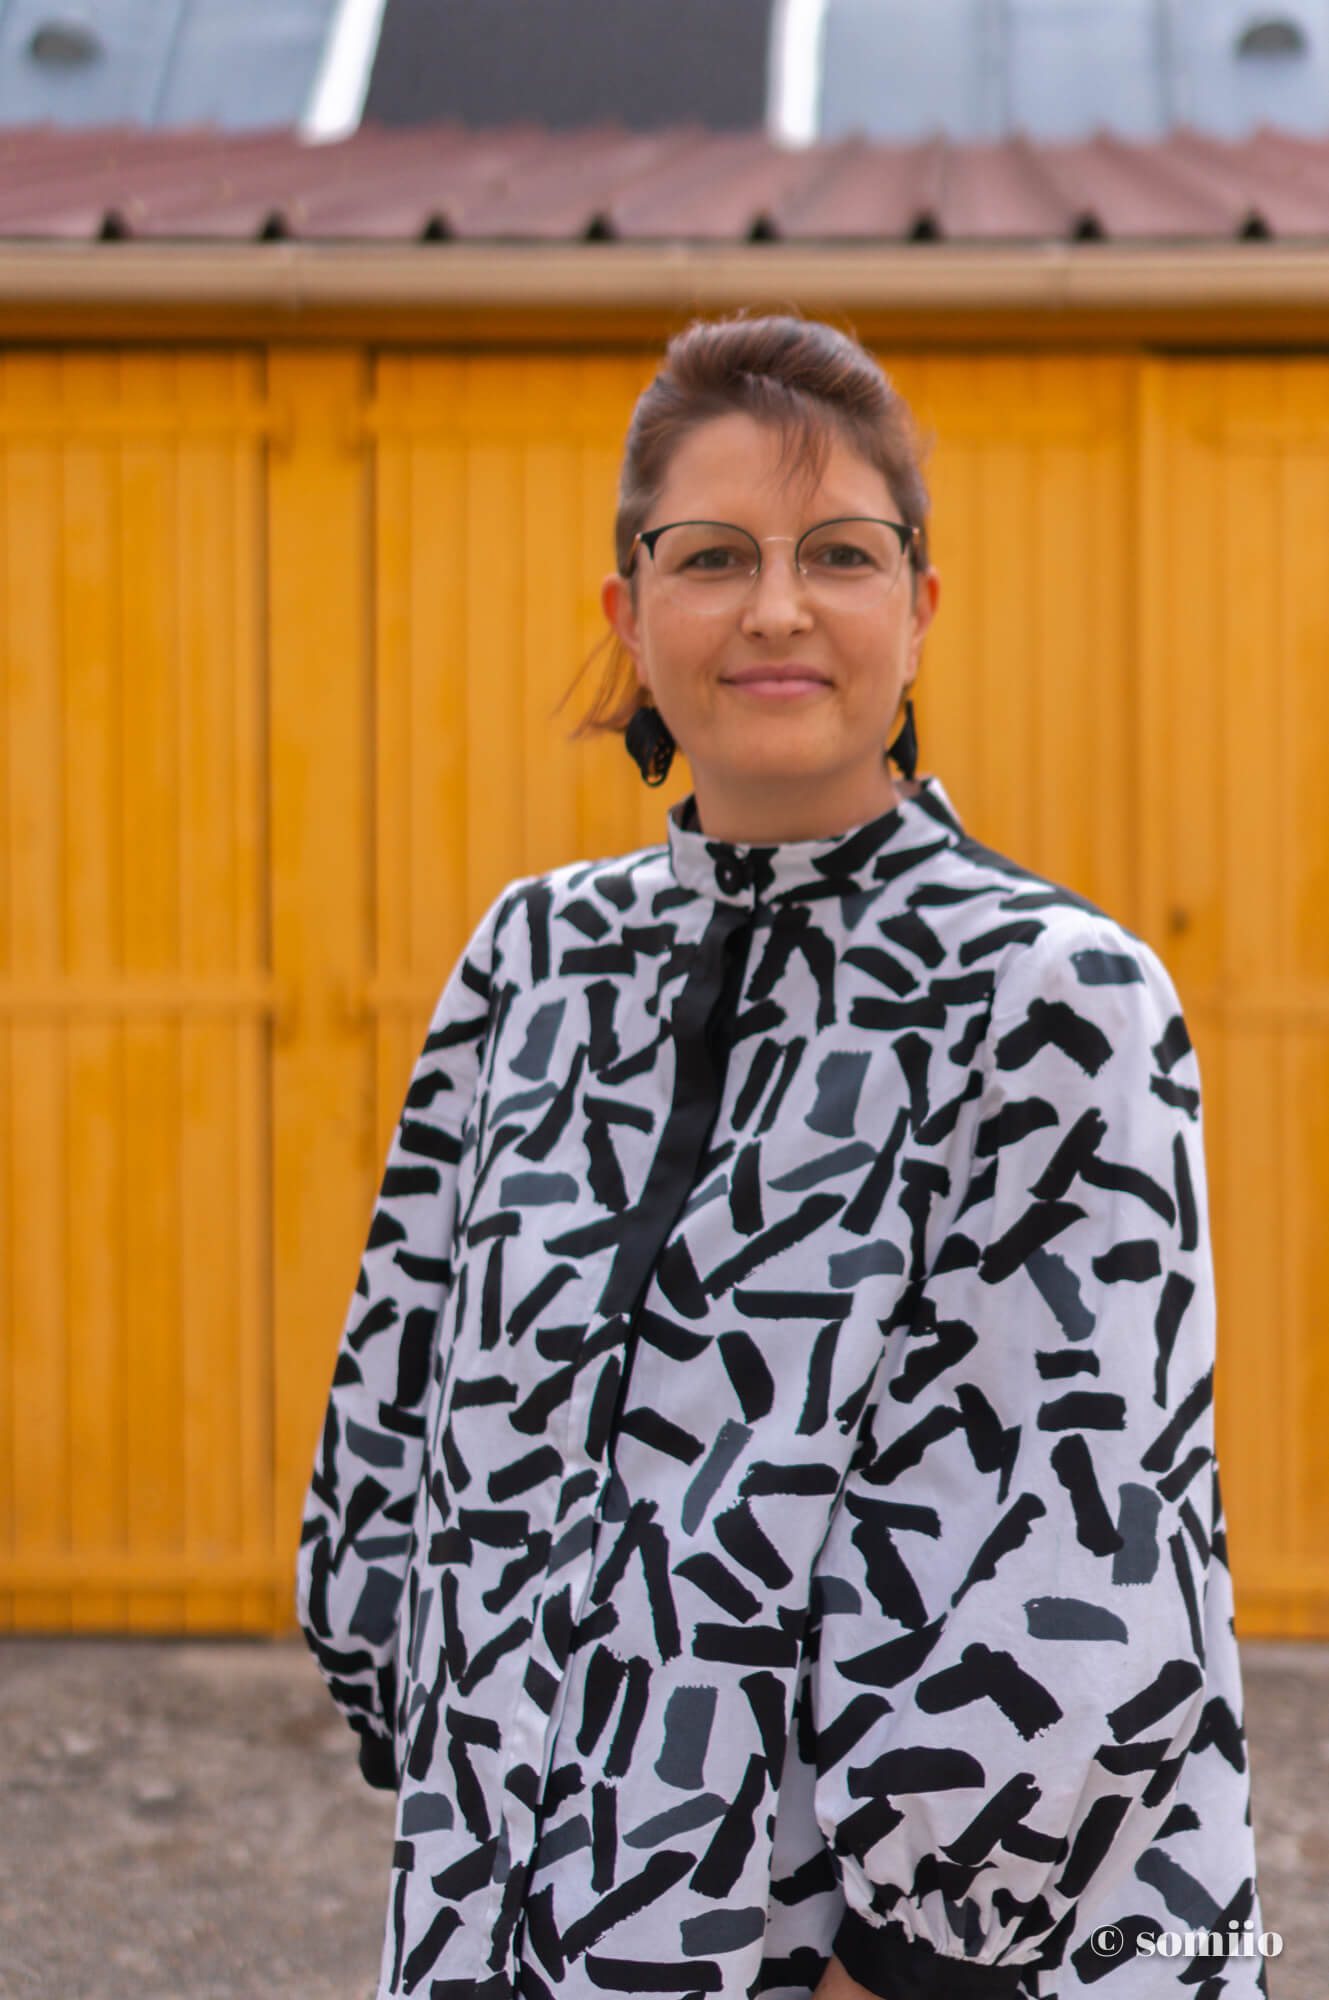
And there you have it! A shirt top that falls right over my very straight shoulders.
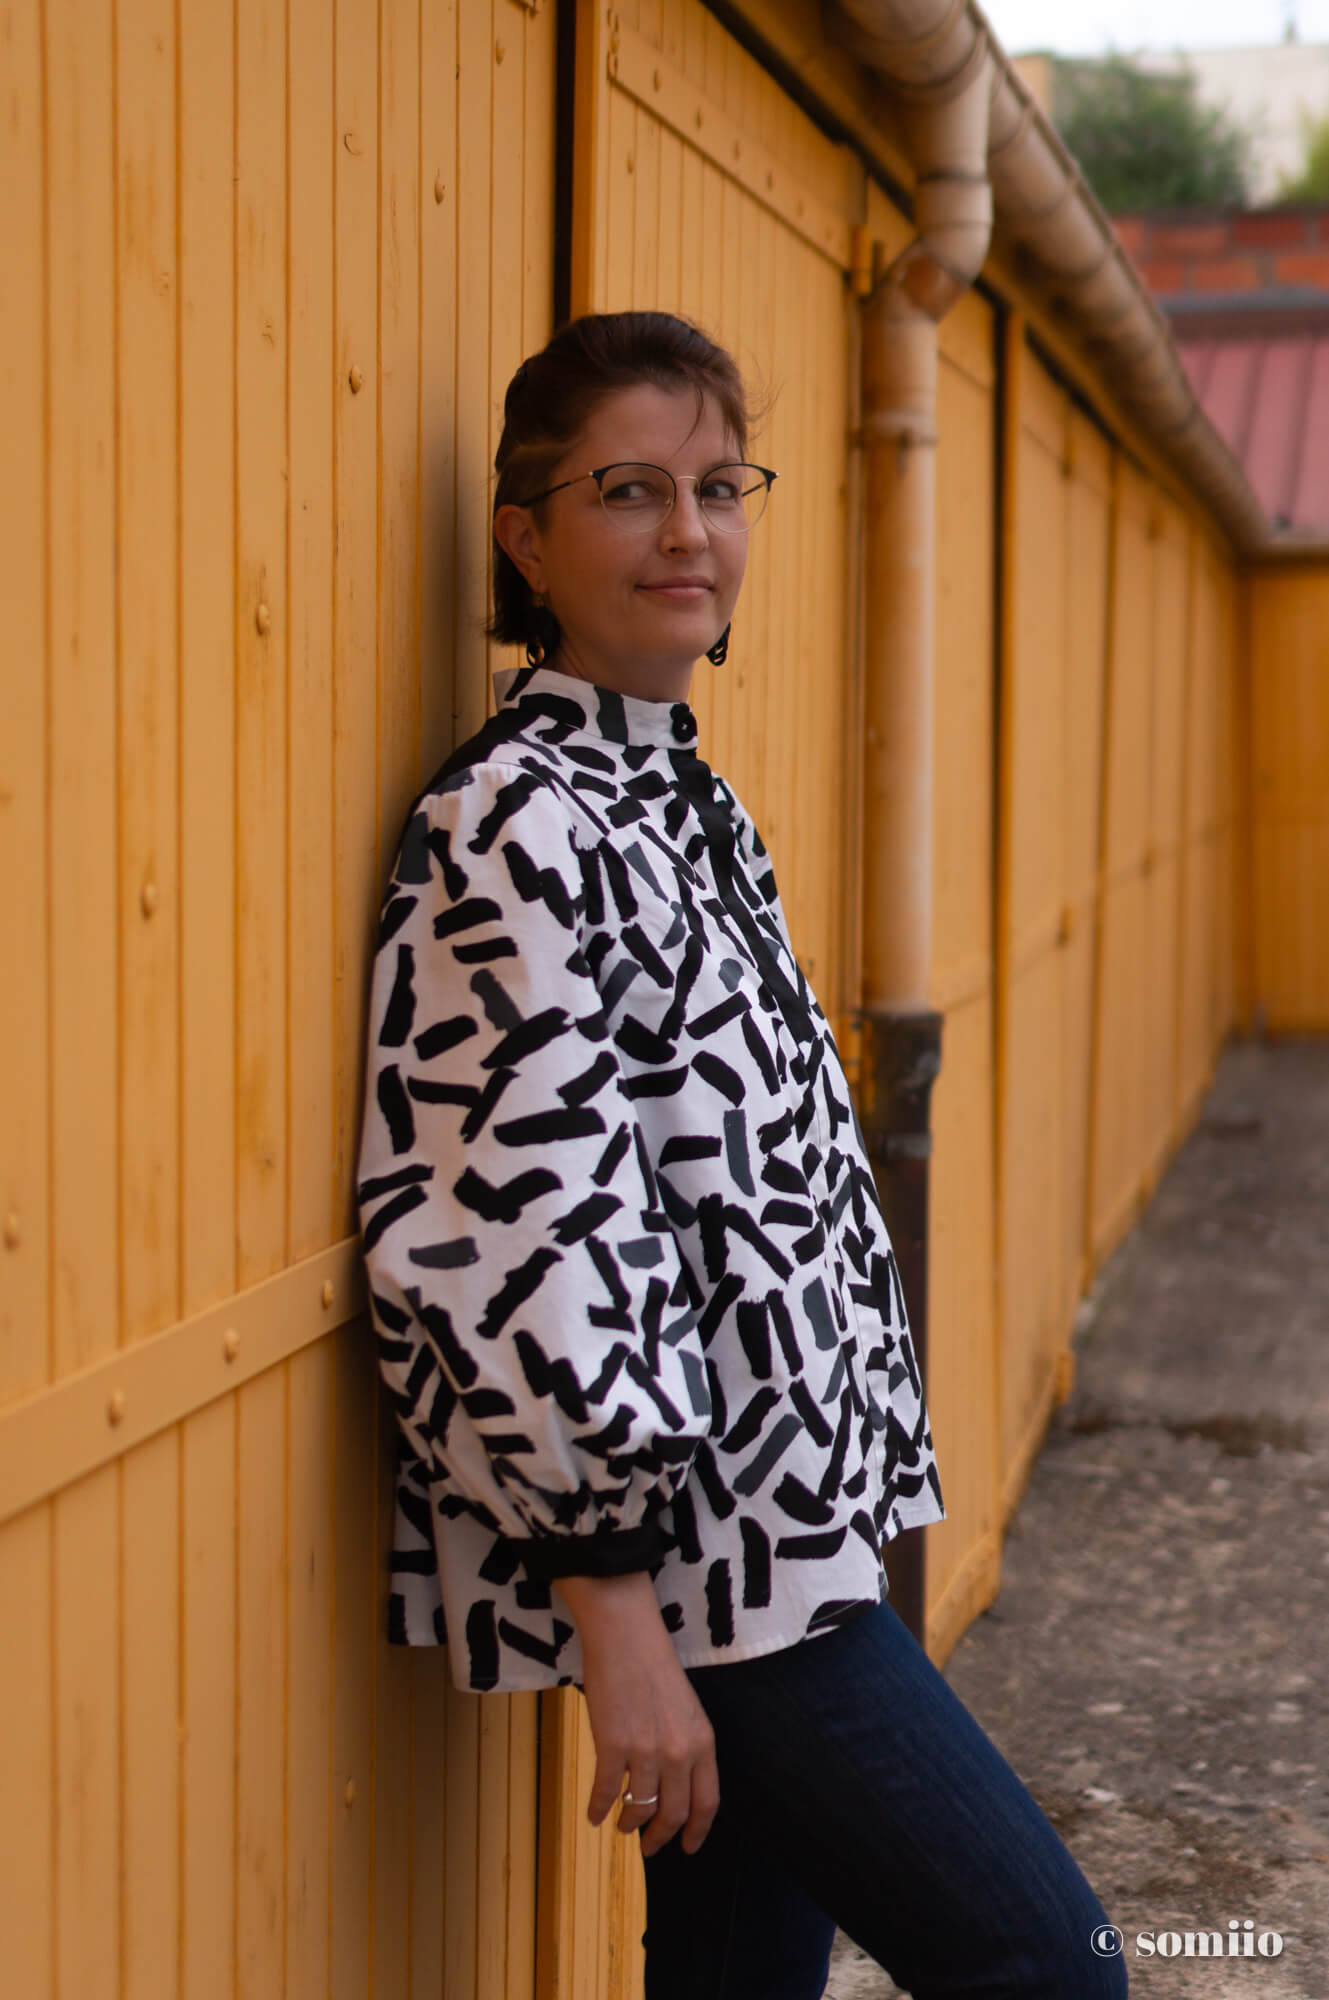
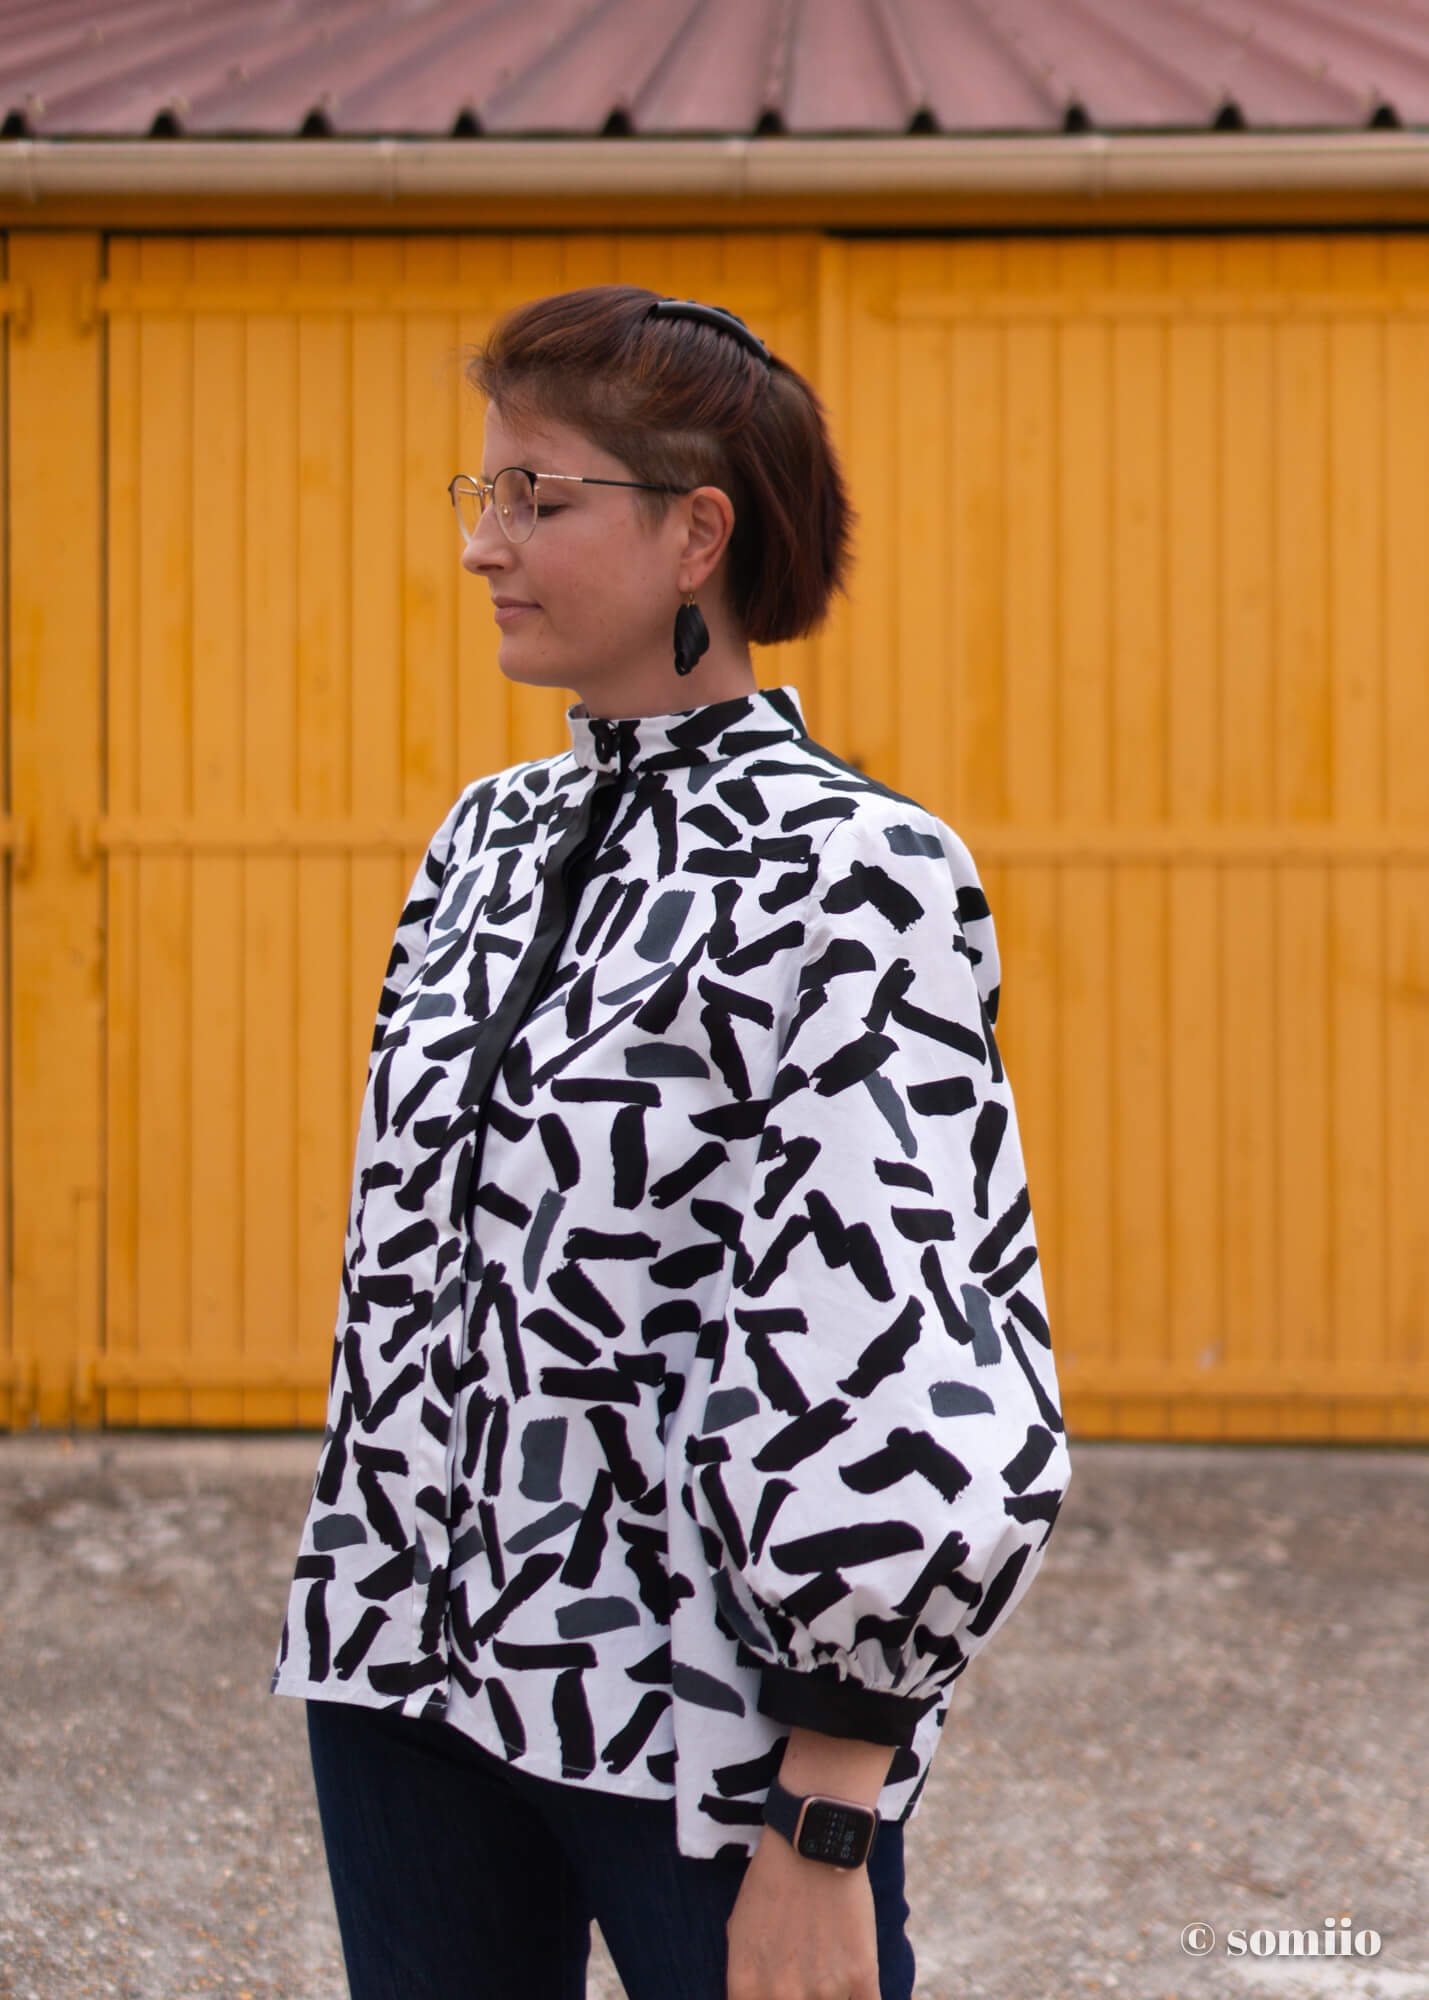
The rest of the changes are more of a styling thing, like the officer collar.
Besides, it’s too easy a modification, just don’t sew the collar drop.
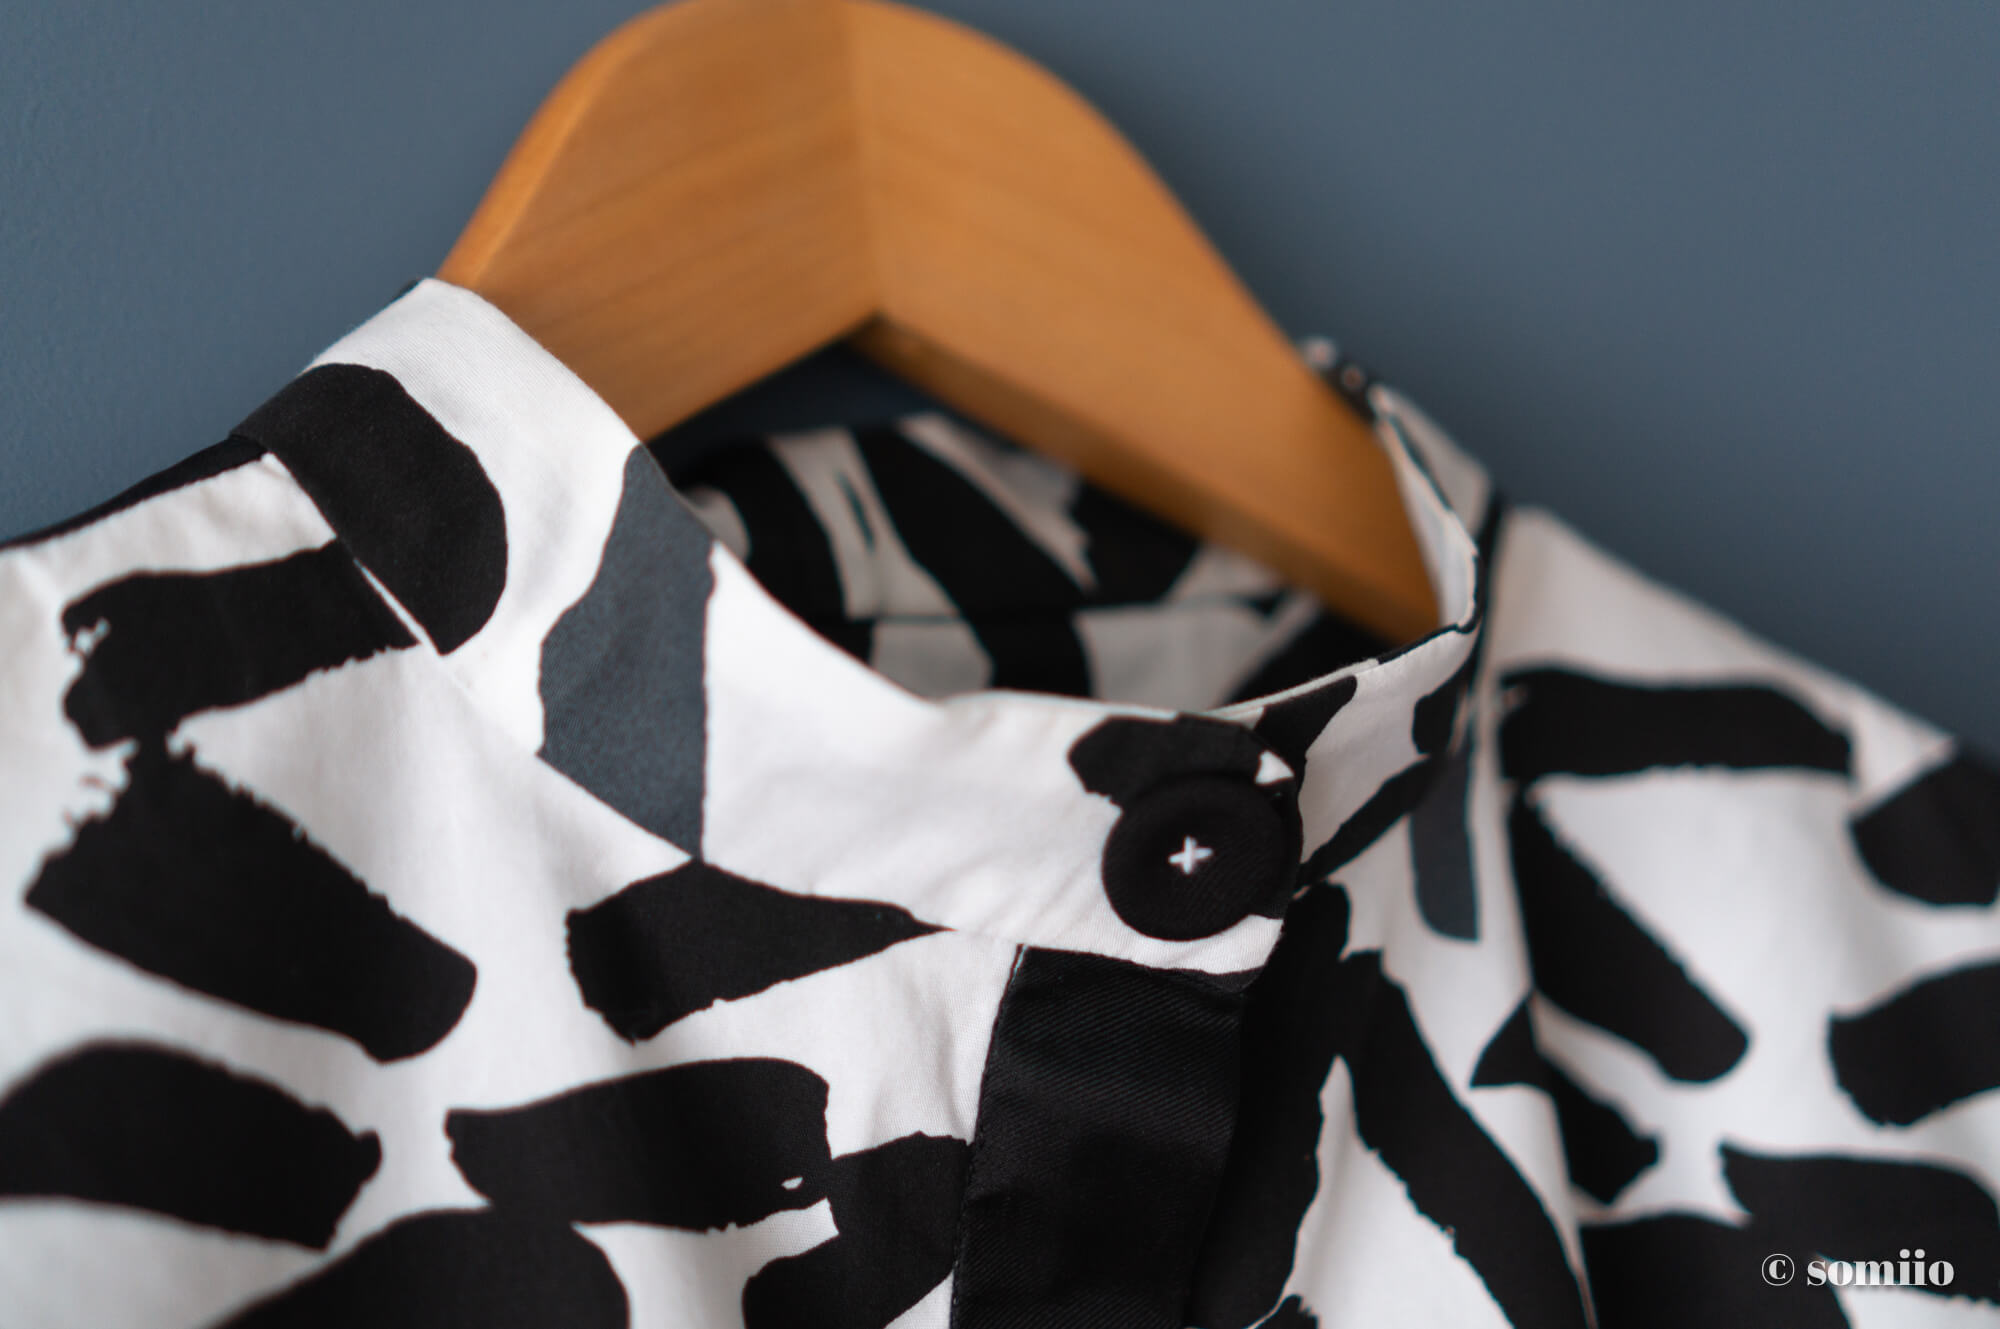
And I used a snap to close the collar which I then decorated with a pretty button.
Another difference is that the sleeves were sewn in 1 piece, with no band on the length of it.
On the other hand the ease was still as painful… I should have reduced it as Sandrine from SB Créations had once explained on her blog.
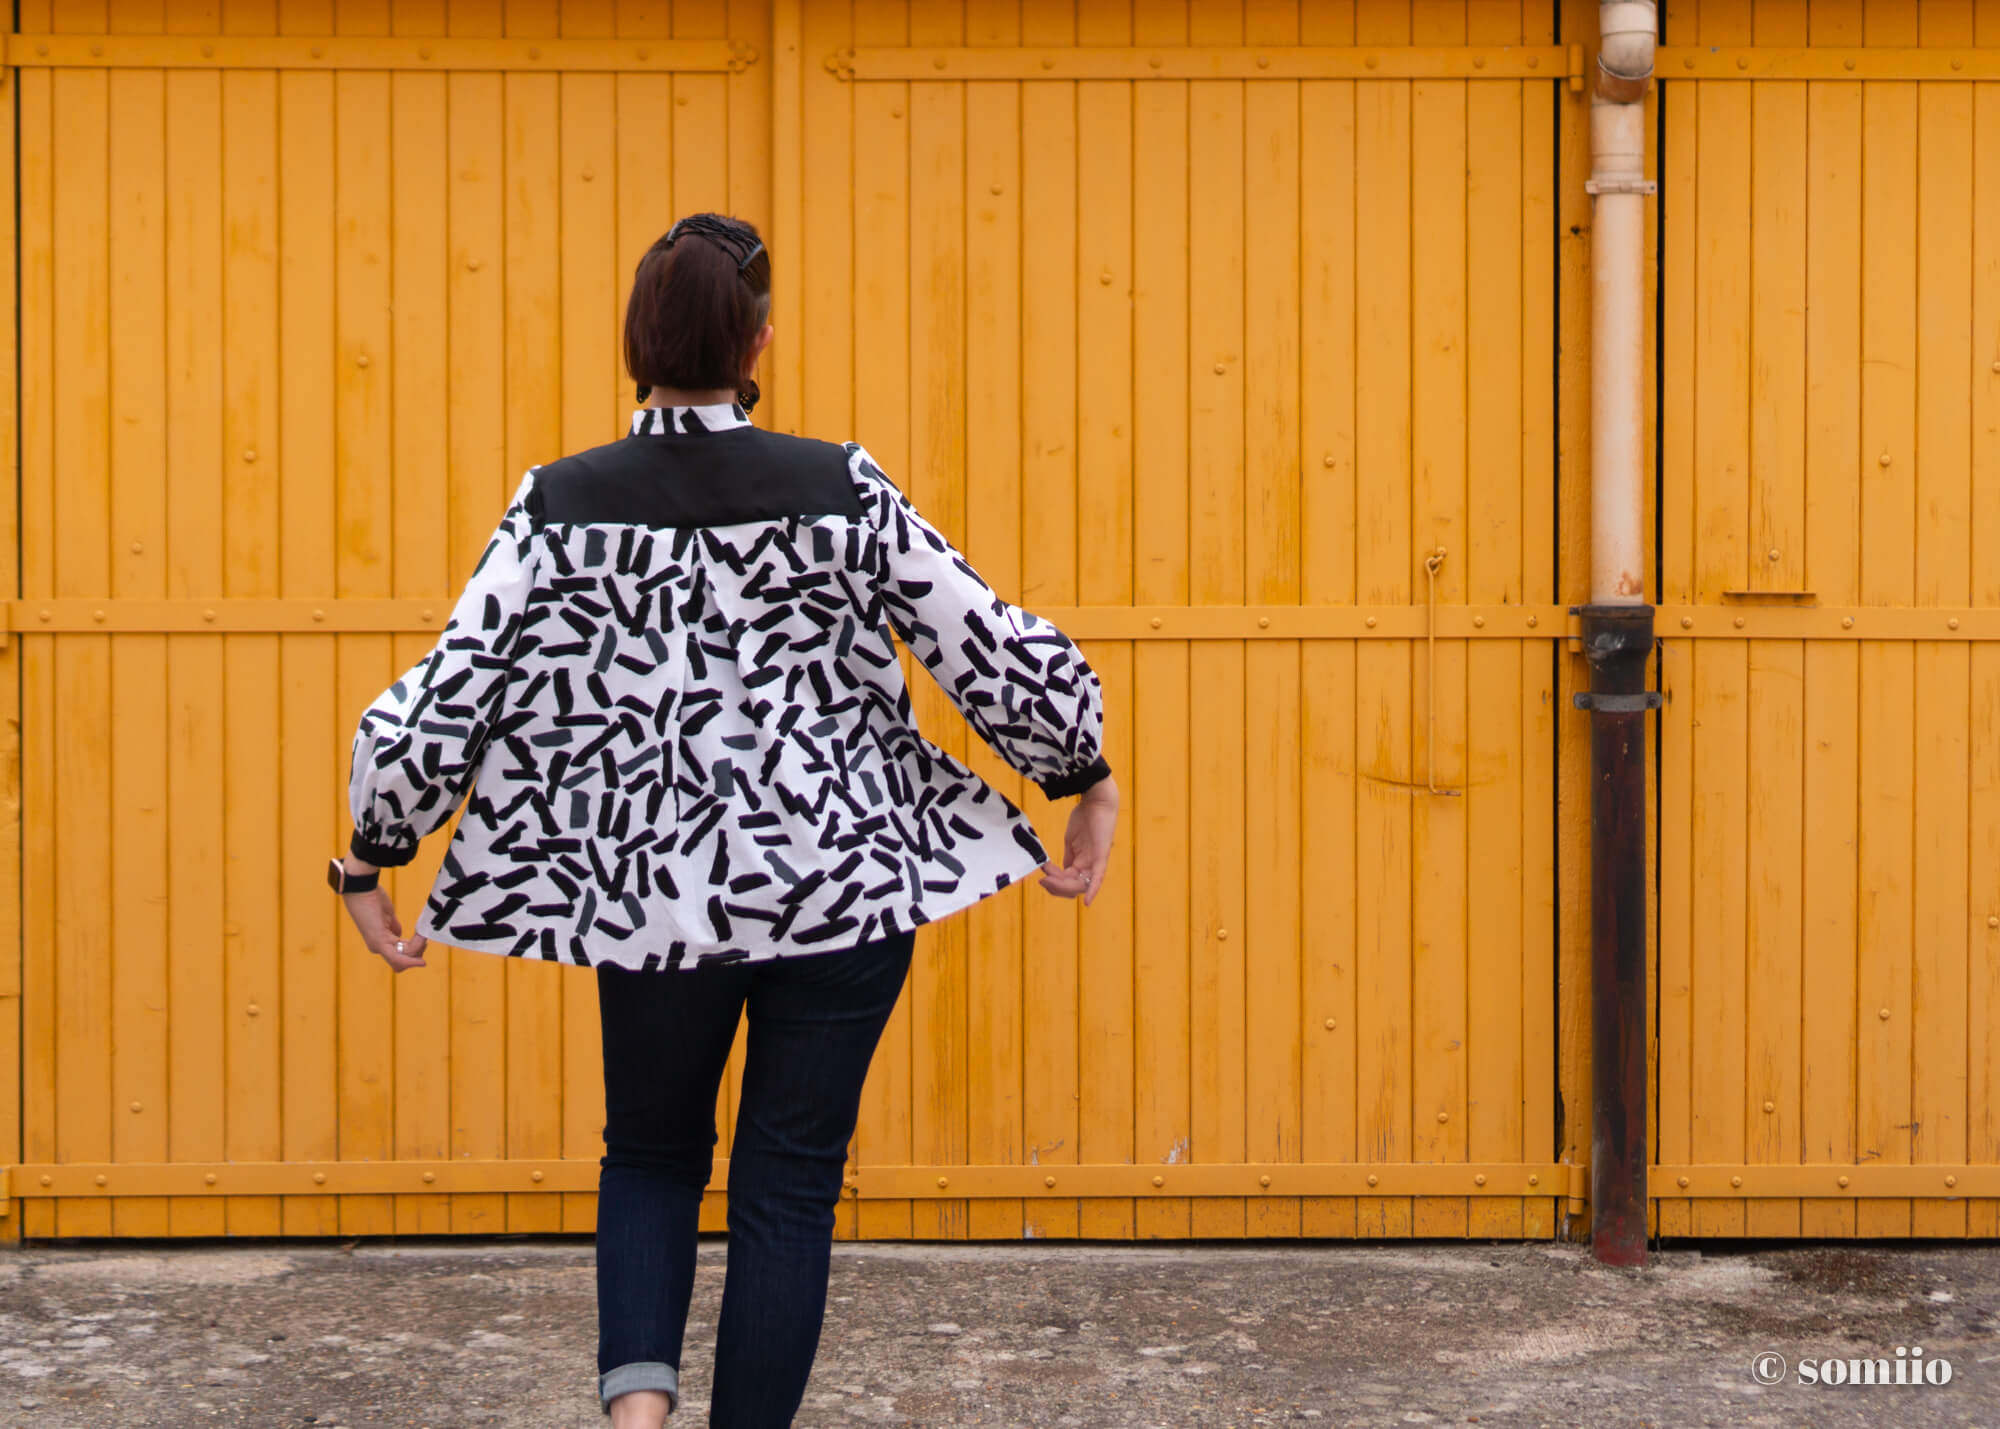
While I kept the balloon sleeves, I modified the sleeve cuff to make it higher.
I had found it quite complicated to fit this amount of gathering into the initial height proposed.
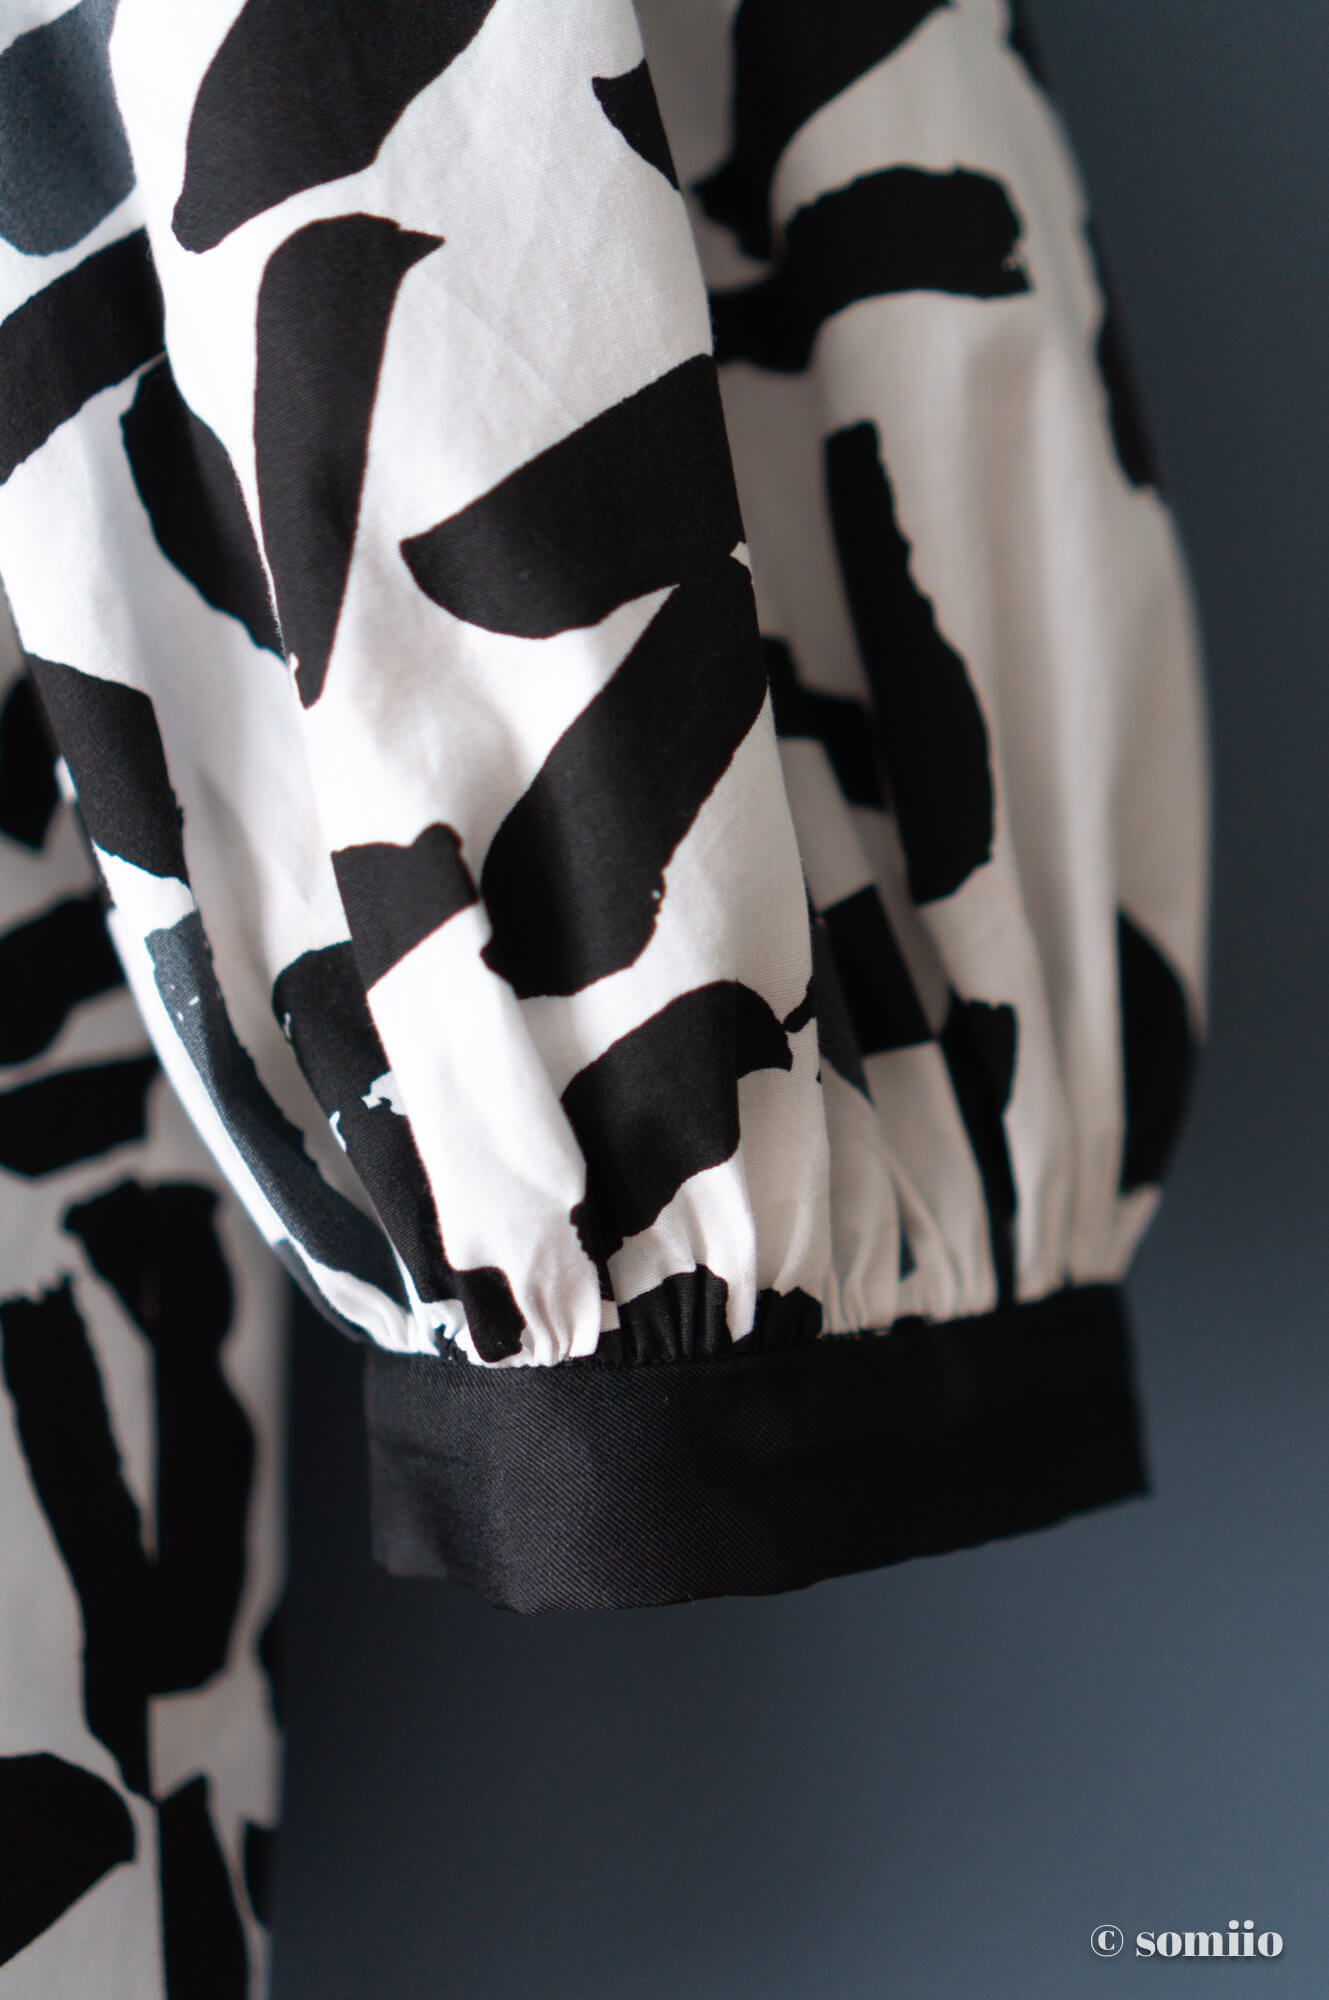
I find the proportion more suitable too, especially in a contrasting fabric.
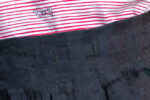
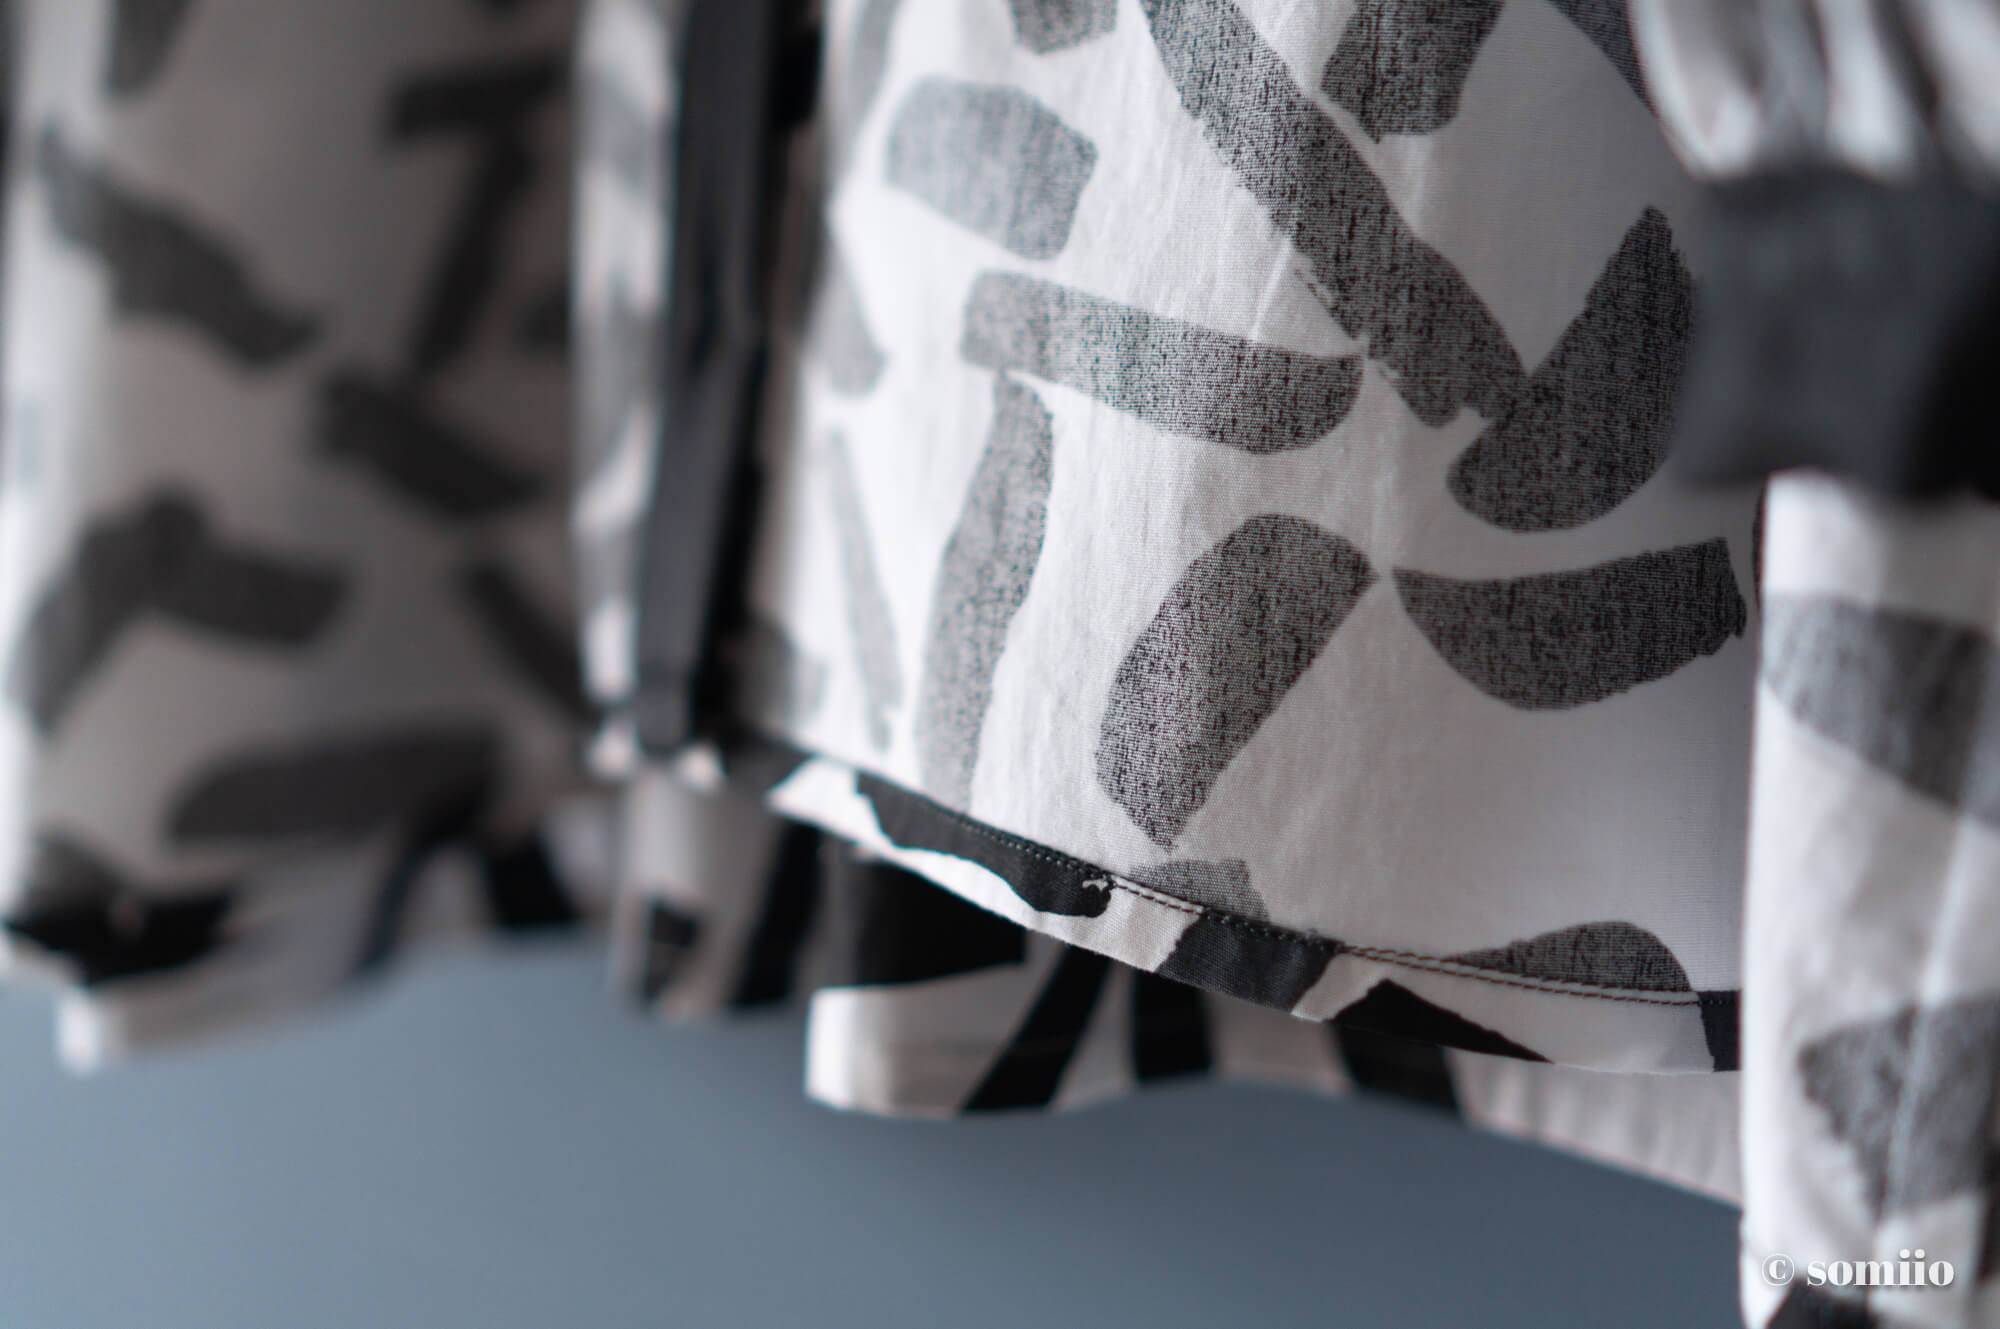
Finally, the straight hem has been sewn very classically with a double tuck and that’s it!
Conclusion
Are we at 7 differences? I don’t actually know anymore. But like its previous version, I love this shirt.
I like the fabric terribly and I find the fit particularly easy to wear.
And given the weather we’ve had in Paris until a few days ago, I’ve even been able to wear it quite conveniently several times this summer.
My only problem is the same as with the dress: the difficulty of fitting those very generous sleeves into any outerwear… I’m going to have to re-convert to the poncho trend.
Remember, ponchos, big fashion piece of the 2000s. It’s going to come back, I can feel it. With all those balloon sleeves, we have to find a solution…
Save to Pinterest